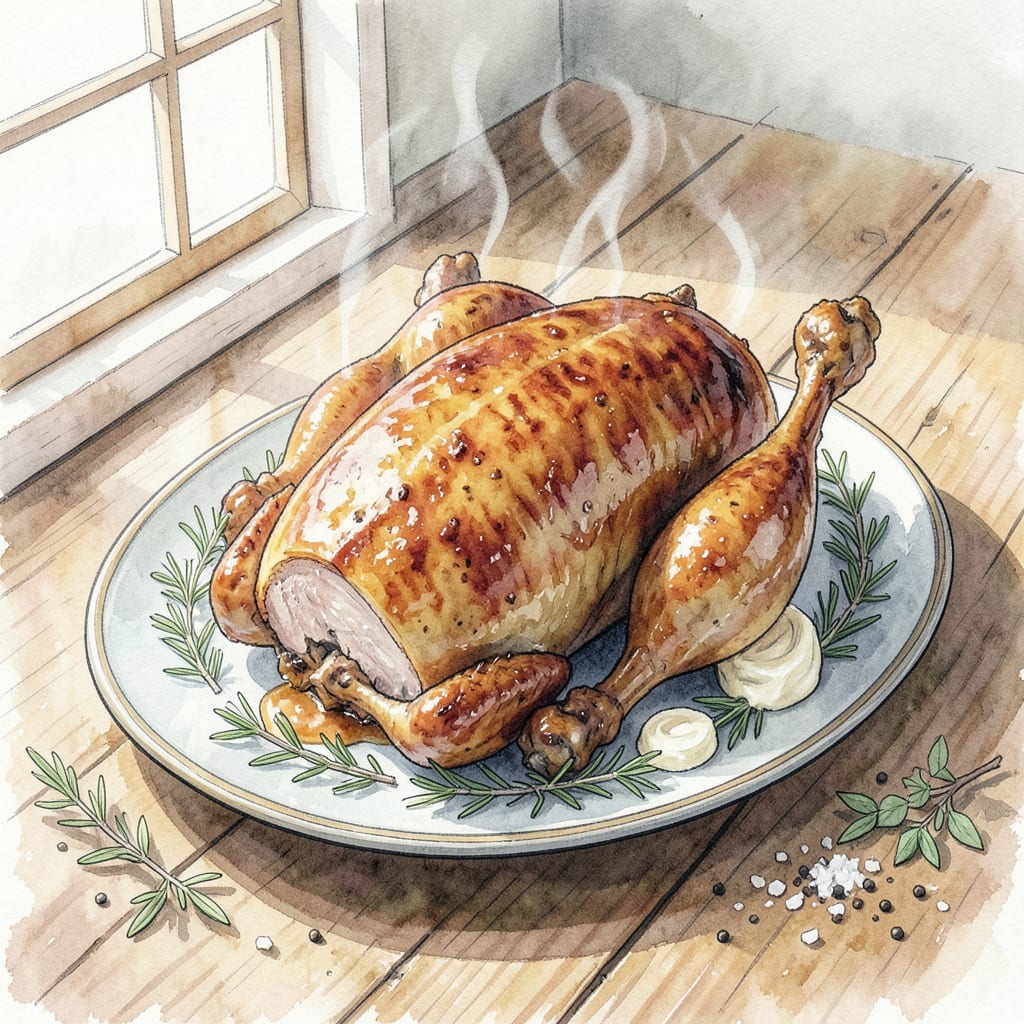
Cooking turkey in a bag is a game-changer for achieving that moist and juicy Thanksgiving centerpiece we’ve all been chasing. This method ensures a tender bird by trapping moisture and flavors.
By following this simple recipe, you’ll be able to achieve a perfectly cooked turkey with minimal effort. The result is a deliciously juicy and flavorful main course that’s sure to impress your guests.
Ingredients for Turkey in a Bag
Gather these premium ingredients for a show-stopping, moist turkey centerpiece.
| Ingredient | Amount | Notes |
|---|---|---|
| Whole Turkey 🦃 | 1 whole | Fresh or frozen, thawed completely |
| Kosher Salt 🧂 | ¼ cup | Diamond Crystal or similar flake salt |
| Black Pepper 🌶️ | 2 tbsp | Freshly ground black peppercorns |
| Unsalted Butter 🧈 | ½ cup | Softened to room temperature |
| Fresh Thyme 🌿 | 4 sprigs | Fresh, not dried |
| Fresh Rosemary 🌿 | 2 sprigs | Fresh, not dried |
| Garlic Cloves 🧄 | 4 cloves | Peeled, smashed |
| Onion 🧅 | 1 whole | Yellow or sweet onion, quartered |
| Turkey Brining Bag 🛍️ | 1 bag | Food-grade, oven-safe bag |
| Oven Roasting Pan 🍳 | 1 pan | Large enough to hold turkey |
| Kitchen Twine 🧵 | 1 piece | For trussing turkey legs |
[recipe_ingredient_scaler]
For the best results, choose a fresh turkey from a reputable butcher or Whole Foods. If using frozen, ensure complete thawing in the refrigerator. Look for Diamond Crystal kosher salt for its superior texture and flavor. Fresh herbs make a noticeable difference—farmers markets often have the best selection. For the brining bag, Reynolds or similar oven-safe bags work best.
No fresh thyme? Dried thyme at one-third the amount is an acceptable substitute. For rosemary, you can use dried rosemary at half the amount if that’s what you have on hand. The onion can be omitted if you’re short on time—the garlic and herbs will still provide plenty of flavor. If you can’t find kosher salt, sea salt or Himalayan pink salt are good alternatives.
Store leftover turkey in airtight containers for up to 4 days in the refrigerator. For longer storage, carve the turkey and freeze portions for up to 3 months. Reheat gently in the oven with some broth to maintain moisture. The brining bag can be discarded after use—it’s not reusable.
Step-by-Step Instructions for Turkey in a Bag
Here’s the method that guarantees a perfectly cooked, moist turkey every time.
Step 1: Prep the Turkey and Aromatics
Start by prepping your 1 whole Whole Turkey. Remove the giblets and neck from the cavity, then rinse the turkey under cold water. Pat it completely dry with paper towels, both inside and out. I like to use a combination of paper towels and a clean kitchen towel to get it really dry. Next, season the cavity with 2 tbsp of freshly ground Black Pepper and stuff it with the 4 sprigs of Fresh Thyme, 2 sprigs of Fresh Rosemary, 4 cloves of smashed Garlic Cloves, and 1 whole quartered Onion.
The aromatics will infuse the turkey with amazing flavor as it cooks. Make sure they’re evenly distributed inside the cavity. Now, truss the turkey legs together using the 1 piece of Kitchen Twine. This helps the turkey cook evenly and prevents the legs from burning.
Step 2: Prepare the Brining Bag and Butter Mixture
Take your 1 bag Turkey Brining Bag and place it inside the 1 pan Oven Roasting Pan. I always double-check that the bag is properly positioned and not twisted. Now, mix the 0.5 cup of softened Unsalted Butter with the 0.25 cup of Kosher Salt in a bowl until you get a smooth, consistent paste. I like to use a fork to mix these ingredients until they’re just combined.
Rub this butter mixture all over the turkey, making sure to get some under the skin as well. The salt will help to season the meat, while the butter will keep it moist and promote browning. Don’t be shy with the butter – use all 0.5 cup to get that perfect, golden-brown skin.
Step 3: Cook the Turkey in the Bag
Place the prepared turkey inside the brining bag, then seal the bag according to the manufacturer’s instructions. I always make sure the bag is tightly sealed to prevent any steam from escaping. Put the roasting pan in the oven and set it to 375°F. Cook the turkey for about 20 minutes per pound, or until the internal temperature reaches 165°F in the thickest part of the breast and 180°F in the thigh.
The bag will help to keep the turkey moist by trapping the juices and steam. You’ll know it’s done when the internal temperature is right and the meat feels tender when pierced with a fork. Let the turkey rest in the bag for 20-30 minutes before carving. This allows the juices to redistribute, making the turkey even more tender and juicy.
Dietary Considerations for This Recipe
Gluten-Free Considerations
This turkey in a bag recipe is naturally gluten-free, making it suitable for guests with gluten intolerance or celiac disease. The ingredients list doesn’t include any gluten-containing products, but it’s essential to check the labels of your brining bag and any store-bought seasonings to ensure they’re processed in a gluten-free facility. I’ve found that using certified gluten-free seasonings provides extra peace of mind.
Keto and Low-Carb Adaptations
For keto or low-carb diets, this recipe is a great starting point as it doesn’t contain any high-carb ingredients. To make it even more keto-friendly, consider using a sugar-free seasoning blend if you’re adding extra spices. The turkey itself is a great source of protein and healthy fats. Be mindful of the butter amount if you’re strictly tracking macros – while it’s essential for flavor, ½ cup is a significant amount.
Dairy-Free Modifications
To make this recipe dairy-free, simply replace the unsalted butter with a dairy-free alternative like clarified vegan butter or coconut oil. Both options work well and maintain the moisture that makes this cooking method so effective. I’ve used coconut oil successfully in similar recipes, adding a subtle flavor enhancement.
Low-Sodium Variations
For those watching their sodium intake, you can reduce the kosher salt amount or substitute it with a low-sodium salt alternative. Keep in mind that some salt is crucial for both flavor and food safety, so don’t eliminate it entirely. The aromatics and herbs will still provide plenty of flavor even with less salt. Consider using herbs de Provence to boost flavor without adding salt.
Other Dietary Considerations
This recipe is free from common allergens like nuts, soy, and shellfish, making it suitable for many dietary restrictions. However, always check with your guests about specific allergies. The fresh herbs used add not only flavor but also nutritional benefits. For vegetarians or vegans looking to adapt this method, you can use a similar technique with large portobello mushrooms or a tofurky roast. 🌿
Additional Tips
When cooking for guests with various dietary needs, labeling the dishes can be helpful. Consider creating a little card that lists the ingredients used, so guests with allergies can make informed choices. This recipe’s simplicity and flexibility make it an excellent choice for accommodating different dietary requirements. 🔥

Trained in classic French technique but raised on slow-cooked ribs and spicy rubs, she blends culinary skill with smoke and soul.
- Recipe for Boneless Pork Chops in Cast Iron Skillet: Sear and Baste to Juicy Perfection - October 3, 2026
- Recipe for Boneless Cross Rib Roast: Slow-Roasted Beef with Herb Crust - October 3, 2026
- Hamburgers in Sauce Recipe Crock Pot: Slow-Cooked Savory Delight - October 3, 2026