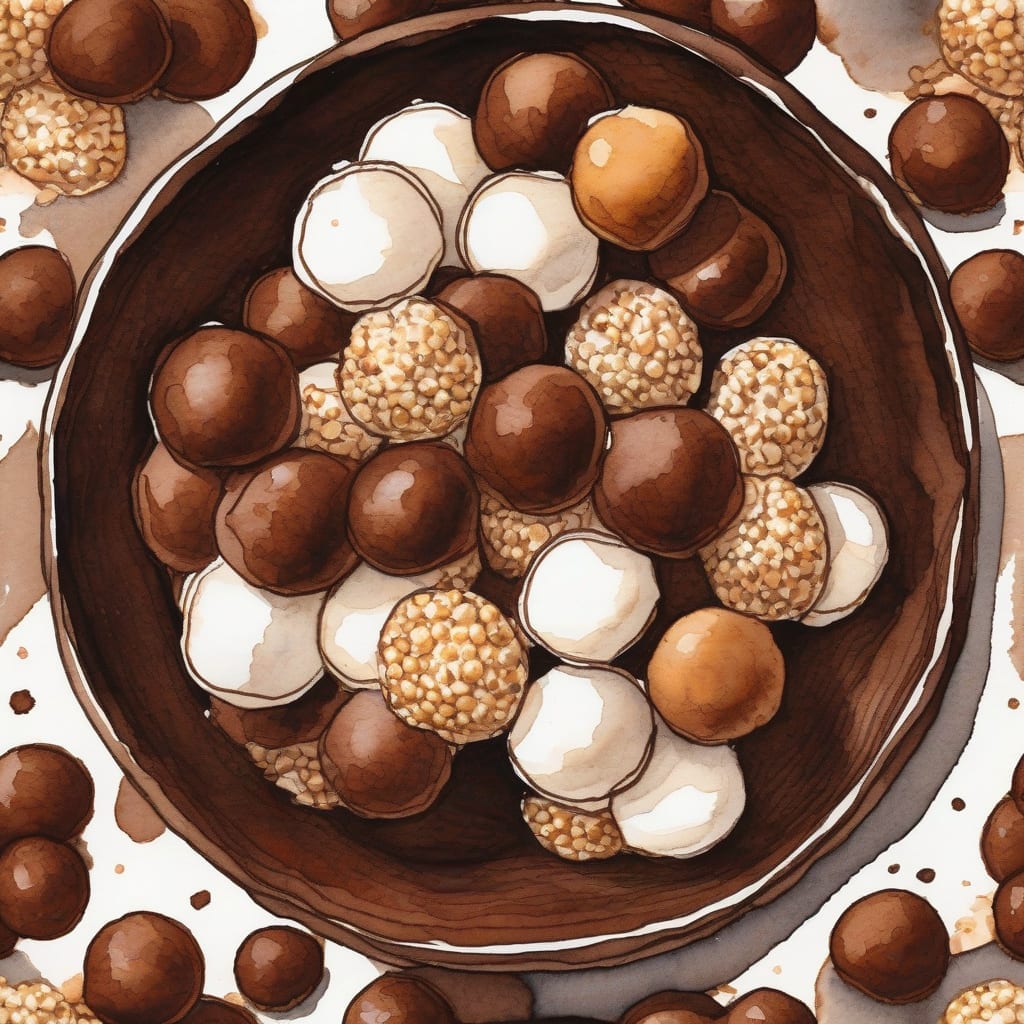
Imagine the satisfying crunch of a sweet treat that brings back childhood memories. Today, I’m excited to share how to create delightful malted milk balls that are perfect for snacking or sharing. These little bites are sure to please anyone with a sweet tooth!
This recipe is straightforward and uses simple ingredients you likely already have at home. With just a few steps, you’ll transform basic pantry staples into a crunchy, sweet snack that rivals store-bought versions. It’s a fun project that’s perfect for both kids and adults alike.
Once you’ve made these delightful treats, you’ll enjoy every crispy bite bursting with flavor. They’re great for parties, movie nights, or just a special treat for yourself. Let’s dive into the ingredients and get started on this delicious adventure!
Ingredients for Crunchy malted milk balls
Gather these simple ingredients to create delightful malted milk balls that everyone will enjoy.
| Ingredient | Amount | Notes |
|---|---|---|
| Malted Milk Powder 🍯 | 1 ½ cups | For authentic malt flavor |
| Powdered Sugar 🍬 | 1 cup | Sifted for smooth texture |
| Unsweetened Cocoa Powder 🍫 | ½ cup | For rich chocolate flavor |
| Milk 🥛 | ½ cup | Whole milk preferred |
| Vanilla Extract 🍦 | 1 tsp | For enhanced sweetness |
| Chocolate Coating 🍫 | 12 oz | Melting chocolate for coating |
| Vegetable Oil 🌱 | 2 tbsp | To thin chocolate coating |
| Sea Salt 🧂 | ¼ tsp | Enhances sweetness balance |
| Chopped Nuts 🥜 | ½ cup | Optional, for added crunch |
| Candy Coating (optional) 🍬 | 8 oz | For colorful exterior |
[recipe_ingredient_scaler]
You can find malted milk powder at most grocery stores, often in the baking or cereal aisle. Brands like Carnation or Ovaltine offer quality options. For the best chocolate coating, look for melting chocolate at specialty shops or the baking section of stores like Walmart or Target. Choose whole milk for creaminess and richness in flavor.
If you don’t have malted milk powder, try substituting with equal parts instant dry milk mixed with a little sugar and cocoa. For the chocolate coating, you can use dark or white chocolate depending on your preference. If you want a nut-free option, simply omit the chopped nuts and use a thicker chocolate coating for texture.
Store any leftovers in an airtight container at room temperature for up to one week. If you want to keep them longer, refrigerate for up to two weeks. You can also freeze them for up to three months; just ensure they are well-sealed to prevent freezer burn.
Step-by-Step Instructions for Crunchy Malted Milk Balls
Let’s dive into making these delightful crunchy treats that bring a sweet snack crunch in every bite!
👨🍳 Step 1: Combine the Dry Ingredients
In a large mixing bowl, combine 1.5 cups of malted milk powder, 1 cup of powdered sugar, and 0.5 cup of unsweetened cocoa powder. I always sift the powdered sugar to ensure a smooth texture. This mixture forms the base of your malt balls, giving them that delicious malt flavor.
Once combined, add 0.25 tsp of sea salt to enhance the sweetness. This little addition makes a big difference in balancing flavors. Stir the dry ingredients together until evenly mixed, then set the bowl aside while you prepare the wet ingredients.
🥛 Step 2: Mix Wet Ingredients
In a separate bowl, whisk together 0.5 cup of milk and 1 tsp of vanilla extract. I prefer whole milk for its richness, which adds creaminess to the mixture. Make sure the vanilla is well incorporated—it enhances the sweetness and aroma of your mixture.
Once blended, pour the wet ingredients into the bowl with the dry ingredients. Mix everything together until it forms a thick dough-like consistency. If you find it too dry, you can add a splash more milk, but be careful not to make it too wet.
🍫 Step 3: Form and Chill the Balls
Using your hands, take small portions of the mixture and roll them into balls about 1 inch in diameter. You should get around 20-24 malt balls depending on size. Place them on a parchment-lined baking sheet. I find it helps to lightly grease my hands to prevent sticking.
Once all the balls are formed, pop them into the fridge for about 30 minutes. Chilling them helps firm up the mixture, making them easier to coat later. This step is key for achieving that satisfying crunch when you bite into them!
🍫 Step 4: Coat with Chocolate
While the malt balls chill, prepare your chocolate coating. Melt 12 oz of chocolate coating in a microwave-safe bowl, adding 2 tbsp of vegetable oil to thin it out. Heat in 30-second intervals, stirring in between until smooth and fully melted.
Once melted, remove the malt balls from the fridge. Dip each ball into the chocolate coating, ensuring it’s fully covered. Use a fork to lift them out, allowing excess chocolate to drip off before placing them back on the parchment paper.
⏰ Step 5: Let Set and Optional Candy Coating
After coating all the balls, let them sit at room temperature or refrigerate for about 15-20 minutes until the chocolate is set. If you want an extra layer of color and crunch, you can melt 8 oz of candy coating (optional) and dip the chocolate-coated balls once more.
Once everything has cooled and set, your crunchy malted milk balls are ready to enjoy! These treats are perfect for snacking or sharing at gatherings. Enjoy every crunchy bite!
Sweet Snack Storage: Keeping Your Malted Milk Balls Fresh
To maintain the delightful crunch of your malted milk balls, store them in an airtight container at room temperature for up to one week. I recommend using glass containers with tight-sealing lids to keep them fresh and tasty. This way, you can easily grab a treat whenever the craving strikes! 🍬
If you want to extend their shelf life, refrigerate them for up to two weeks. Just make sure they are properly sealed to prevent any moisture from ruining that perfect crunch. I’ve found that keeping them chilled also enhances their flavor, making every bite even more enjoyable. ❄️
For longer storage, you can freeze these delicious treats for up to three months. Place them in a freezer-safe bag or container, ensuring to remove as much air as possible before sealing. When you’re ready to enjoy, simply let them thaw at room temperature. You’ll love how they taste just as fresh as the day you made them! 🥳
Nutrition Facts
320kcal
[recipe_ingredient_scaler]

Trained in classic French technique but raised on slow-cooked ribs and spicy rubs, she blends culinary skill with smoke and soul.
- Recipe for Boneless Pork Chops in Cast Iron Skillet: Sear and Baste to Juicy Perfection - October 3, 2026
- Recipe for Boneless Cross Rib Roast: Slow-Roasted Beef with Herb Crust - October 3, 2026
- Hamburgers in Sauce Recipe Crock Pot: Slow-Cooked Savory Delight - October 3, 2026