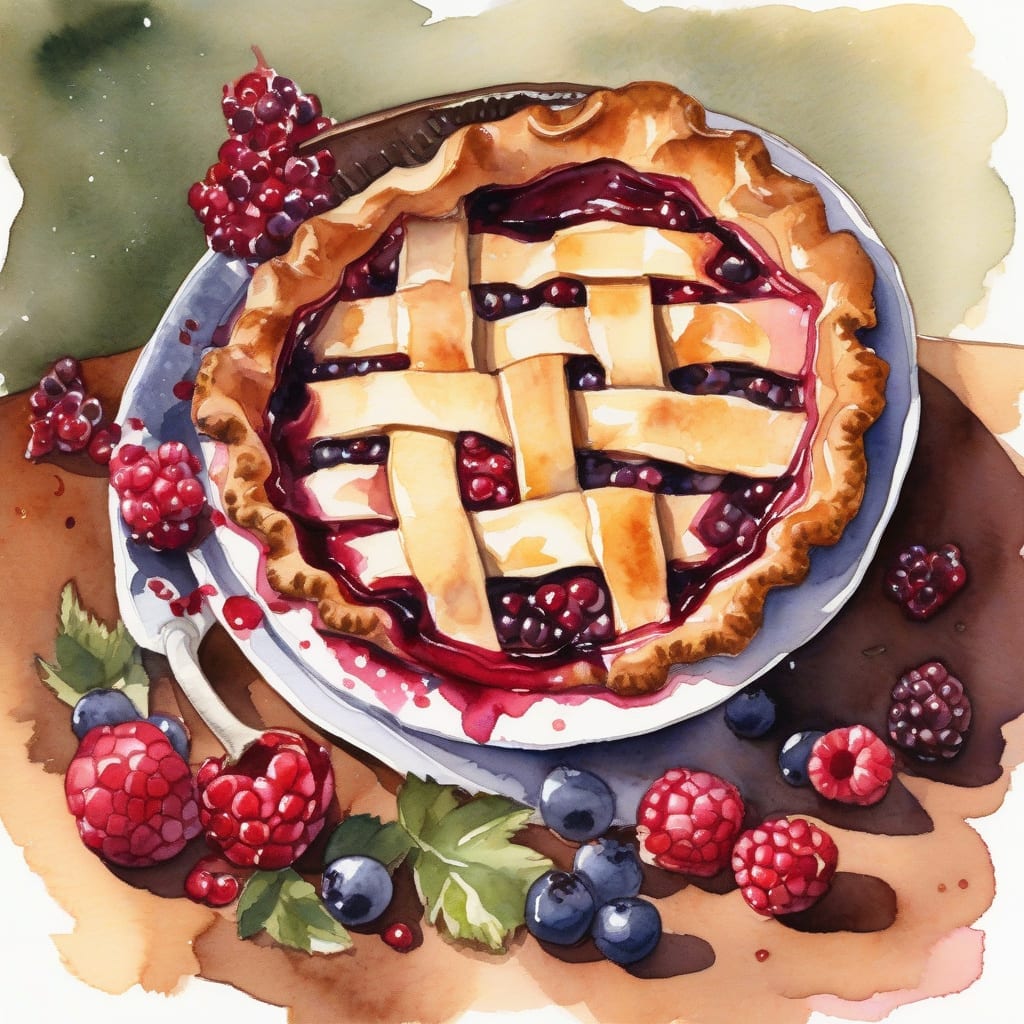
There’s something truly special about sharing a dessert made with love, and this heartfelt pie is just the ticket. Imagine the warmth of a flaky crust filled with sweet, luscious filling that brings smiles to everyone at the table. This is the perfect treat for someone special!
What makes this creation stand out is its simplicity. With just a handful of easy-to-find ingredients, you can create a delightful pie that feels luxurious yet is totally approachable. I promise, you don’t need to be a baking expert to pull this off!
When you serve this pie, expect happy faces and satisfied sighs as they take their first bite. The combination of flavors and textures is irresistible, making it an instant favorite. Let’s get started on this sweet journey together!
Ingredients for True love pie
Gather these simple ingredients to create a heartfelt dessert that everyone will love.
| Ingredient | Amount | Notes |
|---|---|---|
| All-Purpose Flour 🌾 | 1 ½ cups | For crust, sifted if possible |
| Granulated Sugar 🍬 | ¾ cup | For sweetness in filling |
| Unsalted Butter 🧈 | ½ cup | Chilled and cubed for crust |
| Salt 🧂 | ½ tsp | Enhances flavor of crust |
| Water 💧 | 4-6 tbsp | Ice-cold for crust consistency |
| Fresh Berries 🍓 | 2 cups | Mixed variety for filling |
| Cornstarch 🌽 | 2 tbsp | Thickens berry filling |
| Lemon Juice 🍋 | 1 tbsp | Freshly squeezed for brightness |
| Vanilla Extract 🍦 | 1 tsp | Pure for best flavor |
| Egg Yolk 🥚 | 1 whole | For egg wash on crust |
You can find most of these ingredients at any local grocery store. For the best quality, look for fresh berries at farmers markets or Whole Foods, which often have a wider variety. Make sure to choose firm, vibrant berries without any signs of mold. When purchasing butter, opt for unsalted to control the saltiness in your pie crust.
If you don't have fresh berries, frozen berries work well—just thaw and drain excess liquid before using. You can substitute with other fruits like peaches or apples, but adjust the sugar accordingly based on their sweetness. For a gluten-free option, use almond flour or a gluten-free flour blend in place of all-purpose flour.
Store any leftover pie in the refrigerator, covered with plastic wrap, for up to 3 days. If you need to freeze it, wrap tightly in foil and keep it in an airtight container for up to 3 months. Reheat slices in the oven for a warm dessert experience or enjoy cold straight from the fridge.
Step-by-Step Instructions for True Love Pie
Let me guide you through each step of this heartfelt dessert that’s perfect for sharing with someone special.
👨🍳 Step 1: Prepare the Pie Crust
Start by combining the 1.5 cups of all-purpose flour, 0.5 cup of unsalted butter, 0.75 cup of granulated sugar, and 0.5 tsp of salt in a large mixing bowl. I like to use a pastry cutter or my fingers to work the butter into the flour until the mixture resembles coarse crumbs.
Next, gradually add 4-6 tablespoons of ice-cold water, one tablespoon at a time. Mix gently until the dough starts to come together but is not sticky. You want it to hold its shape without being overly wet. If it feels too dry, add a bit more water.
🥘 Step 2: Roll Out and Fit the Crust
Once your dough is ready, wrap it in plastic wrap and refrigerate for at least 30 minutes. This chilling step helps relax the gluten, making the crust tender. After chilling, roll the dough out on a floured surface to about 1/8-inch thickness.
Carefully transfer the rolled-out dough into a 9-inch pie dish. I press it gently into the edges and trim any excess overhang, leaving about an inch to fold under and crimp. This creates a beautiful edge and keeps the filling secure.
🍳 Step 3: Prepare the Berry Filling
In a medium bowl, mix together 2 cups of fresh berries, 2 tbsp of cornstarch, 1 tbsp of lemon juice, and 1 tsp of vanilla extract. I use a variety of berries for flavor and color, such as strawberries, blueberries, and raspberries.
Toss everything gently until the berries are well-coated. This mixture will create a delightful filling that thickens as it bakes. Let it sit for about 10 minutes to allow the flavors to meld before pouring it into your prepared crust.
🔥 Step 4: Bake the Pie
Preheat your oven to 375°F. Pour the berry filling into the pie crust, spreading it evenly. I like to brush the edges of the crust with the whole egg yolk mixed with a splash of water to give it a golden finish.
Bake for about 40-45 minutes, or until the filling is bubbly and the crust is golden brown. Check on it halfway through; if the edges are browning too quickly, you can cover them with foil to prevent burning.
⏰ Step 5: Cool and Serve
Once baked, remove the pie from the oven and let it cool on a wire rack for at least 1 hour. This cooling time allows the filling to set properly. I find that serving it slightly warm or at room temperature pairs beautifully with a scoop of vanilla ice cream.
Your true love pie is now ready to be shared! Each slice should reveal a vibrant filling nestled in a flaky crust, making it a delightful treat for any occasion.
Sweet Twists: Creative Variations for True Love Pie
One delightful way to personalize this heartfelt dessert is by experimenting with different fruits. Instead of using just mixed berries, try adding 1 cup of sliced peaches or 2 cups of cherries for a unique twist. Each fruit brings its own flavor and texture that will surprise your loved ones! 🍑
If you want to add a touch of spice, consider mixing in 1 tsp of cinnamon or 1/2 tsp of nutmeg into your berry filling. This warm, aromatic addition enhances the overall flavor profile and gives your pie a cozy vibe. I often test it out during the cooler months! 🌰
For a gluten-free option, swap the 1.5 cups of all-purpose flour with 1.5 cups of almond flour or a gluten-free blend. Just be sure to check the consistency of your crust and adjust the water as needed to achieve the right texture. It’s a fantastic alternative that still delivers on taste! 💚
Finally, think about adding a topping! A crumbly oat topping made with 1 cup rolled oats, 1/4 cup brown sugar, and 1/4 cup melted butter can create a beautiful crunch. Sprinkle it over the filling before baking for a delightful textural contrast that everyone will love!
Nutrition Facts
280kcal

Trained in classic French technique but raised on slow-cooked ribs and spicy rubs, she blends culinary skill with smoke and soul.
- Recipe for Boneless Pork Chops in Cast Iron Skillet: Sear and Baste to Juicy Perfection - October 3, 2026
- Recipe for Boneless Cross Rib Roast: Slow-Roasted Beef with Herb Crust - October 3, 2026
- Hamburgers in Sauce Recipe Crock Pot: Slow-Cooked Savory Delight - October 3, 2026