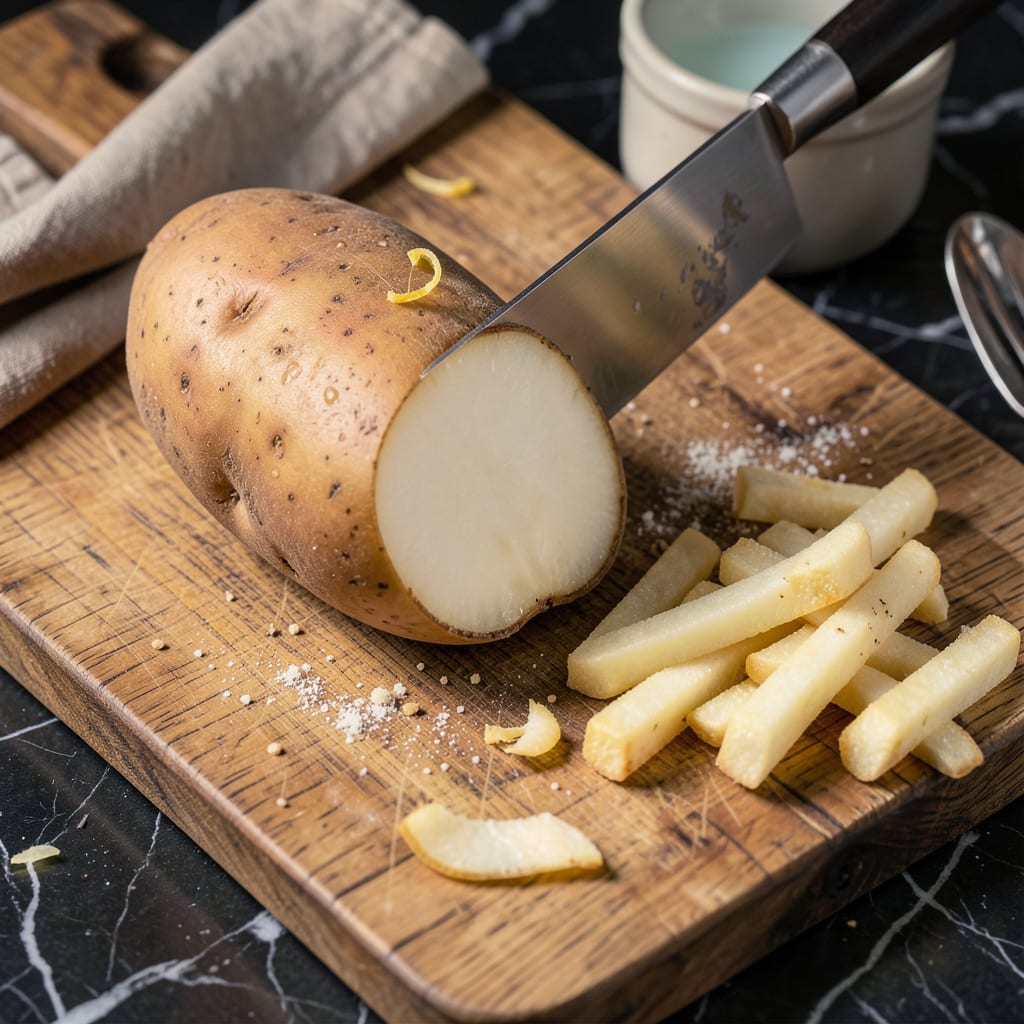
Let me tell you, there’s nothing like biting into a perfectly crispy fry that’s golden outside and fluffy inside. I’ve burned through more potatoes than I care to admit, but I finally cracked the code for making restaurant-quality fries at home. The secret starts with how you cut them—uniform batons mean even cooking every time.
I swear by Russet potatoes for that classic fry texture, but the real game-changer is the double-fry method. First at a lower temp to cook through, then a second blast at high heat for that shatteringly crispy exterior. No soggy fries here, just pure potato perfection. And don’t even get me started on the seasoning possibilities—simple salt or loaded with truffle oil and herbs, your call.
Here’s the thing—most home cooks skip the prep work that makes all the difference. Soaking the cut potatoes removes excess starch, and drying them thoroughly before frying ensures maximum crispiness. I’ve tested every shortcut, and trust me, these steps are worth it. The payoff is fries that stay crispy long after they hit the table.
Whether you’re serving them alongside burgers or just eating straight from the basket (no judgment), these fries will change your snack game. Grab your potatoes and let’s get cutting—the right way. Your taste buds will thank you later.
📚 In This Guide
- What You’ll Need
- Instructions
- Tips and Common Mistakes
What Youll Need
- ● Potatoes: 4–6 medium russet or Yukon Gold potatoes (1.5–2 lbs total) for classic fries. Maris Piper works too if you’re feeling fancy!
- ● Cutting tool: A sharp chef’s knife (8–10″) or a mandoline slicer (for ultra-even cuts).
- ● Cutting board: A stable, non-slip board (wood or plastic) to protect your counters—and fingers!
- ● Bowl of cold water: 1 large bowl filled with ice water (to soak cut fries and remove excess starch).
- ● Paper towels or clean kitchen towel: For patting fries completely dry before cooking.
- ○ Deep fryer, heavy pot, or air fryer: For deep-frying: 3–4 cups neutral oil (vegetable, canola, or peanut) + a candy thermometer (optional but handy!).
- ● For air-frying: 1–2 tbsp oil (for tossing) + your trusty air fryer basket.
- ○ Optional upgrades: French fry cutter (for speedy, uniform sticks).
- ● Salt shaker filled with flaky sea salt or seasoning blends (garlic powder, paprika, etc.).
- ● Kitchen scale (for precise oil temps if deep-frying).
Step-by-Step Instructions for Cutting Perfect Fries
Here’s the method I use to create uniform, crispy fries that cook evenly every single time.
Select and Prepare the Right Potatoes
Start with the right potatoes—I always choose russet potatoes for their high starch content and low moisture, which gives you that perfect crispy exterior. Give them a good scrub under cold running water to remove any dirt, then pat them completely dry with a clean kitchen towel.
Don’t peel the potatoes unless you really want to—the skin adds texture and flavor to your fries. Just make sure to remove any eyes or blemishes with the tip of your peeler. Let the potatoes sit at room temperature for about 15 minutes after washing; this makes them easier to cut and helps prevent sticking.
Cut Uniform Batons for Even Cooking
Place a potato on your cutting board and slice off a thin piece from one side to create a flat, stable base. This prevents the potato from rolling as you cut. I like to work with one potato at a time to maintain control and consistency.
Cut the potato into ½-inch thick slices lengthwise. Then stack a few slices (no more than three at a time) and cut them into ½-inch thick batons. The key here is uniformity—all your fries should be the same size so they cook at the same rate. Take your time with this step; it’s what separates good fries from great ones.
Soak the Cut Fries for Maximum Crispiness
As you finish cutting, transfer the fries to a large bowl of cold water. This soaking step removes excess starch from the surface, which is crucial for achieving that perfect crispy texture. I soak my fries for at least 30 minutes, but you can go up to 2 hours if you have the time.
You’ll notice the water becomes cloudy—that’s the starch washing away. Change the water once or twice during soaking if it gets too murky. When you’re ready to cook, drain the fries thoroughly and pat them completely dry with paper towels. Any remaining moisture will create steam when cooking, which prevents proper crisping.
Double-Fry for the Perfect Texture
Heat your oil to 325°F for the first fry. Working in batches to avoid overcrowding, carefully add the dried fries to the hot oil. Cook them for 4-5 minutes until they’re soft and just beginning to color. This first fry cooks the potatoes through without browning them.
Remove the fries with a slotted spoon or spider and drain them on a wire rack set over a baking sheet. Increase the oil temperature to 375°F and fry the potatoes again for 2-3 minutes until they’re deep golden brown and crispy. This two-stage process ensures fries that are creamy on the inside and perfectly crisp on the outside.
Season and Serve Immediately
As soon as the fries come out of the oil, transfer them to a clean paper towel-lined tray to drain any excess oil. While they’re still hot, season them generously with salt. I like to use fine sea salt because it adheres better and distributes more evenly than coarse salt.
Serve your fries immediately—they’re at their absolute best right out of the fryer when they’re piping hot and at their crispiest. If you need to hold them for a few minutes, keep them warm in a 200°F oven on a wire rack to maintain their texture. The perfect fry should have a satisfying crunch when you bite into it, with a fluffy, tender interior.
Tips and Common Mistakes for Perfect Crispy Fries
Getting those golden, crispy fries just right comes down to a few key details. Here’s what I’ve learned from years of perfecting this technique.
Potato Selection: Russet potatoes are your best friend for this recipe. Their high starch content and low moisture create that perfect crispy exterior we’re after. I always choose potatoes that feel firm and heavy for their size, avoiding any with green spots or sprouts. Let them rest for those 15 minutes after washing – this small step makes cutting much easier and prevents sticking to your knife.
Uniformity is Key: In Step 2, when you’re cutting those ½-inch thick batons, take your time. I know it’s tempting to rush, but consistent size means even cooking. Use a ruler if you need to – I did when I first started! Stack no more than three slices at a time when making your final cuts to maintain control and precision.
The Soaking Secret: Don’t skip the 30-minute soak in Step 3. This removes excess starch that would otherwise make your fries gummy. For extra crispiness, I often soak for the full 2 hours when I have time. Change the water if it gets cloudy – you’ll be amazed at how much starch comes out. And remember, pat them completely dry before frying; any moisture will create steam and prevent that perfect crisp.
Double-Fry Perfection: The two-stage frying process in Step 4 is what gives you that ideal texture. At 325°F for the first fry, you’re cooking them through gently. Then that quick 2-3 minutes at 375°F creates the crispy exterior. Use a thermometer to check your oil temperature – it’s the only way to be precise. And don’t overcrowd the fryer; work in batches for consistent results.
Pro Tips for Cutting Fries
- Getting those golden, crispy fries just right comes down to a few key details. Here’s what I’ve learned from years of…
- Potato Selection: Russet potatoes are your best friend for this recipe. Their high starch content and low moisture cr…
- Uniformity is Key: In Step 2, when you’re cutting those ½-inch thick batons, take your time. I know it’s tempting to …
Frequently Asked Questions
How thick should I cut fries for the best crispiness?
For classic crispy fries, aim for ¼-inch to ½-inch thick batons. Thinner cuts (⅛-inch) make shoestring fries that crisp up fast but can burn easily. Thicker cuts (¾-inch) create steak fries—softer inside but need longer cooking. Use a mandoline or sharp knife for even slices!
Should I soak potatoes before cutting fries? Why?
Yes! Soak peeled, cut potatoes in cold water for 30 minutes to 2 hours. This removes excess starch, preventing gummy textures and helping fries crisp up. Drain and pat dry thoroughly before frying—wet fries = oil splatter!
Can I cut fries ahead of time? How do I store them?
Cut fries can be stored in cold water in the fridge for up to 24 hours (change water if it turns cloudy). For longer storage, blanch for 2 minutes, cool, then freeze in a single layer. Fry from frozen—just add 1-2 extra minutes!
What’s the best alternative to deep-frying for healthier fries?
Try air-frying (400°F, 12-15 mins, shake halfway) or oven-baking (425°F, 25-30 mins, flip once). Toss in 1 tbsp oil + cornstarch for extra crunch. For a guilt-free twist, swap potatoes for jicama, sweet potatoes, or zucchini!
Why do my homemade fries turn out soggy? How do I fix it?
Sogginess usually means overcrowding the fryer, low oil temp (aim for 325–375°F), or skipping the drying step. Fix it by: frying in small batches, double-frying (blanch at 325°F, crisp at 375°F), or baking on a wire rack for airflow.
Mastering the art of cutting fries is your ticket to crispy, golden perfection every time! 🍟 Whether you prefer classic shoestring, hearty steak-cut, or waffle-style, the right technique makes all the difference. With a sharp knife, the right potato, and a little patience, you’ll be serving up restaurant-quality fries that’ll impress anyone at the table.
Ready to take it further? Try experimenting with seasonings—like smoked paprika or garlic powder—or even double-frying for extra crunch. Your next batch could be your best yet! 🎉

Trained in classic French technique but raised on slow-cooked ribs and spicy rubs, she blends culinary skill with smoke and soul.
- Recipe for Boneless Pork Chops in Cast Iron Skillet: Sear and Baste to Juicy Perfection - October 3, 2026
- Recipe for Boneless Cross Rib Roast: Slow-Roasted Beef with Herb Crust - October 3, 2026
- Hamburgers in Sauce Recipe Crock Pot: Slow-Cooked Savory Delight - October 3, 2026