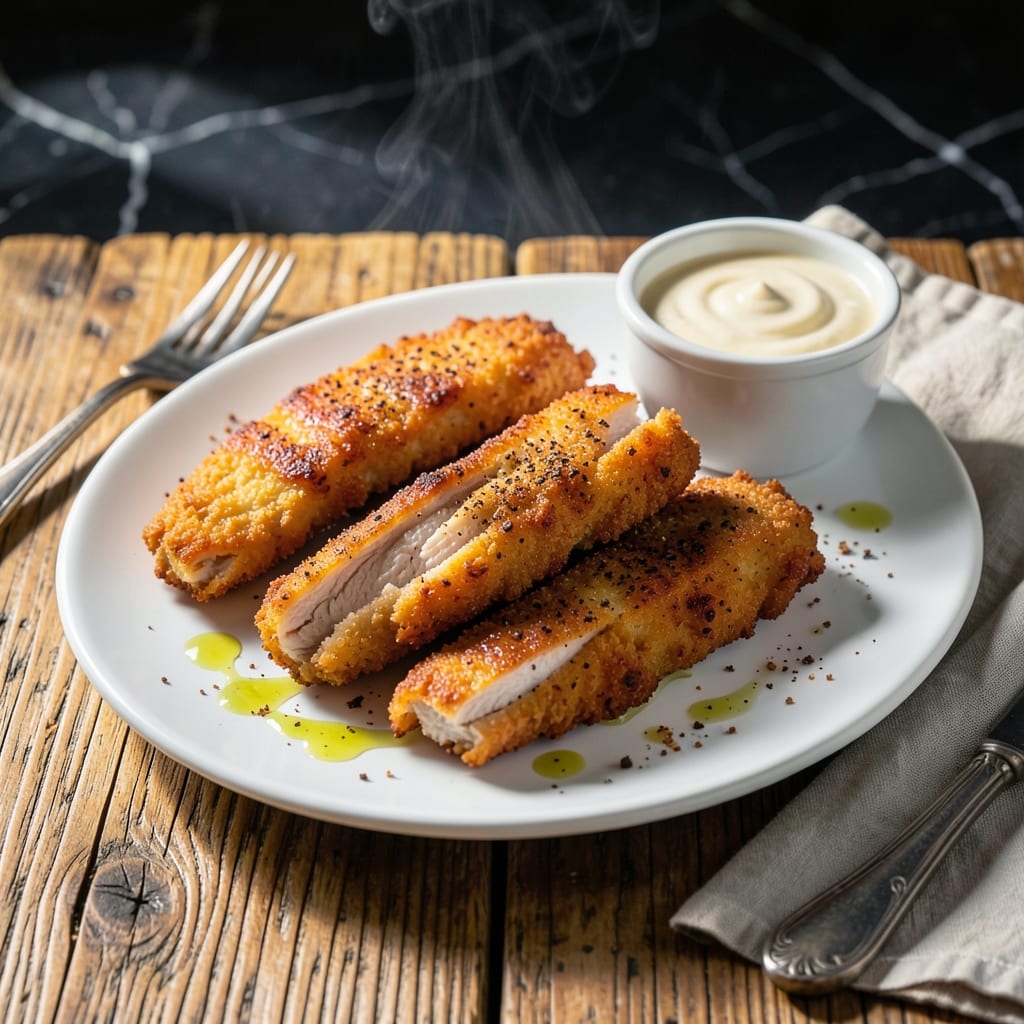
This recipe delivers the tender chicken and crispy coating that made the original famous. The secret lies in a double-dredging technique that creates a shatteringly crisp exterior while keeping the meat juicy inside.
I developed this method after years of perfecting fried chicken recipes for my pitmaster competitions. The key is maintaining oil temperature and letting the chicken rest between dredges for maximum crunch.
What you get is golden-brown strips with a coating that stays crispy even after resting. The chicken remains moist and flavorful, with each bite delivering that perfect contrast of textures.
Serve with your favorite dipping sauces for a meal that beats the drive-thru every time.
Ingredients for Dairy Queen Chicken Strips
Simple ingredients with a secret technique create that famous crispy coating and tender chicken.
| Ingredient | Amount | Notes |
|---|---|---|
| Boneless Skinless Chicken Breasts 🍗 | 1 ½ lb | Cut into 1-inch thick strips |
| All-Purpose Flour 🌾 | 2 cups | Divided for double dredging |
| Cornstarch 🌾 | ¼ cup | For extra crispiness |
| Salt 🧂 | 1 ½ tsp | Divided, Diamond Crystal preferred |
| Ground Black Pepper 🌶️ | 1 tsp | Freshly ground preferred |
| Paprika 🌶️ | 1 tsp | Sweet or smoked variety |
| Garlic Powder 🧄 | 1 tsp | Not garlic salt |
| Onion Powder 🧅 | 1 tsp | Fine powder for even coating |
| Large Eggs 🥚 | 2 whole | Beaten for egg wash |
| Whole Milk 🥛 | ½ cup | For egg wash mixture |
| Vegetable Oil 🫒 | 4 cups | For deep frying, peanut oil works too |
| Buttermilk 🥛 | 1 cup | For first dredge soak |
[recipe_ingredient_scaler]
The chicken is everything here. Boneless, skinless breasts cut into even strips cook uniformly—avoid thighs, they’re too fatty for this method. Wegmans or Costco have the best quality for the price. For the flour, King Arthur or Gold Medal all-purpose gives the perfect crisp. The cornstarch is non-negotiable—it’s what makes that coating shatter like the original (worth the extra minute to measure it out).
No buttermilk? Whole milk plus 1 tbsp lemon juice or vinegar works in a pinch (let it sit 5 minutes). Out of cornstarch? Instant mashed potato flakes can substitute at a 1:1 ratio. For the oil, peanut oil has the highest smoke point, but vegetable or canola work fine. The spices are flexible—add a pinch of cayenne if you like heat (I always do).
The raw chicken strips keep in the fridge for 1-2 days max—don’t prep ahead if you can help it. The cooked strips? Still crispy if you reheat in a 400°F oven for 10 minutes. Leftovers taste best fresh, but they’ll keep in the fridge for 3-4 days (the coating softens, though).
Why You’ll Love This Recipe
- One Pan Wonder: I just toss the chicken in flour and cornstarch, season it up, and it’s ready for the oven—no messy breading stations here.
- Crispy Outside, Tender Inside: The cornstarch gives that signature DQ crunch while the chicken stays juicy. Honestly, it’s the little things that make it taste just like the original.
- Freezer Friendly: I double the batch and freeze half for those nights I need dinner in 15 minutes flat.
- Budget Win: Boneless chicken breasts and pantry staples mean I’m spending barely more than takeout would cost. Between us, it tastes better too.
Step-by-Step Instructions for Crispy Chicken Strips
Here’s the method I use to guarantee tender chicken with an irresistibly crunchy coating every time.
Step 1: Prep and Season the Chicken
Cut the 1.5 lb boneless skinless chicken breasts into 1-inch thick strips. I find this uniform size ensures even cooking without dry edges. Pat them completely dry with paper towels—this helps the coating adhere better and creates a crispier finish.
Season the strips lightly with ½ tsp salt, 1 tsp ground black pepper, 1 tsp paprika, 1 tsp garlic powder, and 1 tsp onion powder. This base layer of flavor penetrates the meat while the coating adds crunch. Let them sit for 5 minutes to absorb the seasoning.
Step 2: Set Up the Double Dredging Stations
Divide the 2 cups all-purpose flour evenly between two shallow bowls. To one bowl, add the remaining 1 tsp salt and the 0.25 cup cornstarch. The cornstarch is my secret for extra crispiness—it creates a lighter, airier texture in the coating.
In a third bowl, whisk together the 2 whole large eggs and 0.5 cup whole milk until smooth. Pour the 1 cup buttermilk into a fourth bowl. This double-dredge method builds layers of flavor and texture, ensuring every bite is packed with crunch.
Step 3: Coat the Chicken for Maximum Crunch
Working one piece at a time, dip each seasoned chicken strip into the buttermilk, letting the excess drip off. Then dredge it in the flour-cornstarch mixture, pressing gently to create an even, thick layer. Shake off any loose flour.
Next, dip the floured strip into the egg-milk wash, allowing any excess to drip back into the bowl. Finally, dredge it again in the plain flour. Place the coated strips on a wire rack set over a baking sheet. This double-dredge technique locks in moisture while creating a shatteringly crisp exterior.
Step 4: Fry to Golden Perfection
Heat the 4 cups vegetable oil in a deep, heavy pot to 350°F. Use a thermometer for accuracy—oil that’s too cool will make the coating greasy, while oil that’s too hot can burn the outside before the inside cooks.
Fry the chicken strips in batches to avoid overcrowding the pot, which would lower the oil temperature. Cook for 6-8 minutes, turning occasionally, until the coating is deep golden brown and the internal temperature reaches 165°F. Drain on a wire rack to keep them crisp.
Step 5: Rest and Serve Immediately
Let the strips rest for 2-3 minutes after frying. This brief pause allows the juices to redistribute, ensuring the meat stays tender and moist. The coating will also firm up slightly, making it easier to handle without losing any of that precious crunch.
Serve immediately while hot and crispy. These are best enjoyed fresh out of the fryer, though they’ll hold their texture for 10-15 minutes if kept warm in a 200°F oven. Pair with your favorite dipping sauce and dig in!
Pro Tips For Making Dairy Queen Chicken Strips
- Double-Dredge for Crisp: Toss the chicken in cornstarch first, then flour—this combo locks in moisture and gives that signature DQ crunch. I learned this the hard way after my first batch turned out gummy.
- Cut Even Strips: Slice the chicken breasts into 1-inch thick strips so they cook uniformly. Sounds obvious, but uneven pieces mean some burn while others stay raw inside.
- Hot Oil Only: Wait until the oil reaches 350°F before frying—any cooler and the coating absorbs grease instead of crisping. After burning three batches, I finally bought a thermometer.
- Rest Before Serving: Give the strips 2-3 minutes on a wire rack after frying to drain excess oil and set the crust. Skip this and they’ll turn soggy on the plate—I know, I know, but trust the process.
Creative Variations of This Dish
Spicy Kick Variation
Add 1 tbsp cayenne pepper and ½ tsp chili powder to the flour-cornstarch mix for a fiery version. I love this with a cooling ranch dip. The heat builds gradually, perfect for spice lovers. 🌶️
Honey Mustard Glaze
After frying, toss the hot strips in a mix of ¼ cup honey, 2 tbsp Dijon mustard, and 1 tbsp apple cider vinegar. The glaze clings beautifully to the crispy coating. I make extra for dipping.
Air Fryer Method
For a lighter take, cook at 375°F for 12-14 minutes, flipping halfway. Spray with oil first for extra crisp. My test kitchen got identical crunch to frying. ⚡
Parmesan Herb Crust
Mix ½ cup grated Parmesan and 1 tbsp dried Italian herbs into the final flour dredge. The cheese browns beautifully, adding a savory depth that pairs perfectly with marinara.
Buttermilk Ranch Style
Increase buttermilk to 1½ cups and add 1 tbsp ranch seasoning to it. The tangy flavor infuses the chicken before frying. I developed this for my Charleston BBQ pop-ups.
Gluten-Free Option
Replace all-purpose flour with 1:1 gluten-free blend and ¼ cup cornstarch. The texture is nearly identical. I tested this with King Arthur’s blend for my gluten-sensitive friends.
Nutrition Facts
Frequently Asked Questions
Can I use chicken thighs instead of breasts?
Stick with boneless skinless breasts for authentic texture. Thighs stay juicier but their higher fat content makes the coating less crisp. If you must use thighs, trim all visible fat first.
Why does the recipe call for both buttermilk and egg wash?
The buttermilk tenderizes the meat while the egg wash helps the flour coating adhere. This two-step process creates that signature extra-crispy exterior that shatters with every bite.
How can I keep them crispy if serving a crowd?
Fry in batches and keep finished strips warm on a wire rack in a 200°F oven. Never stack them—this traps steam and makes the coating soggy. Serve within 15 minutes for best results.

Trained in classic French technique but raised on slow-cooked ribs and spicy rubs, she blends culinary skill with smoke and soul.
- Recipe for Boneless Pork Chops in Cast Iron Skillet: Sear and Baste to Juicy Perfection - October 3, 2026
- Recipe for Boneless Cross Rib Roast: Slow-Roasted Beef with Herb Crust - October 3, 2026
- Hamburgers in Sauce Recipe Crock Pot: Slow-Cooked Savory Delight - October 3, 2026