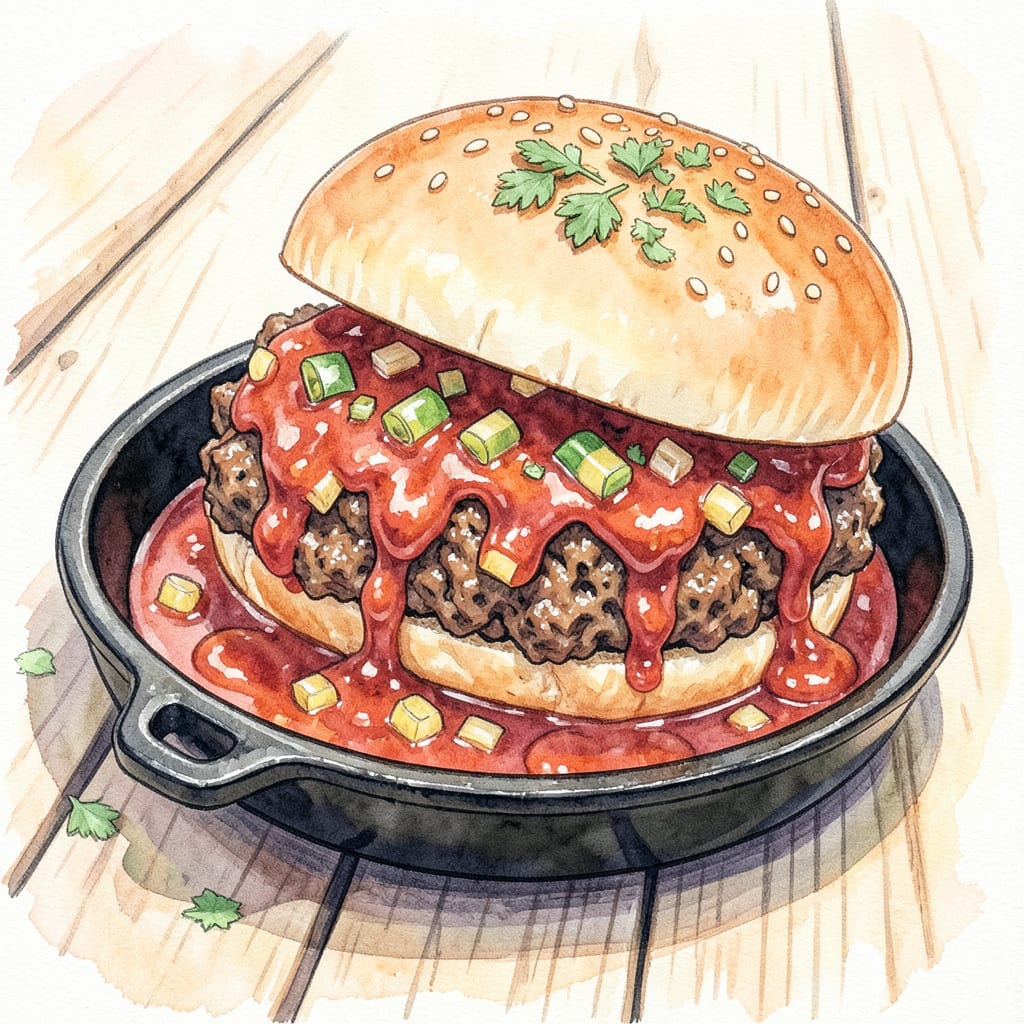
There’s something undeniably nostalgic about a Dairy Queen sloppy joe—the perfect balance of tangy, slightly sweet sauce clinging to seasoned ground beef. This recipe captures that classic drive-in flavor with a homemade twist, delivering the same comforting taste you remember from childhood visits. The secret lies in the sauce’s precise blend of spices and a touch of unexpected sweetness.
What sets this version apart is its ability to recreate that signature fast-food texture and flavor profile at home. The sauce simmers just long enough to develop depth while keeping the beef tender and juicy. Serve it on soft buns with classic toppings like crisp pickles or diced onions for the full experience. This isn’t just another sloppy joe—it’s a taste of Americana, ready in under 30 minutes.
Ingredients for Dairy Queen Sloppy Joe
This nostalgic lineup delivers that signature drive-in flavor with ground beef, tangy tomato base, and the perfect sweet-spicy balance.
| Ingredient | Amount | Notes |
|---|---|---|
| Ground Beef 🥩 | 1 ½ lb | 80/20 lean-to-fat ratio preferred |
| Yellow Onion 🧅 | 1 whole | Finely diced for even texture |
| Green Bell Pepper 🌶️ | 1 whole | Diced small for balanced distribution |
| Garlic Cloves 🧄 | 3 cloves | Minced for maximum flavor infusion |
| Tomato Sauce 🍅 | 1 can | 15-ounce can, no salt added |
| Tomato Paste 🍅 | 2 tbsp | For concentrated tomato richness |
| Apple Cider Vinegar 🍎 | 1 tbsp | Adds signature tangy brightness |
| Worcestershire Sauce 🫕 | 1 tbsp | Use vegetarian if preferred |
| Brown Sugar 🍚 | 2 tbsp | Light or dark, packed |
| Yellow Mustard 🟡 | 1 tbsp | Classic American-style preferred |
| Chili Powder 🌶️ | 1 tsp | Mild variety for balanced heat |
| Smoked Paprika 🌶️ | ½ tsp | Adds depth without overpowering |
| Kosher Salt 🧂 | 1 tsp | Diamond Crystal preferred for precision |
| Ground Black Pepper 🌶️ | ½ tsp | Freshly ground for optimal flavor |
| Hamburger Buns 🍞 | 4 whole | Soft, slightly sweet variety |
[recipe_ingredient_scaler]
The beef quality directly impacts texture and flavor. 80/20 ground chuck provides ideal fat content for juiciness without greasiness. Most supermarkets carry pre-ground chuck, but butcher counters at Whole Foods or Kroger offer fresher options. The tomato products form the sauce foundation—San Marzano canned tomatoes elevate flavor, though standard brands work well. For the Worcestershire, Annie’s vegetarian version maintains the umami depth without anchovies if preferred.
No brown sugar? Coconut sugar or maple syrup (reduce by 25%) can substitute, though the caramel notes will differ slightly. The apple cider vinegar is non-negotiable for that signature tang, but white vinegar in a pinch (use 25% less). For gluten-free adaptation, tamari replaces Worcestershire and gluten-free buns complete the swap. The smoked paprika adds subtle complexity—regular paprika plus a pinch of cayenne approximates the effect if unavailable.
The assembled sloppy joe mixture keeps 4-5 days refrigerated in airtight containers, with flavors deepening overnight. For longer storage, freeze the sauce (without buns) for 3 months—thaw and reheat gently. Toast buns just before serving to maintain that drive-in texture. Pre-measure dry spices in small containers for faster weeknight assembly.
Why You’ll Love This Recipe
- I’ll be real: the flavors deepen overnight. Pile it on toast for breakfast, stuff it in baked potatoes, or freeze half for those “I-can’t-even” weeknights. Zero waste, all reward.
- One-Pot Magic: I love that this comes together in a single skillet—no extra bowls, no fancy tools. Just brown the beef, toss in the onions, peppers, and garlic, then let the tomato sauce work its magic while you set the table.
- That DQ Nostalgia: Honestly, the first bite takes me right back to childhood. The sweet-tangy sauce from the tomato base, the soft crunch of the bell peppers, and how the garlic mellows into the beef? It’s comfort food that actually delivers.
- Feeds a Hungry Table: Between us, this is my secret for game nights, potlucks, or when the cousins show up unannounced. Double the batch, and it stretches to 10 servings—no stress, no last-minute grocery runs.
Step-by-Step Instructions for Dairy Queen Sloppy Joes
This method delivers that nostalgic drive-in flavor with perfect texture and balance every time.
Step 1: Brown the Ground Beef and Aromatics
Heat a large skillet over medium-high heat. Add the 1.5 lb Ground Beef and cook for 5-6 minutes, breaking it apart with a wooden spoon until no pink remains. The beef should develop a rich brown color, not gray—this builds the foundation of flavor.
Push the beef to one side of the pan and add the finely diced Yellow Onion and diced Green Bell Pepper. Cook for 4-5 minutes until the vegetables soften and the onion becomes translucent. Stir occasionally to prevent burning.
Add the minced Garlic Cloves and cook for 30 seconds until fragrant. Be careful not to let the garlic burn—it should turn golden, not brown. This aromatic base creates the signature depth of flavor.
Step 2: Build the Sauce Base
Stir in the 1 can Tomato Sauce, 2 tbsp Tomato Paste, 1 tbsp Apple Cider Vinegar, and 1 tbsp Worcestershire Sauce. The mixture will darken and thicken slightly as the tomato paste dissolves. Reduce the heat to medium-low and let it simmer for 2 minutes.
Add the 2 tbsp Brown Sugar, 1 tbsp Yellow Mustard, 1 tsp Chili Powder, 0.5 tsp Smoked Paprika, 1 tsp Kosher Salt, and 0.5 tsp Ground Black Pepper. Stir well to combine. The brown sugar will dissolve, balancing the acidity from the vinegar and tomato.
The sauce should reach a thick, glossy consistency that coats the back of a spoon. If it seems too thin, simmer for an additional 2-3 minutes to reduce slightly. Taste and adjust seasoning if needed—remember the flavors will concentrate as it cooks.
Step 3: Simmer to Perfect Consistency
Reduce the heat to low and let the mixture simmer uncovered for 10-12 minutes, stirring occasionally. This slow cooking allows the flavors to meld and the sauce to thicken to that classic sloppy joe texture—thick enough to stay on the bun but loose enough to be messy.
Watch for the sauce to darken slightly and develop a rich, savory aroma. The ground beef should be fully coated in the sauce, with no excess liquid pooling in the pan. If the mixture becomes too thick, add 1-2 tablespoons of water to loosen it.
During this time, lightly toast the 4 whole Hamburger Buns if desired. A quick 30-second toast in a dry skillet or under the broiler adds structure to hold up against the saucy filling without making them too crispy.
Step 4: Assemble and Serve
Spoon the sloppy joe mixture generously onto the bottom halves of the Hamburger Buns, using about ½ cup of filling per sandwich. The filling should mound slightly but not overflow—this ensures you get that perfect meat-to-bun ratio in every bite.
Top with the remaining bun halves and press down gently. Serve immediately while hot. The ideal sloppy joe should be messy but manageable, with sauce that clings to the meat rather than soaking through the bun.
For the full Dairy Queen experience, serve with a side of crispy fries or onion rings and a cold beverage. The combination of sweet, tangy, and savory flavors with the soft bun creates that nostalgic drive-in taste.
Storing and Reheating This dairy queen sloppy joe
Refrigerator Storage
Once cooled to room temperature (about 2 hours max), transfer your sloppy joe mixture to airtight containers. I prefer glass Pyrex with snap-tight lids—they don’t absorb odors like plastic. The filling stays fresh for 4-5 days at 40°F or below, and honestly, the flavors deepen overnight as the spices meld. 💡
Freezer Storage
For longer storage, portion the cooled mixture into freezer-safe bags (I use quart-size) and flatten them for efficient stacking. Squeeze out excess air to prevent freezer burn. The sauce freezes beautifully for 3 months—just thaw overnight in the fridge before reheating. Pro tip: Label bags with the date using masking tape.
Stovetop Reheating
My preferred method for maintaining that drive-in texture. Heat the mixture in a saucepan over medium-low heat with 2 tbsp water per cup of filling. Stir occasionally until it reaches 165°F (about 5-7 minutes). The water prevents sticking while keeping the sauce glossy. Toast fresh buns separately for that perfect contrast.
Microwave Reheating
For quick lunches, microwave individual portions in 30-second bursts at 70% power, stirring between intervals. Cover with a damp paper towel to retain moisture. It typically takes 1.5-2 minutes total for a single serving. Avoid overcooking—you want it hot but not dried out. I always add a splash of water if needed.
Bun Storage Trick
Keep buns fresh by storing them in a paper bag inside your bread box—or wrap them in foil if you don’t have one. They’ll stay soft for 3-4 days. For longer storage, freeze buns in their original packaging for up to 1 month. Toast directly from frozen when ready to use—no thawing needed.
Make-Ahead Prep
You can prepare the entire filling 1 day ahead—just cool completely before refrigerating. The flavors actually improve with time. When ready to serve, reheat gently and assemble on freshly toasted buns. I often double the recipe and freeze half for those nights when nostalgia hits but time doesn’t. ✨
Nutrition Facts

Trained in classic French technique but raised on slow-cooked ribs and spicy rubs, she blends culinary skill with smoke and soul.
- Recipe for Boneless Pork Chops in Cast Iron Skillet: Sear and Baste to Juicy Perfection - October 3, 2026
- Recipe for Boneless Cross Rib Roast: Slow-Roasted Beef with Herb Crust - October 3, 2026
- Hamburgers in Sauce Recipe Crock Pot: Slow-Cooked Savory Delight - October 3, 2026