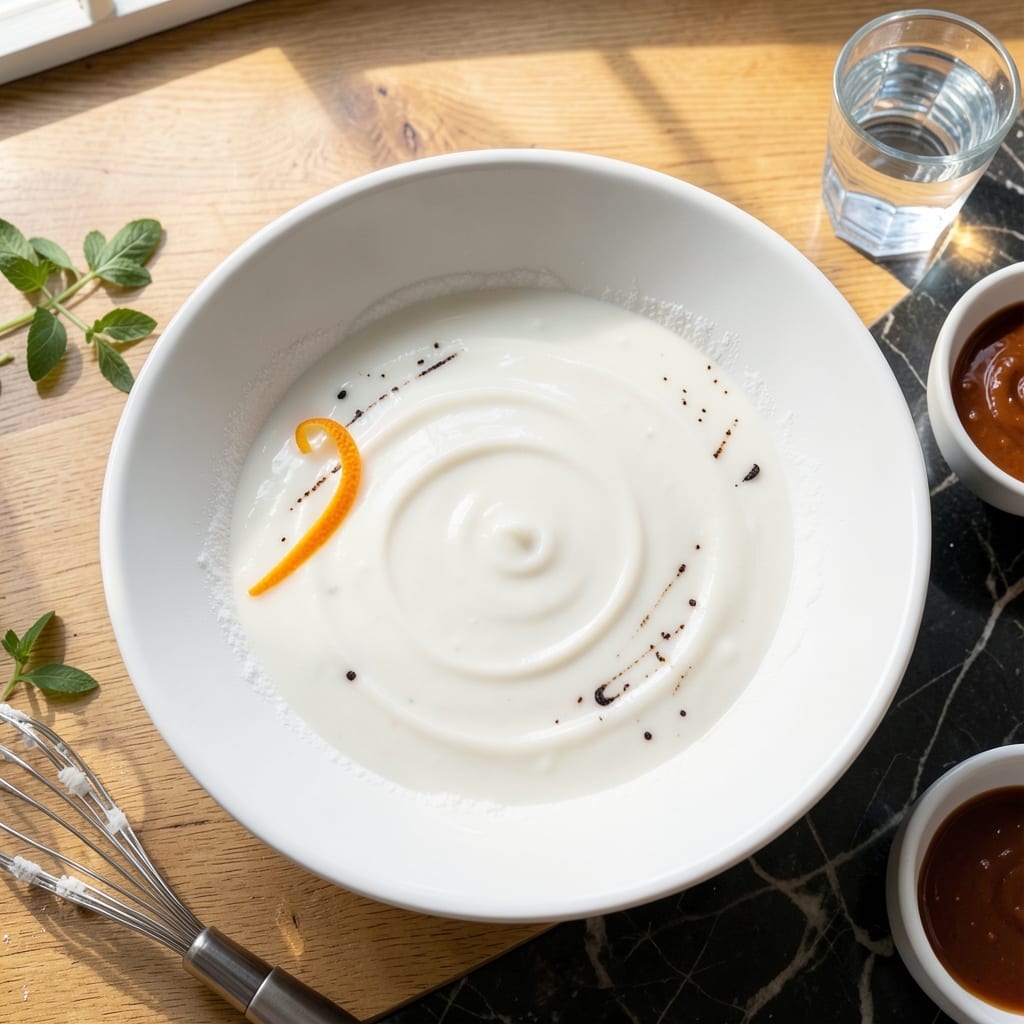
This professional-grade icing delivers the firm hold needed for intricate piping designs. The secret lies in the precise balance of powdered sugar and liquid ingredients, creating a smooth yet stable texture that maintains its shape.
With simple adjustments, you can achieve the perfect consistency for any decorating project. This recipe ensures clean lines and sharp details, whether you’re working on cakes, cookies, or other baked creations.
Ingredients for Decorating Icing Recipe for Piping
Professional-grade ingredients create stable icing for precise piping and intricate designs.
| Ingredient | Amount | Notes |
|---|---|---|
| Powdered Sugar 🍚 | 4 cups | Sifted for smooth texture |
| Water 💧 | ¼ cup | Room temperature preferred |
| Meringue Powder 🥚 | 2 tbsp | For stability and firm hold |
| Vanilla Extract 🌿 | 1 tsp | Pure extract for best flavor |
| Almond Extract 🌰 | ¼ tsp | Optional for flavor depth |
| Cream of Tartar 🧂 | ¼ tsp | Stabilizes icing consistency |
| Salt 🧂 | 0.125 tsp | Fine grain for even distribution |
| Lemon Juice 🍋 | 1 tsp | Freshly squeezed for brightness |
[recipe_ingredient_scaler]
The powdered sugar is non-negotiable here. Domino or C&H brands dissolve smoothly and don’t leave gritty residue. Meringue powder from Wilton or CK Products provides the firm hold this recipe demands—don’t substitute with egg whites, as they won’t give the same stability. Room temperature liquids incorporate more evenly, so pull your water out of the fridge 30 minutes before mixing.
No meringue powder? Royal icing won’t work—it’s too runny for this application. Need a flavor variation? Swap vanilla for coconut or orange extract. The cream of tartar is key for maintaining shape during piping; omit it only if absolutely necessary. For a whiter icing, use clear vanilla extract instead of the brown variety.
Icing dries out quickly, so keep it covered with a damp towel between uses. Stores at room temperature in an airtight container for 2 weeks. For longer storage, freeze for up to 3 months—thaw at room temperature before rewhipping.
Why You’ll Love This Recipe
- 5-Minute Mix: Honestly, it’s just powdered sugar, water, meringue powder, and a splash of vanilla—whisk and pipe.
- Sweet Aroma: That almond extract hits different, giving the icing a warm, bakery-quality scent.
- Endless Designs: I’ve piped roses, borders, even tiny lettering—holds its shape every time.
- Stays Fresh: Leftovers keep in the fridge for up to a week, so I can decorate in stages.
Step-by-Step Instructions for Decorating Icing
Achieve professional piping results with this precise method for stable, smooth icing.
Step 1: Combine Dry Ingredients for Foundation
In a large mixing bowl, whisk together the 4 cups Powdered Sugar and 2 tbsp Meringue Powder until fully incorporated. The meringue powder provides the protein structure essential for piping stability.
Add the 0.25 tsp Cream of Tartar and 0.125 tsp Salt to the dry mixture. The cream of tartar enhances the meringue’s stability, while the salt balances sweetness and rounds out flavors. Whisk thoroughly to eliminate any lumps in the powdered sugar.
Step 2: Incorporate Liquid Components Gradually
Create a well in the center of your dry ingredients. Add the 0.25 cup Water in three increments, mixing with a silicone spatula between each addition. The water should be at room temperature to prevent shocking the meringue powder.
After the water is incorporated, add the 1 tsp Vanilla Extract, 0.25 tsp Almond Extract, and 1 tsp Lemon Juice. Mix until the icing begins to come together. The vanilla and almond extracts provide depth, while the lemon juice adds brightness and helps cut through the sweetness.
Step 3: Achieve Proper Consistency for Piping
Beat the mixture with an electric mixer on medium speed for 7-10 minutes. You’re looking for stiff, glossy peaks that hold their shape when the beater is lifted. This extended beating incorporates air and develops the meringue structure.
If the icing appears too thick, add water by the teaspoon; if too thin, add powdered sugar by the tablespoon. The ideal consistency should hold a peak that slowly droops at the tip but maintains its form. Stop mixing as soon as you reach this stage to prevent over-beating.
Step 4: Test and Adjust for Optimal Performance
Transfer a small amount of icing to a piping bag fitted with your desired tip. Pipe a test design on parchment paper. The icing should hold intricate details without spreading or collapsing.
If the test shows the icing is spreading, return it to the bowl and beat for an additional 2-3 minutes. If it’s too stiff to pipe smoothly, fold in a few drops of water until it reaches the proper consistency. The icing should pipe with minimal pressure and maintain sharp edges.
Step 5: Prepare for Decorating
Once satisfied with the consistency, transfer the icing to a piping bag. Twist the top of the bag to create pressure and eliminate air pockets. Gently squeeze the bag to bring the icing to the tip.
Cover any unused icing with a damp towel to prevent crusting. This icing will hold its shape for several hours at room temperature, making it perfect for intricate decorating work. For best results, use within 24 hours of preparation.
Pro Tips For Making Decorating Icing Recipe For Piping
- Sift the Sugar: Always sift your powdered sugar first—I learned this the hard way after ending up with lumpy icing that clogged my piping tips. It takes 30 seconds and guarantees smooth results.
- Beat to Stiff Peaks: Stop mixing once the icing holds stiff peaks, about 4-5 minutes on medium-high. Overbeating makes it too runny, and you’ll be stuck waiting for it to thicken again.
- Use Room-Temp Water: Cold water can cause the meringue powder to clump. I use water straight from the tap but let it sit for 10 minutes first—simple, but it actually changes the outcome.
- Add Extracts Last: Fold in the vanilla and almond extracts after the icing is already thick. Adding them too early can thin the mixture, and you’ll fight to get the right consistency for piping.
Troubleshooting This Recipe
🍳 Too Dry or Tough?
If your icing feels dry or cracks when piped, it likely dried out from overmixing or exposure to air. This can make piping difficult and ruin intricate designs.
Quick Fix: Add a teaspoon of water or milk at a time, mixing gently until smooth. Cover with a damp cloth to prevent drying.
🥘 Too Runny or Won’t Hold Shape?
Runny icing often means too much liquid was added or the powdered sugar wasn’t measured correctly. It won’t hold fine details, making piping frustrating.
Quick Fix: Gradually mix in more powdered sugar until it reaches a stiff, pipeable consistency. Chill for 10 minutes if needed.
⏰ Icing Separating or Curdling?
Separation happens if fat (like butter) is too warm or the mixture was overbeaten. This leaves a greasy or lumpy texture, making it unusable for decorating.
Quick Fix: Refrigerate the icing for 15–20 minutes, then rewhip on low speed until smooth. Avoid overmixing.
🎯 Air Bubbles in Piping?
Air bubbles form when mixing too fast or not tapping the piping bag before use. They create gaps in your design, ruining clean lines.
Quick Fix: Gently tap the filled piping bag on the counter to release bubbles. Squeeze a small test amount first.
Nutrition Facts

Trained in classic French technique but raised on slow-cooked ribs and spicy rubs, she blends culinary skill with smoke and soul.
- Recipe for Boneless Pork Chops in Cast Iron Skillet: Sear and Baste to Juicy Perfection - October 3, 2026
- Recipe for Boneless Cross Rib Roast: Slow-Roasted Beef with Herb Crust - October 3, 2026
- Hamburgers in Sauce Recipe Crock Pot: Slow-Cooked Savory Delight - October 3, 2026