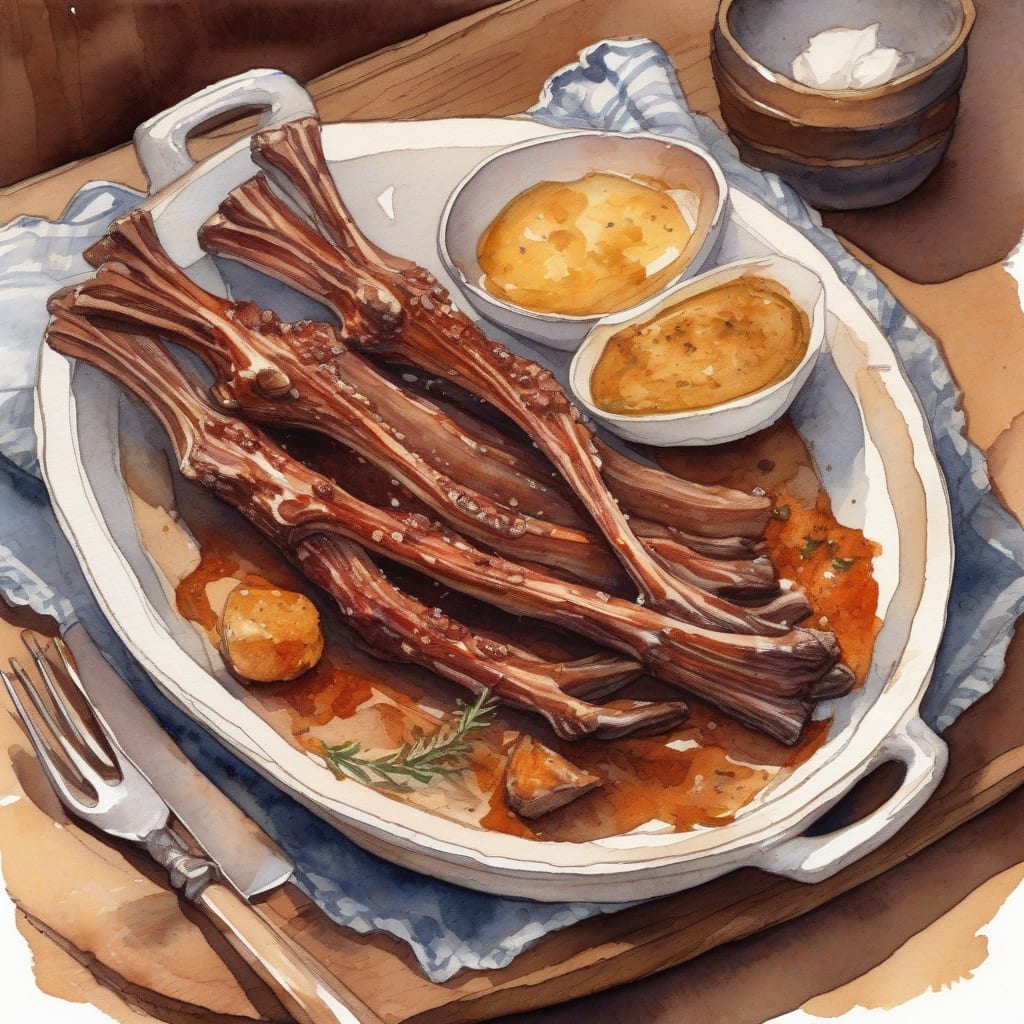
There’s nothing quite like the satisfaction of serving perfectly cooked ribs that practically fall off the bone. This method for preparing deer ribs in the oven promises tender, flavorful results every time. Trust me, your family and friends will be impressed with this hearty dish!
This recipe is straightforward, requiring simple ingredients and minimal fuss. By slow-cooking the ribs at a low temperature, you’ll achieve that melt-in-your-mouth texture without needing advanced skills. It’s designed to fit into a busy schedule while delivering restaurant-quality results at home.
In just three hours, you’ll have beautifully tender deer ribs that are bursting with flavor. The aroma alone will have everyone gathering around the table, eager for a taste. Ready to impress your loved ones? Let’s get started on this delicious journey!
Ingredients for Deer ribs recipe oven
Gather these fresh ingredients to create tender, flavorful deer ribs that everyone will love.
| Ingredient | Amount | Notes |
|---|---|---|
| Deer Ribs 🥩 | 2 ½ lbs | Cut into manageable sections |
| Olive Oil 🫒 | 2 tbsp | For coating the ribs |
| Garlic Cloves 🧄 | 4 cloves | Minced for flavor |
| Onion Powder 🧅 | 2 tsp | Adds depth to the dish |
| Paprika 🌶️ | 1 tbsp | Smoked variety preferred |
| Black Pepper 🌶️ | 1 tsp | Freshly ground for best flavor |
| Salt 🧂 | 1 ½ tsp | Kosher or sea salt recommended |
| Brown Sugar 🍬 | 1 tbsp | Balances flavors nicely |
| Apple Cider Vinegar 🍏 | ¼ cup | For tenderizing and flavoring |
| Beef Broth 🍲 | 1 cup | Enhances moisture and taste |
[recipe_ingredient_scaler]
You can find these ingredients at most grocery stores. Look for quality deer ribs at local butcher shops or specialty meat markets. For the best flavor, choose fresh garlic and high-quality olive oil. Brands like California Olive Ranch provide excellent options. Ensure your spices are fresh for maximum flavor impact—check expiration dates when shopping.
If you don't have deer ribs, substitute with pork ribs or beef short ribs for similar results. Fresh garlic can be replaced with garlic powder at a ratio of 1:3. If you prefer less sweetness, reduce the brown sugar or use honey sparingly. For a gluten-free option, ensure your broth is certified gluten-free and check all spice labels for potential additives.
Store leftover ribs in an airtight container in the refrigerator for up to 3 days. Reheat gently in the oven to maintain tenderness. You can also freeze the cooked ribs for up to 3 months—wrap them tightly in plastic wrap followed by foil to prevent freezer burn.
Step-by-Step Instructions for Cooking Deer Ribs
Let me guide you through the process to achieve fall-off-the-bone tender ribs that are packed with flavor.
👨🍳 Step 1: Prepare the Ribs
Start by preheating your oven to 300°F. While that heats up, take the 2.5 lbs of deer ribs and cut them into manageable sections if they aren’t already. This makes handling easier and ensures even cooking. I like to pat them dry with paper towels to help the seasoning adhere better.
Next, drizzle 2 tablespoons of olive oil over the ribs and rub it in thoroughly. This not only enhances flavor but also aids in browning. After that, sprinkle 1.5 teaspoons of salt, 1 teaspoon of black pepper, 2 teaspoons of onion powder, and 1 tablespoon of paprika evenly over the ribs. Don’t be shy—coating them well ensures a deep flavor profile!
🍳 Step 2: Sear for Extra Flavor
In a large skillet over medium-high heat, add a little more olive oil if needed and sear the seasoned ribs for about 3-4 minutes per side until they’re beautifully browned. This step is key to developing a rich, caramelized crust that adds depth to your dish. You’ll know they’re ready to flip when they release easily from the pan.
After searing, transfer the ribs to a roasting pan. The bottom of the pan will catch all those lovely juices, enhancing your sauce later. If there are any bits stuck in the pan, don’t clean it yet—they hold incredible flavor for your cooking liquid!
🥘 Step 3: Create the Braising Liquid
In the same skillet used for searing, reduce the heat to medium and add 4 minced garlic cloves, cooking for about 30 seconds until fragrant. Then pour in 0.25 cup of apple cider vinegar and use a wooden spoon to scrape up any browned bits. This deglazing step is crucial; it incorporates all that flavor into your sauce.
Add 1 cup of beef broth and 1 tablespoon of brown sugar to balance the acidity. Stir until combined. Once mixed, pour this delicious liquid over the ribs in the roasting pan, ensuring they’re partially submerged. This moisture will help them cook gently and become tender.
⏰ Step 4: Roast Until Tender
Cover the roasting pan tightly with foil and place it in your preheated oven. Roast for about 2.5 to 3 hours, checking occasionally. You want the ribs to be fork-tender, which means they should easily pull apart with a fork when done. The long cooking time allows the connective tissues to break down, resulting in that fall-off-the-bone tenderness.
If you want a bit of a crust at the end, remove the foil during the last 30 minutes of cooking. Just keep an eye on them to prevent burning! Once done, let them rest for about 10 minutes before serving—this helps retain their juices.
🍽️ Step 5: Serve and Enjoy!
After resting, serve your succulent deer ribs with your favorite sides. They should be incredibly tender and bursting with flavor! I love pairing them with roasted vegetables or creamy mashed potatoes to soak up all those delicious juices.
This dish not only showcases great technique but also rewards you with a comforting meal that’s sure to impress your family and friends!
Flavor Boosters for Your Tender Deer Ribs
Enhancing the flavor of your deer ribs can elevate this dish to new heights. I love adding a layer of depth by using a mix of spices. For instance, incorporating 1 tablespoon of smoked paprika not only adds warmth but also a subtle smokiness that complements the rich meat beautifully. 🌶️
Don’t underestimate the power of marination! Before cooking, I often let the ribs marinate in a mixture of 1/4 cup apple cider vinegar and 2 tablespoons of olive oil. This not only tenderizes the meat but infuses it with flavor. I usually allow them to sit for at least an hour, but overnight yields even better results! 🕒
For an extra kick, consider sprinkling some crushed red pepper flakes or black pepper just before serving. I find that adding about 1/2 teaspoon enhances the overall flavor without overwhelming the dish. This little touch gives it that extra zing! 🔥
Finally, don’t forget to serve your ribs with a flavorful sauce on the side. A homemade barbecue sauce or even a tangy chimichurri can complement the richness of the ribs perfectly, allowing everyone to customize their plate to their liking. Enjoy the burst of flavors! 🍽️
Nutrition Facts
480kcal

Trained in classic French technique but raised on slow-cooked ribs and spicy rubs, she blends culinary skill with smoke and soul.
- Meat Loaf Recipe With Beef And Pork: Homestyle Blend With Rich Gravy - October 3, 2026
- Hamburger Patty Recipe No Egg: Juicy Bind With Breadcrumbs and Milk - October 3, 2026
- Recipe for Oven Baked Halibut: Buttery White Fish with Zesty Lemon Topping - October 3, 2026