Tired of digging through piles of paper to find that one perfect cookie recipe? A DIY recipe box can turn kitchen chaos into organized bliss. Building your own recipe box lets you customize the size, style, and decoration to fit your kitchen and personality perfectly.
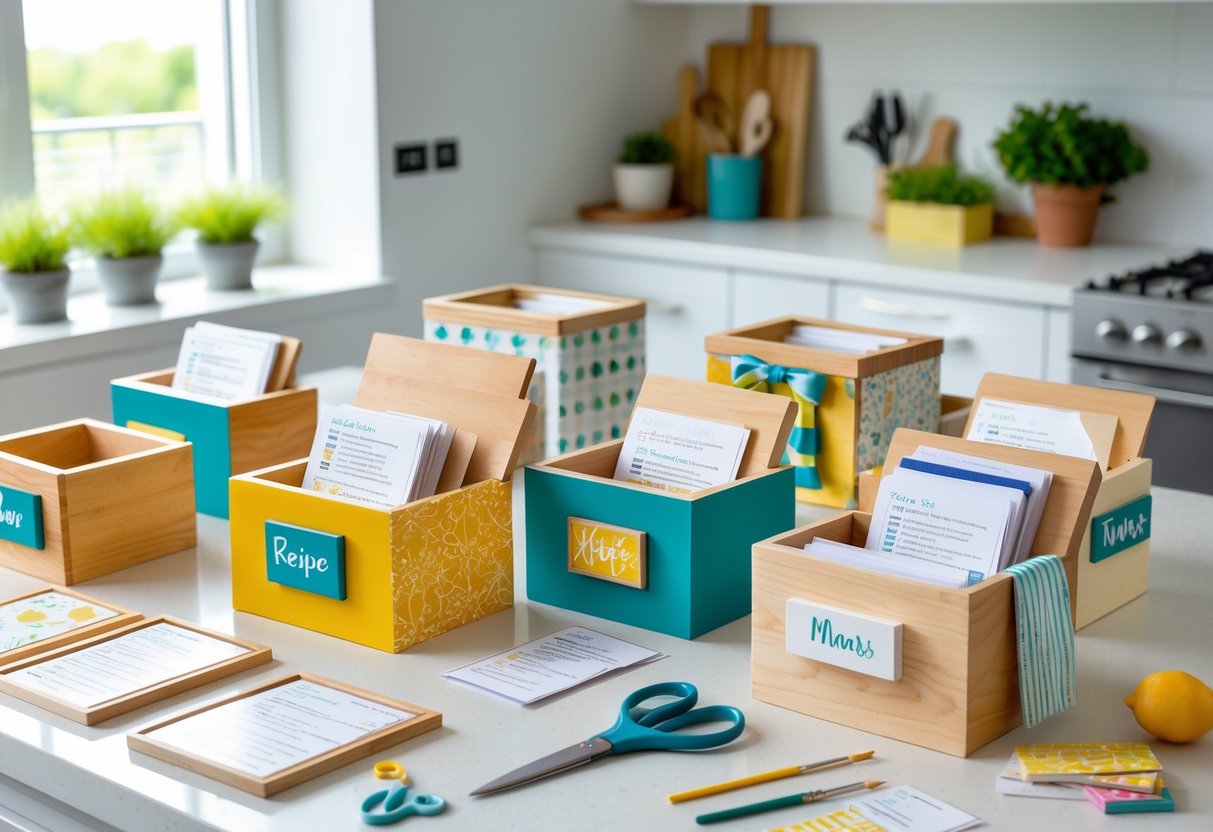
Whether someone loves rustic wood, vibrant colors, or quirky patterns, creating a personalized box adds a little extra flavor to storing recipes. Plus, it’s a fun way to keep family favorites safe and share handpicked dishes with friends.
A bit of sanding here, a splash of paint there, maybe a cool monogram—these little touches make all the difference. Ready to roll up those sleeves? Let’s dive into some creative ideas that anyone can make and treasure. 🍴🍓
Ingredients List & Step-By-Step Instructions For Diy Recipe Box Ideas
Building a DIY recipe box is all about gathering the right materials, shaping them properly, and putting everything together neatly. A few basic tools and supplies combined with some patience can turn simple wood or cardstock into a functional and charming home for recipe cards.
Step 1
Start by collecting materials. For a sturdy wooden box, grab six wooden pieces: four walls, one base, and one lid. Use durable wood like bubinga or maple, cutting each piece roughly to fit 7½” by 5⅝” outside dimensions. The walls should be about 9/16″ thick to avoid warping.
If cardstock is preferred, pick thick, heavyweight paper. You’ll need enough to fold and glue into a box large enough to hold 4″ x 6″ recipe cards comfortably.
Other essentials include:
| Item | Quantity | Notes |
|---|---|---|
| 4″ x 6″ Index Cards or Recipe Cards | 50-100 | Size standard for fitting in box |
| Wood Glue or Strong Adhesive | As needed | For joining box sides |
| Sandpaper (220 & 320 grit) | 1 sheet each | To smooth edges |
| Varnish or Paint | 1 can or bottle | Optional finish for wood |
| Clamps or Tape | Several | Hold pieces while drying |
Step 2
Now it’s time to assemble the box. For wood, align each wall piece squarely with 45-degree mitered corners. Apply wood glue generously on edges, then clamp tightly. Use painter’s tape inside the corners to catch overflow glue and keep the interior neat.
Once dry, sand the box starting with 220 grit, following up with 320 grit for a smooth finish. This step feels like the box’s spa treatment.
If painting or staining, apply two thin coats, allowing at least 24 hours between coats to dry completely. This seals the wood and boosts durability. Adding a label holder on the front is a neat touch – attach with small screws or adhesive, then create custom labels to sort your recipe cards quickly.
Step 3
Finally, organize your recipes using 4″ x 6″ index or recipe cards. Write the recipe name and ingredients on one side, and cooking steps on the other – clear and easy to follow.
Make dividers from cardstock with labeled tabs such as Soups, Desserts, or Mains. Insert the cards behind the tabs for quick access.
Slip recipe cards into protective sleeves or laminate them to guard against kitchen spills. A handy pen attached inside the lid makes jotting down new ideas easy, keeping your DIY recipe box both practical and personal. 🍴📋

Trained in classic French technique but raised on slow-cooked ribs and spicy rubs, she blends culinary skill with smoke and soul.
- Recipe for Boneless Pork Chops in Cast Iron Skillet: Sear and Baste to Juicy Perfection - October 3, 2026
- Recipe for Boneless Cross Rib Roast: Slow-Roasted Beef with Herb Crust - October 3, 2026
- Hamburgers in Sauce Recipe Crock Pot: Slow-Cooked Savory Delight - October 3, 2026