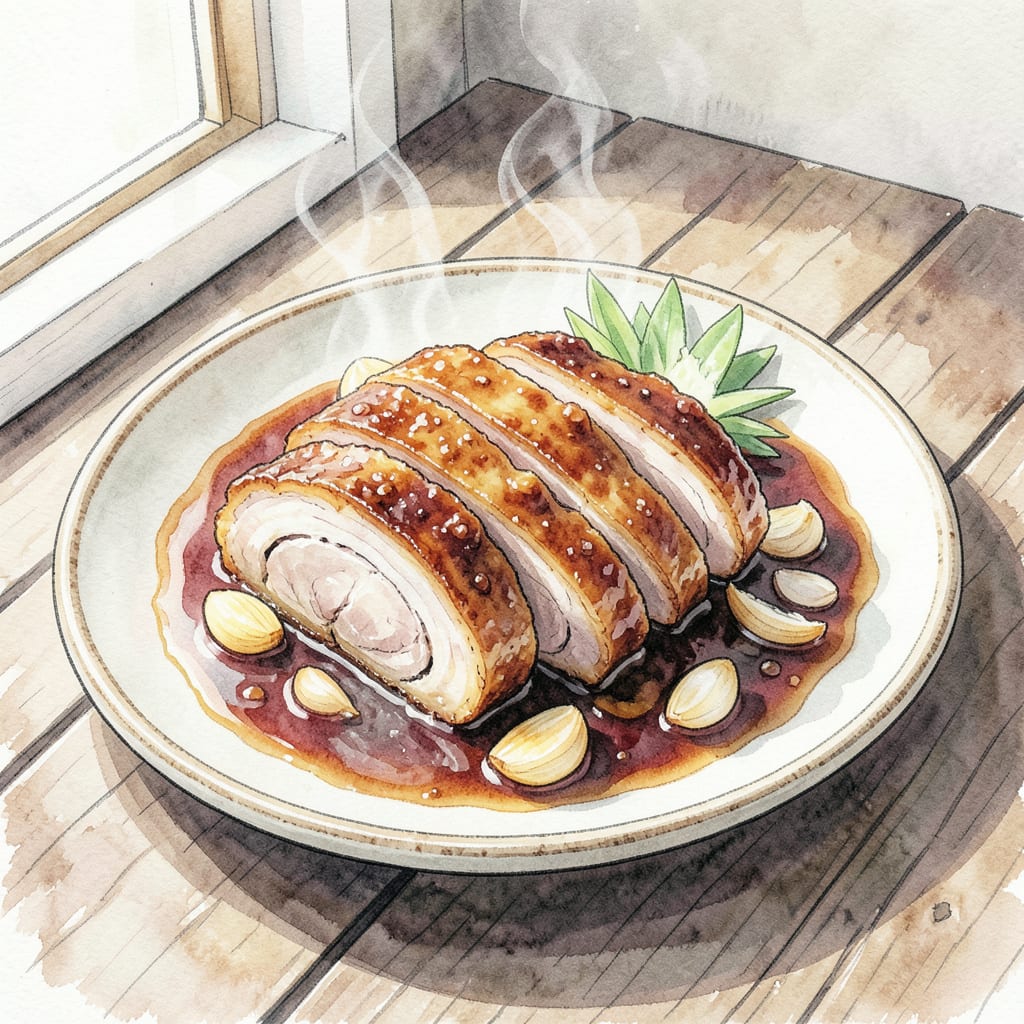
As a pitmaster with a passion for blending traditional techniques, I’m excited to share my take on the classic Dong Po Rou recipe. 🔥 This braised pork belly dish is a masterclass in tender, fall-apart texture and rich, caramelized flavor.
By carefully balancing the cooking time and temperature, we’ll achieve perfectly tender pork belly with a silky, unctuous texture. Let’s dive into the world of Dongpo-style braising and create a dish that’s sure to impress.
Ingredients for Dong Po Rou
Gather these premium ingredients for an authentic Dong Po Rou experience that’s truly special.
| Ingredient | Amount | Notes |
|---|---|---|
| Pork Belly 🥩 | 2 lb | Skin removed, cut into 2-inch pieces |
| Soy Sauce 🧂 | ½ cup | Use low-sodium variety |
| Shaoxing Wine 🍺 | ½ cup | Or dry sherry as substitute |
| Rock Sugar 🍮 | ¼ cup | Or brown sugar |
| Ginger 🌿 | 3 slices | Fresh, peeled, sliced |
| Garlic Cloves 🧄 | 4 cloves | Peeled, smashed |
| Star Anise 🌿 | 2 whole | Or 1 tsp ground |
| Cinnamon Stick 🌿 | 1 stick | About 3 inches long |
| Scallions 🌿 | 2 whole | For garnish, green parts only |
| Sesame Oil 🫒 | 2 tbsp | For finishing |
| Green Onions 🌿 | ¼ cup | Chopped, for garnish |
[recipe_ingredient_scaler]
Pork belly is the star here. Look for skinless belly at Asian markets or high-end butcher shops. The Shaoxing wine makes a difference—dry sherry is a decent substitute if you can’t find it. Fresh ginger and garlic are non-negotiable for that aromatic base. For the star anise, whole is better than ground if you’ve got it.
No Shaoxing wine? Beef broth with a splash of rice vinegar gets you close. Want more depth? Add a few dried shiitake mushrooms along with the aromatics. The rock sugar gives it that signature caramelized crust—brown sugar works too. For the cinnamon, Cassia cinnamon sticks are traditional, but regular cinnamon works fine.
This dish reheats like a dream—keeps 4-5 days in the fridge, 3 months frozen. Portion it into containers so you’ve got perfect lunches or quick dinners. The flavors actually meld together better after a day, so make it ahead if you can. Just reheat gently.
Step-by-Step Instructions for Dong Po Rou
Here’s the method for achieving that perfect braised pork belly you‘ve been craving.
🔥 Step 1: Sear the Pork Belly
Heat a large Dutch oven or heavy pot over medium-high heat. Add enough oil to coat the bottom – I use just enough to prevent sticking. When the oil shimmers, add the 2 lb Pork Belly pieces in batches, being careful not to overcrowd. Sear until all sides are golden brown, about 5-7 minutes per batch. Remove the browned pork to a plate and set aside. You’ll notice the fat starting to render – that’s exactly what you want.
This initial sear creates a rich fond on the bottom of the pan that will enhance the overall flavor. Don’t rush this step – the browner the pork, the better your final dish will be.
👨🍳 Step 2: Prepare the Braising Liquid
In the same pot (no need to clean it – those browned bits are flavor gold), add the 3 slices Ginger and 4 cloves Garlic Cloves. Cook over medium heat for 1-2 minutes until fragrant. Then add the 0.5 cup Soy Sauce, 0.5 cup Shaoxing Wine, and 0.25 cup Rock Sugar. Stir to combine, scraping up any browned bits from the bottom. The mixture will start to bubble and emit a wonderful aroma.
Bring the braising liquid to a simmer, then return the browned pork belly to the pot. Add the 2 whole Star Anise and 1 stick Cinnamon Stick. Make sure the pork is mostly submerged – if not, add a bit more liquid or water.
🔥 Step 3: Braise to Tender Perfection
Cover the pot with a lid and transfer it to a preheated oven at 300°F. Braise for 2-2.5 hours until the pork is tender and easily shreds with a fork. I like to check at the 2-hour mark – if it’s not quite tender, I give it another 30 minutes. The long, slow cooking process breaks down the collagen, resulting in melt-in-your-mouth texture.
During the last 30 minutes of cooking, remove the lid to allow the sauce to reduce slightly and intensify. This will give you that perfect balance of tender meat and rich, syrupy sauce.
🥘 Step 4: Finish and Serve
Remove the pot from the oven and let it cool slightly. Discard the 2 whole Scallions (if using for flavor), ginger slices, and cinnamon stick. Skim off any excess fat that has risen to the surface – you can chill the dish briefly to make this easier. Stir in the 2 tbsp Sesame Oil to add that characteristic nutty flavor.
To serve, slice the pork into 1-inch pieces. Garnish with 0.25 cup Green Onions and serve with steamed rice or noodles. The pork should be so tender it falls apart at the touch of a fork, coated in that rich, savory-sweet sauce.
Common Mistakes When Making This Recipe
Common Temperature Mistakes
One of the biggest mistakes home cooks make with Dong Po Rou is improper temperature control. The ideal braising temperature is between 275-300°F. Too high, and the pork cooks too quickly, becoming tough. Too low, and it never achieves that perfect tender texture. I always use an oven thermometer to ensure accuracy 🔥.
Overcooking the Pork Belly
Pork belly can easily become mushy if overcooked. The key is to braise it until it’s tender but still retains some texture. Check the pork at 2 hours – it should be easily pierced with a fork but not falling apart. If it’s not tender, give it another 30 minutes and check again.
Skipping the Searing Step
The initial sear is crucial for developing that rich, caramelized flavor. Don’t skip this step or rush it – take your time to get a good golden-brown crust on all sides. This creates the foundation for that deep, complex flavor profile. I like to sear in batches to prevent overcrowding the pan.
Not Deglazing Properly
After searing, deglazing the pan is essential for capturing all those flavorful browned bits. Use a combination of Shaoxing wine and soy sauce to deglaze, scraping up all the fond from the bottom of the pan. This adds incredible depth to the final dish.
Ignoring Fat Skimming
Dong Po Rou can be quite rich, so skimming excess fat is important. After cooling slightly, chill the dish briefly to make fat removal easier. This step helps balance the richness with the savory sauce. I find that removing excess fat makes the dish much more enjoyable.
Serving Without Resting
Letting the pork rest before serving makes a big difference. After braising, let it sit for 10-15 minutes before slicing. This allows the juices to redistribute, making the pork even more tender and flavorful. I like to serve it with steamed rice to soak up that delicious sauce.

Trained in classic French technique but raised on slow-cooked ribs and spicy rubs, she blends culinary skill with smoke and soul.
- Recipe for Boneless Pork Chops in Cast Iron Skillet: Sear and Baste to Juicy Perfection - October 3, 2026
- Recipe for Boneless Cross Rib Roast: Slow-Roasted Beef with Herb Crust - October 3, 2026
- Hamburgers in Sauce Recipe Crock Pot: Slow-Cooked Savory Delight - October 3, 2026