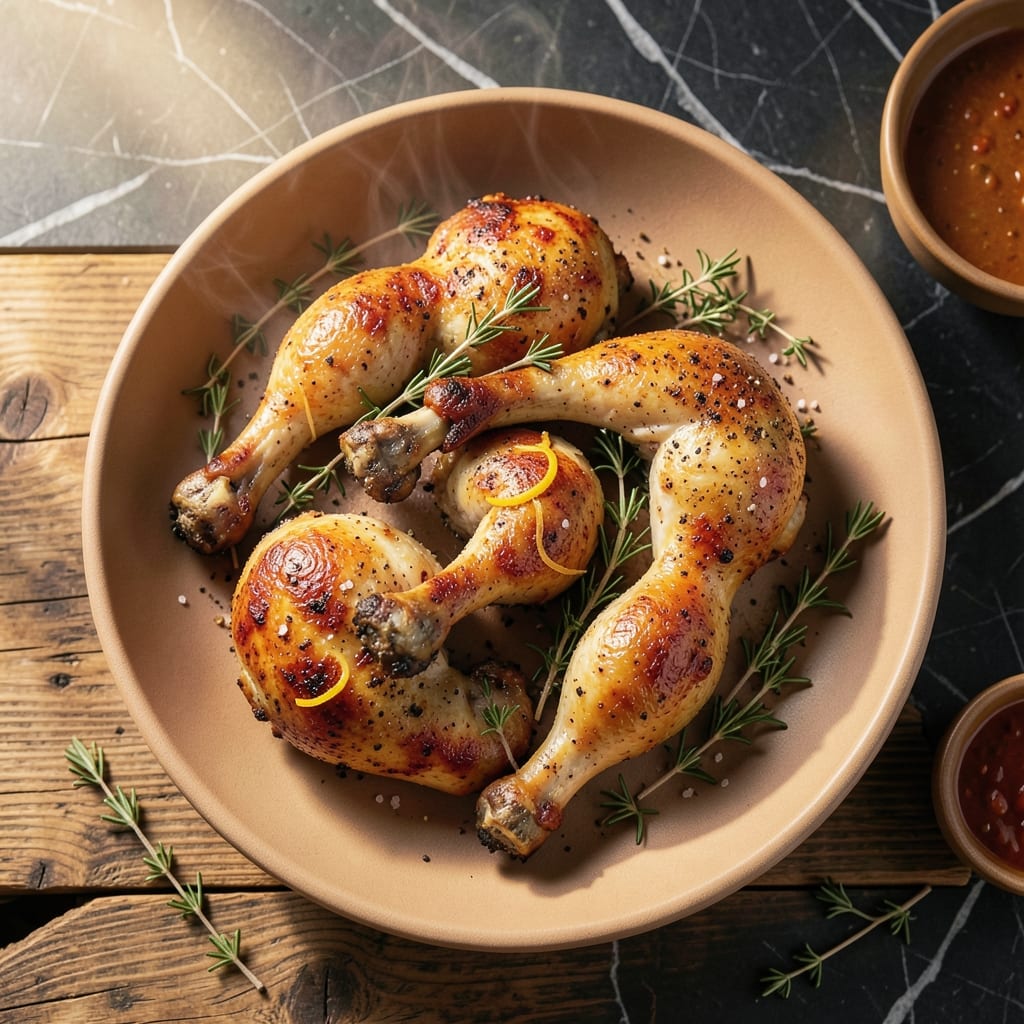
This oven-baked drumstick method guarantees crispy skin every time. I perfected it after countless tests, focusing on even browning and herb-infused moisture retention.
The key is a 400°F oven and a quick sear in the pan beforehand. This locks in juices while creating that coveted golden exterior. Simple ingredients yield professional results.
Each bite delivers tender meat with a satisfying crunch. The herb blend penetrates deeply, making every drumstick flavorful to the bone. No special equipment needed.
Serve hot for best texture. This technique works reliably for weeknight dinners or weekend gatherings.
Ingredients for Drumstick Recipe Oven
Simple ingredients transform into extraordinary drumsticks with this proven oven method and herb blend.
| Ingredient | Amount | Notes |
|---|---|---|
| Chicken Drumsticks 🍗 | 2 ½ lb | Skin-on, bone-in preferred |
| Olive Oil 🫒 | 2 tbsp | Extra-virgin for best results |
| Kosher Salt 🧂 | 1 ½ tsp | Diamond Crystal preferred |
| Black Pepper 🌶️ | 1 tsp | Freshly ground for optimal flavor |
| Garlic Powder 🧄 | 1 tsp | Not garlic salt |
| Onion Powder 🧅 | 1 tsp | Fine grind preferred |
| Dried Thyme 🍃 | 1 tsp | Rubbed between fingers to release oils |
| Dried Rosemary 🌿 | 1 tsp | Crushed for better distribution |
| Paprika 🌶️ | 1 tsp | Sweet or smoked variety |
| Cayenne Pepper 🔥 | ¼ tsp | Adjust for heat preference |
| Fresh Parsley 🌿 | ¼ cup | Chopped, for garnish |
| Lemon Wedges 🍋 | 4 pieces | For serving and brightness |
[recipe_ingredient_scaler]
The chicken drumsticks are the foundation—look for plump, evenly sized pieces (about 2.5 lbs total) at your butcher counter or Whole Foods for the best quality. Skin-on, bone-in ensures maximum crispiness and flavor retention. The Diamond Crystal kosher salt is critical here; its coarse texture adheres better to the skin during the initial sear, creating that perfect crust.
For herb substitutions, fresh rosemary and thyme can replace dried at a 1:3 ratio (1 tbsp fresh = 1 tsp dried). No cayenne? Red pepper flakes at half the amount work well. The olive oil should be extra-virgin for its higher smoke point and richer flavor. If avoiding garlic powder, fresh minced garlic (4 cloves) can be used, but distribute it carefully to prevent burning.
Store raw drumsticks in the coldest part of your fridge for up to 2 days before cooking. Leftover cooked drumsticks keep well for 4-5 days refrigerated or can be frozen for 3 months. Reheat in the oven at 375°F to maintain that coveted crispy skin texture.
Why You’ll Love This Recipe
- One Pan Wonder: I toss the drumsticks with olive oil, salt, pepper, and garlic powder, then let the oven do the rest—no babysitting required.
- Crispy Perfection: The high oven heat turns the skin ridiculously crispy while keeping the inside juicy, and that garlic powder? Pure flavor magic.
- Weeknight Hero: Between us, this is my go-to when I need dinner on the table fast with zero fuss.
- Budget Friendly: Drumsticks are always affordable, and this recipe stretches them into a meal that feels way fancier than it is.
Step-by-Step Instructions for Oven-Roasted Chicken Drumsticks
Achieve perfectly crispy skin and juicy meat with this reliable oven-baking method.
Step 1: Season the Chicken Drumsticks
Pat the chicken drumsticks dry with paper towels to ensure maximum crispiness. In a bowl, combine the kosher salt, black pepper, garlic powder, onion powder, dried thyme, dried rosemary, paprika, and cayenne pepper. This blend creates a robust, aromatic crust.
Rub the chicken drumsticks with the olive oil, then coat them evenly with the spice mixture. Press the seasoning into the skin so it adheres well. Let the drumsticks sit at room temperature for 15 minutes to allow the flavors to penetrate.
Step 2: Preheat and Prepare the Oven
Preheat your oven to 425°F to ensure a hot environment for crisping the skin. Line a baking sheet with parchment paper or use a wire rack set over a rimmed baking sheet. This setup promotes air circulation, which is critical for even browning.
Arrange the chicken drumsticks on the prepared baking sheet in a single layer, ensuring they don’t touch. Crowding the pan will cause the drumsticks to steam instead of roast, resulting in soggy skin. Leave space between each piece for optimal heat distribution.
Step 3: Roast to Crispy Perfection
Place the baking sheet in the preheated oven and roast the chicken drumsticks for 35-40 minutes. Flip them halfway through the cooking time to ensure even browning on all sides.
You’ll know they’re done when the internal temperature reaches 175°F and the skin is deep golden brown and crispy. The juices should run clear when pierced with a knife, and the meat should pull away from the bone slightly.
Step 4: Rest and Garnish
Remove the chicken drumsticks from the oven and transfer them to a serving platter. Tent them loosely with foil and let them rest for 5-10 minutes. This resting period allows the juices to redistribute for maximum tenderness.
Sprinkle the chopped fresh parsley over the drumsticks and serve with the lemon wedges on the side. The fresh parsley adds a pop of color and brightness, while the lemon wedges provide a zesty contrast to the rich, savory flavors.
Pro Tips For Making Drumstick Recipe Oven
- Preheat the Pan: I learned this the hard way—always preheat your baking sheet or pan in the oven for 10 minutes at 425°F before adding the drumsticks. It guarantees that crispy skin without having to flip halfway.
- Pat Them Dry: After burning three batches, I finally figured out that drying the drumsticks thoroughly with paper towels before seasoning makes all the difference in getting them browned, not steamed.
- Skip the Overcrowding: Resist the urge to cram all the drumsticks onto one tray; give them at least an inch of space so they crisp up instead of steaming in their own juices.
- Rest Before Serving: Sounds weird, but it works: let the drumsticks rest 5-10 minutes after coming out of the oven. The juices redistribute, and they stay moist when you cut into them.
Common Mistakes When Making Perfect Results
Skipping the Dry
Never skip patting the drumsticks dry with paper towels first. I learned this the hard way—excess moisture on the skin creates steam in the oven, leaving you with rubbery instead of crispy results. This 30-second step makes all the difference. 💡
Overcrowding the Pan
Even if you’re tempted to fit everything on one sheet, don’t. Crowding causes the drumsticks to steam rather than roast. I use two pans if needed, spacing pieces at least 1 inch apart for proper air circulation.
Under-seasoning
Be generous with your seasoning blend. I find that 1.5 tsp kosher salt for 2.5 lbs of drumsticks is the sweet spot. Don’t just sprinkle—press the spices into the skin so they adhere during cooking.
Inconsistent Oven Temp
Your oven might lie about its temperature. I always use an oven thermometer to verify 425°F. An underheated oven leads to pale, soggy skin. If your oven runs hot, reduce the temp slightly and extend cooking time.
Neglecting to Flip
Flip the drumsticks halfway through the 35-40 minute cooking time. This ensures even browning and crispiness on all sides. I set a timer for 20 minutes so I don’t forget this crucial step.
Skipping the Rest
Let the drumsticks rest for 5-10 minutes after removing them from the oven. This allows the juices to redistribute throughout the meat. Cutting too soon sends all those flavorful juices right onto your cutting board. 🔥
Nutrition Facts
Frequently Asked Questions
What temperature should I use?
Use 425°F for best results. This high heat ensures crispy skin while cooking the meat through evenly. Adjust slightly if your oven runs hot or cold.
Can I use boneless pieces?
Yes, but bone-in works better for this method. Boneless may cook faster (25-30 minutes) and can dry out more easily. Always check internal temperature reaches 175°F.
How do I know when they’re done?
The skin should be deep golden brown and crispy. Internal temperature must reach 175°F. Juices should run clear when pierced.
Do I need to marinate first?
Not necessary! The dry rub in this recipe provides plenty of flavor. For extra tenderness, you can marinate for 2-4 hours in olive oil and herbs.

Trained in classic French technique but raised on slow-cooked ribs and spicy rubs, she blends culinary skill with smoke and soul.
- Recipe for Boneless Pork Chops in Cast Iron Skillet: Sear and Baste to Juicy Perfection - October 3, 2026
- Recipe for Boneless Cross Rib Roast: Slow-Roasted Beef with Herb Crust - October 3, 2026
- Hamburgers in Sauce Recipe Crock Pot: Slow-Cooked Savory Delight - October 3, 2026