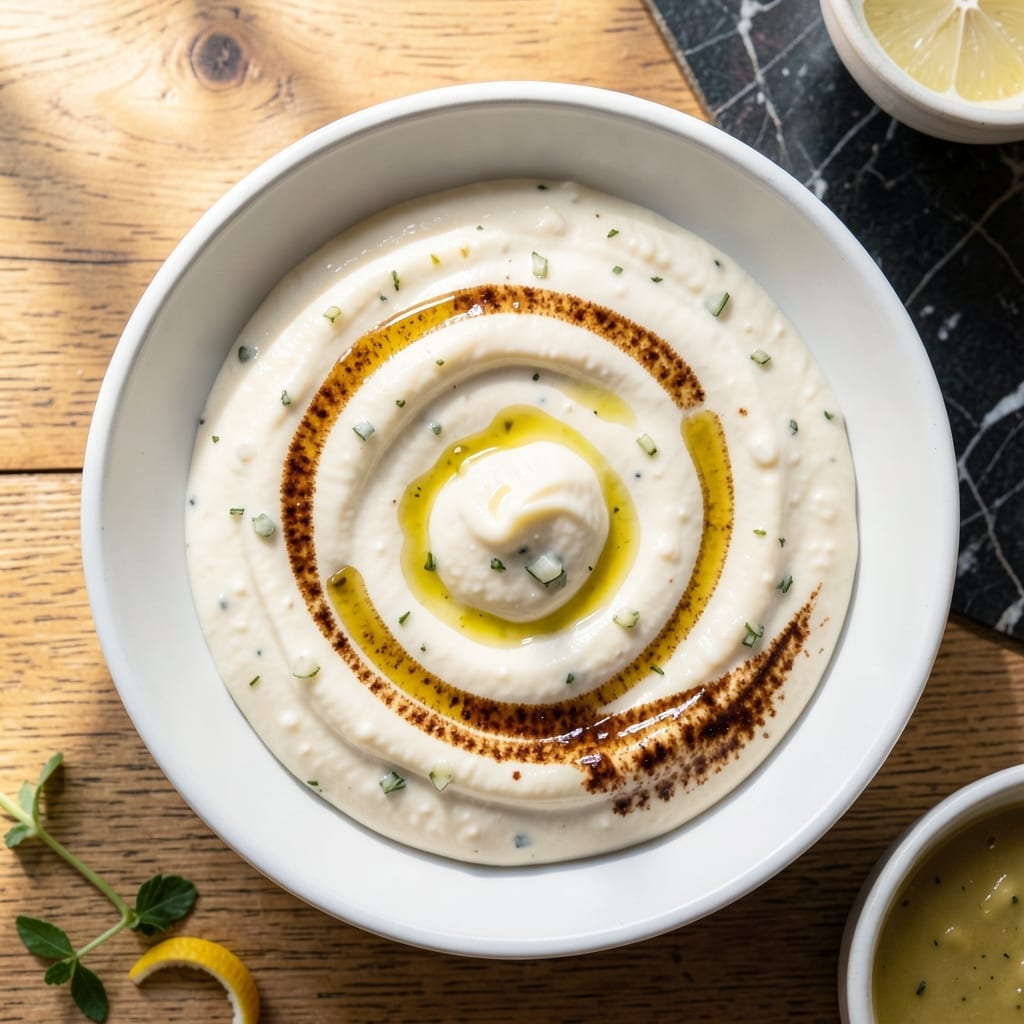
This foolproof sauce transforms plain mayonnaise into rich, garlicky aioli with minimal effort.
With just a few pantry staples and 5 minutes, you’ll have a creamy, versatile condiment ready to elevate sandwiches, seafood, or vegetables.
Ingredients for Easy Aioli Recipe Using Mayonnaise
Just a handful of pantry staples turns plain mayo into something extraordinary.
| Ingredient | Amount | Notes |
|---|---|---|
| Mayonnaise 🥫 | 1 cup | Full-fat for best texture |
| Garlic Cloves 🧄 | 3 cloves | Fresh, minced finely |
| Lemon Juice 🍋 | 1 tbsp | Freshly squeezed preferred |
| Dijon Mustard 🟡 | 1 tsp | Smooth variety recommended |
| Extra-Virgin Olive Oil 🫒 | 2 tbsp | High-quality for richness |
| Salt 🧂 | ¼ tsp | Fine sea salt or kosher |
| Black Pepper 🌶️ | 0.125 tsp | Freshly ground for best flavor |
| White Wine Vinegar 💧 | ½ tsp | Balances richness optionally |
[recipe_ingredient_scaler]
The mayo is your foundation here. Duke’s or Hellmann’s give that classic rich base—avoid the sweet or light versions. Fresh garlic is non-negotiable (the jarred stuff just doesn’t hit right). Most grocery stores carry both, but Whole Foods has great organic options if you’re splurging. The olive oil should be something you’d drizzle on bread—California Olive Ranch is a solid everyday pick.
No Dijon? Yellow mustard at double the amount works in a pinch. Want more zing? Add a pinch of cayenne or a dash of hot sauce. The lemon juice can be bottled (I won’t tell), but fresh tastes brighter. If you’re out of white wine vinegar, apple cider vinegar works too—just cut the amount slightly as it’s more potent.
This keeps for about 1 week in the fridge in an airtight jar. The flavors meld and deepen over time. If it separates, just whisk it back together. That’s it. Simple enough.
Why You’ll Love This Recipe
- 5-Minute Magic: I just mix mayo, crushed garlic, and a squeeze of lemon—no cooking, no fuss.
- Garlicky Punch: That fresh garlic and Dijon combo gives it a bold kick that’s ridiculously good.
- Dips Everything: I slather it on sandwiches, dunk fries, or drizzle over grilled veggies. Honestly, it works with almost anything.
- Keeps for Days: A small batch stays fresh in my fridge for up to a week, so I always have some on hand.
Step-by-Step Instructions for Easy Aioli Using Mayonnaise
This method delivers rich, garlicky aioli in minutes with almost no effort.
Step 1: Mince and Soften the Garlic
Finely mince the 3 cloves Garlic Cloves until it’s almost paste-like. I like to sprinkle a pinch of 0.25 tsp Salt over the garlic while mincing—it acts as an abrasive to break down the cloves faster and infuses them with flavor.
Here’s the thing—raw garlic can be harsh. To mellow it out, let the minced garlic sit in the 1 tbsp Lemon Juice for 5 minutes. The acid softens the sharp bite while preserving that signature garlic punch. You’ll notice the garlic turns slightly translucent when it’s ready.
Step 2: Whisk the Aromatic Base
In a medium bowl, combine the 1 cup Mayonnaise with the garlic-lemon mixture. Add the 1 tsp Dijon Mustard and 0.5 tsp White Wine Vinegar. The mustard adds depth, while the vinegar brightens the richness.
Whisk vigorously for 30 seconds until everything is fully incorporated and smooth. Don’t skip this step—proper emulsification ensures the aioli won’t separate. The mixture should look creamy with no visible streaks of mustard or garlic.
Step 3: Finish with Oil and Seasoning
Slowly drizzle in the 2 tbsp Extra-Virgin Olive Oil while whisking constantly. This step enhances the luxurious mouthfeel. I use high-quality oil here because its fruity notes complement the garlic beautifully.
Finally, add the remaining 0.25 tsp Salt (adjusting to taste) and 0.125 tsp Black Pepper. Whisk once more and taste. The aioli should have a balanced garlicky tang with a creamy, velvety texture that coats the back of a spoon.
Step 4: Rest and Serve
Let the aioli rest for 10 minutes before serving to allow the flavors to meld. This waiting period lets the garlic distribute evenly and the acidity to mellow slightly. The texture will thicken just a touch as it sits.
Serve at room temperature for the best flavor and consistency. This aioli keeps well in the refrigerator for up to 3 days in an airtight container, though it’s so easy you’ll likely make fresh batches often.
Pro Tips For Making Easy Aioli Recipe Using Mayonnaise
- Grate the Garlic: I learned this the hard way—minced garlic can leave chunks that overpower the aioli. Grating it with a microplane gives you smooth, even flavor without the bite.
- Room Temp Mayo: Cold mayo straight from the fridge won’t blend as smoothly. Let it sit out for 10 minutes first—it whips up creamier and faster.
- Drip the Oil Slowly: After burning three batches by rushing, I finally figured out that drizzling the olive oil in a thin, steady stream keeps the aioli from breaking.
- Add Lemon Last: Sounds weird, but it works: Stir in the lemon juice after everything else is combined. This keeps the aioli from getting too thin before it emulsifies.
Pro Cooking Tips for easy aioli recipe using mayonnaise
💡 Flavor Boosters
Start with fresh, high-quality ingredients for the best results. Use freshly minced garlic instead of powder for a bold, aromatic kick. A pinch of Dijon mustard adds depth, while a squeeze of lemon juice brightens the flavor. Don’t skip the salt—it enhances all the other flavors beautifully.
✨ Texture Tips
For a smooth, creamy aioli, ensure your mayonnaise is at room temperature before mixing. This helps the ingredients blend seamlessly. If your aioli feels too thick, thin it with a teaspoon of water or olive oil until you reach your desired consistency.
🌡️ Heat Control
Avoid overmixing once the garlic is added, as this can make the aioli bitter. If you’re using raw garlic, let it sit in the lemon juice for 5-10 minutes before mixing to mellow its sharpness. This small step makes a big difference in flavor balance.
🎯 Timing Secrets
Let your aioli rest in the fridge for at least 30 minutes before serving. This allows the flavors to meld together, creating a richer, more cohesive taste. If you’re in a hurry, 10 minutes at room temperature can work, but the chilled version is always superior.
Nutrition Facts

Trained in classic French technique but raised on slow-cooked ribs and spicy rubs, she blends culinary skill with smoke and soul.
- Recipe for Boneless Pork Chops in Cast Iron Skillet: Sear and Baste to Juicy Perfection - October 3, 2026
- Recipe for Boneless Cross Rib Roast: Slow-Roasted Beef with Herb Crust - October 3, 2026
- Hamburgers in Sauce Recipe Crock Pot: Slow-Cooked Savory Delight - October 3, 2026