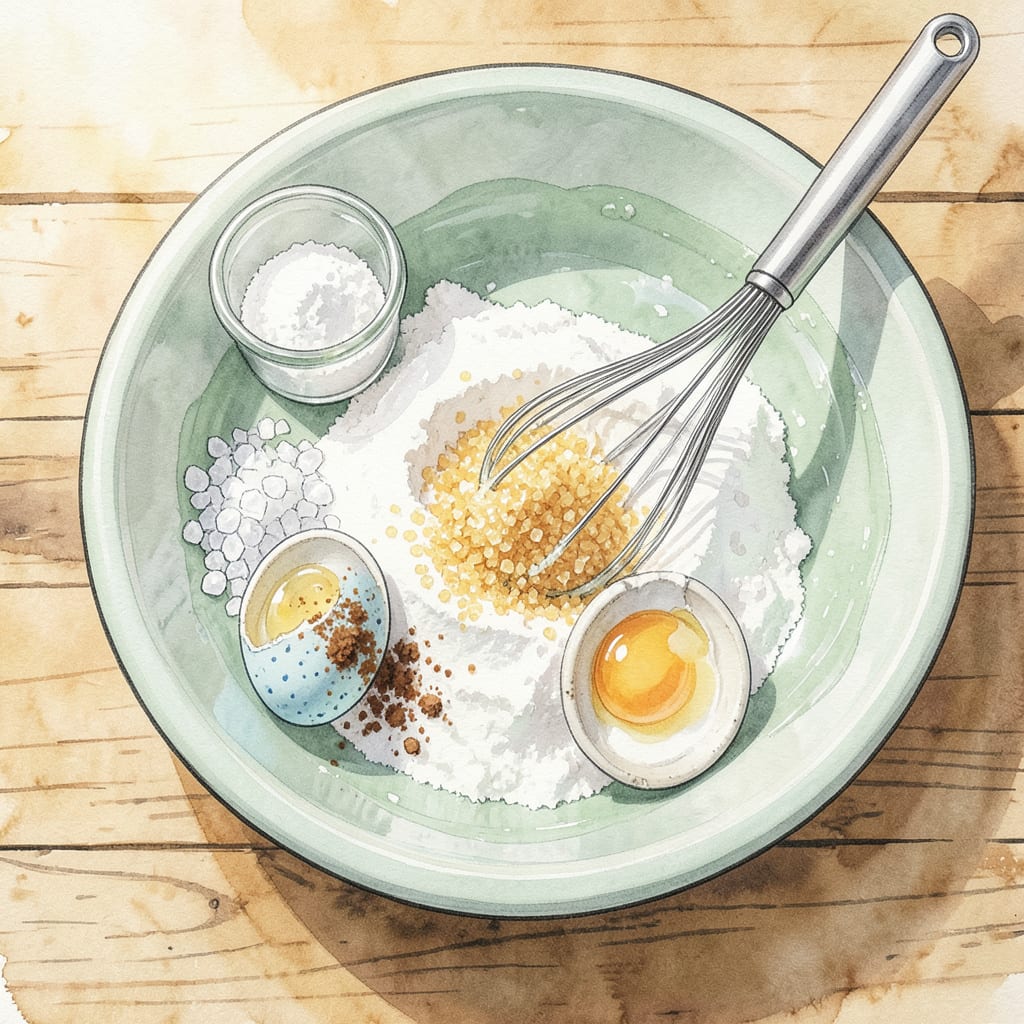
There’s something deeply satisfying about homemade donuts that doesn’t require a deep fryer or hours of work. This baked version delivers all the fluffy, cake-like texture you love with a fraction of the effort. The vanilla glaze adds just enough sweetness without overwhelming the delicate crumb structure.
The beauty of this method lies in its simplicity: a single bowl for mixing, a donut pan for shaping, and 20 minutes in the oven. No yeast to proof, no oil to dispose of, just perfectly golden donuts with that signature ring shape. Whether you’re feeding a crowd or treating yourself, these deliver bakery-quality results with beginner-friendly ease.
Ingredients for Easy Baked Donuts
These pantry staples transform into bakery-worthy donuts with minimal effort—no yeast, no frying, just pure deliciousness.
| Ingredient | Amount | Notes |
|---|---|---|
| All-Purpose Flour 🌾 | 1 ½ cups | Spoon and level for accuracy |
| Granulated Sugar 🍚 | ½ cup | Fine white sugar preferred |
| Baking Powder 🧂 | 1 ½ tsp | Fresh for optimal rise |
| Ground Nutmeg 🌰 | ¼ tsp | Freshly grated if possible |
| Salt 🧂 | ½ tsp | Fine sea salt preferred |
| Large Egg 🥚 | 1 whole | Room temperature preferred |
| Whole Milk 🥛 | ½ cup | Warm slightly for better mixing |
| Unsalted Butter 🧈 | 2 tbsp | Melted and cooled slightly |
| Pure Vanilla Extract 🌿 | 1 tsp | High-quality for best flavor |
| Powdered Sugar 🍚 | 1 cup | Sifted for smooth glaze |
| Heavy Cream 🥛 | 2 tbsp | Or whole milk for thinner glaze |
| Vegetable Oil 🫒 | 1 tbsp | For greasing donut pan |
[recipe_ingredient_scaler]
The flour and baking powder are your foundation here. King Arthur Flour gives the most consistent results, but any all-purpose works. Check your baking powder’s expiration date—old powder means flat donuts. For the nutmeg, I prefer Penzeys for its vibrant aroma, but supermarket brands are fine. The butter matters too—European-style adds richness, but standard unsalted is perfectly adequate. Warm your milk slightly (about 10 seconds in the microwave) to help everything blend smoothly without cooking the egg.
No whole milk? Oat milk or half-and-half work beautifully. Out of nutmeg? Cinnamon at half the amount gives a different but delicious warmth. For the glaze, powdered sugar is non-negotiable (granulated won’t dissolve), but you can swap the heavy cream for whole milk or coconut cream. The vanilla extract should be pure—Nielsen-Massey is my splurge, but store brands work. If you’re making these gluten-free, Bob’s Red Mill 1:1 Baking Flour is the only sub I’ve tested that holds the shape.
Baked donuts are best enjoyed fresh but keep 2 days at room temperature in an airtight container. The glaze will soften over time—store unglazed donuts and add glaze just before serving. Freeze unglazed donuts for up to 1 month; thaw at room temperature and glaze. Pro tip: Grease your donut pan well (even if it’s nonstick) and let it cool completely between batches to prevent sticking. The batter can sit 30 minutes before baking if you need to prep ahead.
Step-by-Step Instructions for Baked Donuts
Here’s how to make these donuts with minimal effort and maximum flavor.
Step 1: Prepare the Donut Batter
In a large mixing bowl, whisk together the 1.5 cups All-Purpose Flour, 0.5 cup Granulated Sugar, 1.5 tsp Baking Powder, 0.25 tsp Ground Nutmeg, and 0.5 tsp Salt. I like to sift the dry ingredients together first to ensure even distribution of the baking powder and nutmeg—this guarantees consistent flavor in every bite.
In a separate bowl, beat the large egg lightly, then whisk in the 0.5 cup Whole Milk, 2 tbsp Unsalted Butter (melted and cooled), and 1 tsp Pure Vanilla Extract. The butter should be warm but not hot to the touch—this prevents it from cooking the egg prematurely.
Create a well in the center of your dry ingredients and pour in the wet mixture. Gently fold everything together with a silicone spatula until just combined. Be careful not to overmix—the batter should be slightly lumpy. Overworking the batter develops gluten, which makes the donuts tough instead of tender.
Step 2: Prepare the Donut Pan
Preheat your oven to 350°F and position the rack in the middle. While the oven heats, brush the wells of your donut pan generously with the 1 tbsp Vegetable Oil. I use a pastry brush to ensure every nook and cranny is coated—this prevents sticking and helps the donuts release cleanly after baking.
If you don’t have a donut pan, you can use a muffin tin, but you’ll need to adjust the baking time and shape the donuts differently. For a muffin tin, fill each cup only halfway and expect slightly thicker donuts that may require an extra 2-3 minutes of baking time.
Step 3: Pipe and Bake the Donuts
Transfer the batter to a piping bag fitted with a large round tip, or use a zip-top bag with one corner snipped off. Pipe the batter into each well of the prepared donut pan, filling them about ⅔ full. This leaves room for the donuts to rise without overflowing, creating that classic donut shape with a defined hole in the center.
Bake for 10-12 minutes until the donuts are light golden brown and spring back when gently pressed with a finger. Don’t open the oven during the first 8 minutes—this could cause the donuts to collapse. Rotate the pan halfway through baking if your oven has hot spots.
Step 4: Make the Vanilla Glaze
While the donuts bake, prepare the glaze by whisking together the 1 cup Powdered Sugar and 2 tbsp Heavy Cream in a medium bowl. The glaze should be thick but pourable—if it’s too stiff, add more cream ½ tsp at a time until it reaches the right consistency. For a thinner glaze, you can substitute whole milk for the heavy cream.
Stir in the remaining ½ tsp Pure Vanilla Extract for extra flavor. I like to sift the powdered sugar first to eliminate any lumps, which ensures a silky-smooth glaze. The glaze should coat the back of a spoon but still drip slowly when lifted.
Step 5: Glaze and Serve the Donuts
Let the baked donuts cool in the pan for 5 minutes, then transfer them to a wire rack set over a baking sheet. While the donuts are still warm (but not piping hot), dip the top of each donut into the glaze, letting any excess drip back into the bowl. The slight warmth helps the glaze adhere better and creates a beautiful sheen.
Place the glazed donuts back on the wire rack and let the glaze set for 10 minutes before serving. The glaze should be firm to the touch but still slightly tacky. These donuts are best enjoyed fresh, when they’re still warm and the glaze has that perfect balance between set and gooey.
Storing and Reheating easy baked donuts
Room Temperature Storage
Once completely cooled, store your donuts in an airtight container at room temperature. I line mine with parchment paper to prevent sticking. They’ll stay fresh for about 2 days, though the glaze will soften slightly over time. For best texture, enjoy them within 24 hours of baking. 💡
Refrigerator Storage
If you need to keep them longer, place unglazed donuts in a sealed container in the fridge for up to 4 days. Let them come to room temperature before glazing and serving. Cold donuts lose their tender crumb, so I recommend a quick 10-second microwave burst to revive them.
Freezing Unglazed Donuts
For longer storage, freeze unglazed donuts in a single layer on a baking sheet before transferring to a freezer bag. They’ll keep for 1 month. Thaw at room temperature for 1 hour, then glaze fresh. I’ve found this preserves the texture better than freezing glazed donuts.
Reheating in Oven
To restore that just-baked warmth, place donuts on a baking sheet at 300°F for 5-7 minutes. This method works best for unglazed donuts. Add the glaze after reheating for that fresh-baked experience. The low temperature prevents drying out.
Microwave Refresh
For a quick fix, microwave a donut on 50% power for 10-15 seconds. Place a damp paper towel over it to add moisture. This works well for glazed donuts, though the glaze may get slightly sticky. Perfect when you’re in a hurry!
Glaze Revival Tip
If your stored donuts need a glaze refresh, make a fresh half-batch of glaze and dip just the tops. Warm the donuts slightly first so the glaze adheres better. I keep powdered sugar on hand just for this purpose—it’s my secret to making day-old donuts taste fresh. ✨
Nutrition Facts

Trained in classic French technique but raised on slow-cooked ribs and spicy rubs, she blends culinary skill with smoke and soul.
- Recipe for Boneless Pork Chops in Cast Iron Skillet: Sear and Baste to Juicy Perfection - October 3, 2026
- Recipe for Boneless Cross Rib Roast: Slow-Roasted Beef with Herb Crust - October 3, 2026
- Hamburgers in Sauce Recipe Crock Pot: Slow-Cooked Savory Delight - October 3, 2026