Soft, pillowy buns fresh from the oven are simpler to make than you might think. This proven method delivers tender results with minimal effort, using basic ingredients you likely already have on hand.
I developed this recipe to streamline the process without sacrificing quality. With a 2-hour rise time and straightforward steps, even beginners can achieve bakery-style rolls at home. The yeast does most of the work for you.
The key is proper yeast activation and gentle kneading to create that perfect fluffy texture. You’ll know it’s right when the dough springs back slowly when pressed.
These versatile buns work for sandwiches, sliders, or as a side to any meal. The technique is foolproof when you follow the simple timing and temperature guidelines.
Ingredients for Easy Bun Recipe with Yeast
Basic ingredients, most already in your pantry, for soft, fluffy results every time.
| Ingredient | Amount | Notes |
|---|---|---|
| Warm Water 💧 | 1 cup | 110°F for yeast activation |
| Granulated Sugar 🍚 | 2 tbsp | Feeds the yeast |
| Active Dry Yeast 🍞 | 2 ¼ tsp | One packet, fresh is best |
| Whole Milk 🥛 | ½ cup | Warmed slightly, enhances softness |
| Unsalted Butter 🧈 | 4 tbsp | Melted and cooled |
| Large Egg 🥚 | 1 whole | Room temperature preferred |
| All-Purpose Flour 🌾 | 4 cups | Plus extra for dusting |
| Salt 🧂 | 1 ½ tsp | Fine sea salt recommended |
| Vegetable Oil 🫒 | 1 tbsp | For greasing bowl |
| Honey 🍯 | 1 tbsp | Optional for extra softness |
[recipe_ingredient_scaler]
The yeast is the magic here. Saf-Instant or Red Star are my go-to brands—check the expiration date, old yeast won’t rise. Whole milk adds richness (I use Organic Valley), but any milk works. Butter should be unsalted so you control the salt level. If you’re out, oil works in a pinch but the flavor won’t be as deep.
No whole milk? 2% works fine, or even water in a real emergency (but less tender). Egg is for structure, but you can skip it—just expect slightly denser buns. Honey can be swapped for maple syrup or sugar. Flour is flexible—bread flour gives a chewier bite if you have it, but all-purpose is what I use most days.
Store flour in an airtight container (it goes stale fast). Yeast keeps in the freezer for 1 year unopened, 3 months after opening. Baked buns stay fresh for 3 days in a sealed bag, or freeze for 1 month (reheat in a damp paper towel to revive).
Why You’ll Love This Recipe
- No-Fuss Dough: I just mix warm water, sugar, and yeast, then let the milk and butter do their magic—no kneading marathon here.
- Rich, Buttery Flavor: The whole milk and butter give these buns a melt-in-your-mouth tenderness that’s honestly hard to beat.
- Weekend Brunch Hero: I love pulling these warm from the oven for lazy Sunday breakfasts or holiday gatherings.
Step-by-Step Instructions for Soft Pillowy Yeast Buns
Here’s the method I use for foolproof, fluffy rolls every single time.
Step 1: Activate the Yeast
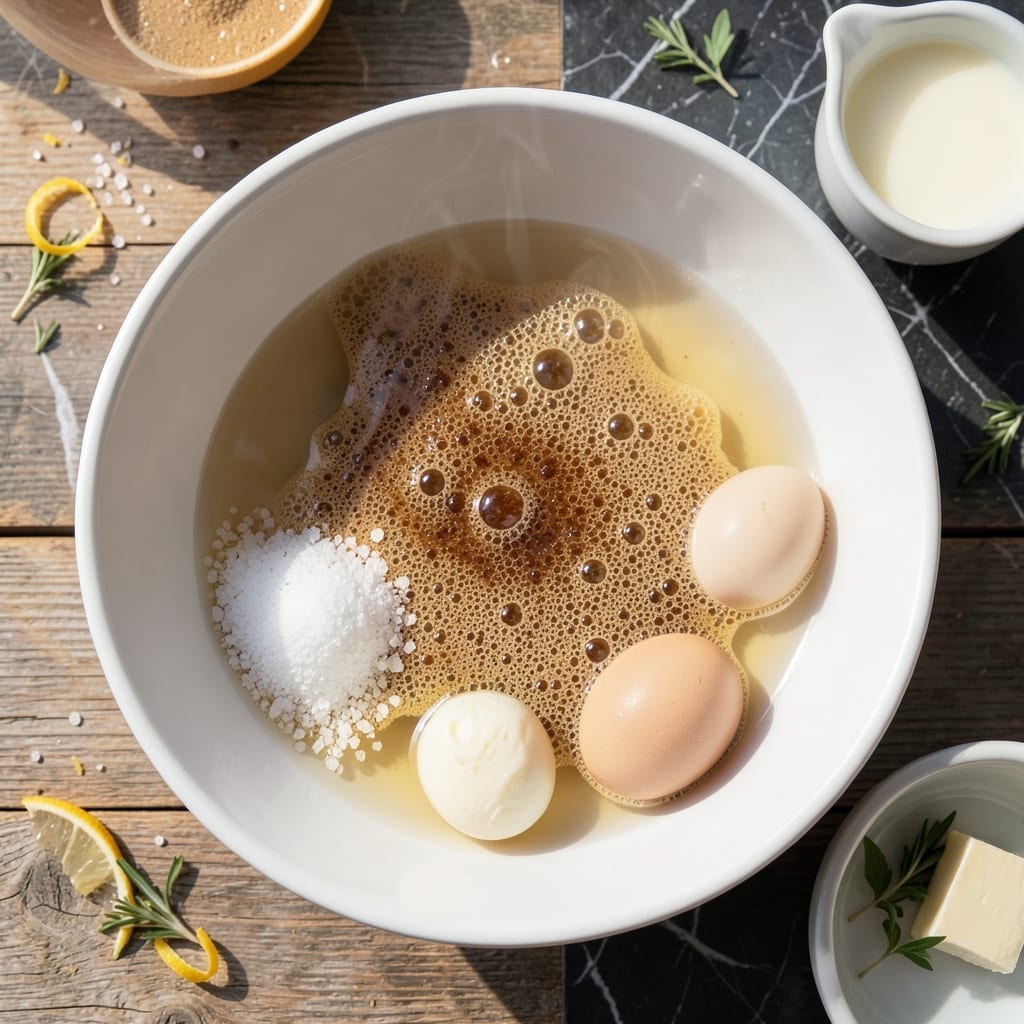
In a large mixing bowl, combine the 1 cup Warm Water, 2 tbsp Granulated Sugar, and 2.25 tsp Active Dry Yeast. Let it sit for 5-10 minutes until the mixture becomes frothy and bubbly. This is your visual confirmation that the yeast is alive and working.
I always check the water temperature with a thermometer to ensure it’s exactly 110°F—too hot and you’ll kill the yeast, too cold and it won’t activate properly. The sugar gives the yeast something to feed on, creating that telltale foam.
Step 2: Mix and Knead the Dough
Once the yeast is active, add the 0.5 cup Whole Milk, 4 tbsp Unsalted Butter (melted and cooled), 1 whole Large Egg, 1.5 tsp Salt, and 1 tbsp Honey. Stir to combine, then gradually add 4 cups All-Purpose Flour until a shaggy dough forms.
Turn the dough out onto a lightly floured surface and knead for 8-10 minutes until smooth and elastic. You’ll know it’s ready when it springs back slightly when pressed with your finger. This develops the gluten that gives the buns their structure.
Step 3: First Rise Until Doubled
Lightly grease a large bowl with the 1 tbsp Vegetable Oil and place the dough inside, turning to coat all sides. Cover with a clean kitchen towel and let it rise in a warm, draft-free place for 1 hour or until doubled in size.
I like to place my bowl in an oven that’s been preheated to 100°F then turned off—this creates the perfect environment for rising. The dough should look puffy and jiggle slightly when you gently shake the bowl.
Step 4: Shape and Second Rise
Punch down the risen dough to release the air, then turn it out onto a clean surface. Divide into 12 equal portions and shape each into a smooth ball by pinching the bottom and rolling between your palms.
Place the rolls in a greased 9×13-inch baking pan, cover, and let rise for another 30-45 minutes until puffy. They should look nearly doubled in size and spring back slowly when lightly pressed.
Step 5: Bake to Golden Perfection
Preheat your oven to 375°F. Bake the rolls for 15-18 minutes until they’re golden brown on top and sound hollow when tapped. I start checking at the 15-minute mark because ovens vary.
Brush the hot rolls with a little extra melted butter if you want them extra soft and shiny. Let them cool for at least 5 minutes before serving—if you can resist that long. The interior should be light, fluffy, and pull apart easily.
Pro Tips For Making Easy Bun Recipe With Yeast
- Test Your Yeast: Always bloom the active dry yeast in warm water with a pinch of sugar first—I learned this the hard way after wasting a batch when my yeast was dead. If it doesn’t foam within 5 minutes, start over.
- Warm the Milk: Take the chill off the whole milk before mixing it with the yeast, about 110°F. Cold milk can shock the yeast and slow down the rise, and nobody wants dense buns.
- Use Soft Butter: Let the unsalted butter sit out for 30 minutes until it’s soft but not melted. It blends evenly into the dough, and I was skeptical until I tried it—no more greasy patches.
- Don’t Rush Rising: Give the dough a full 1-2 hours to double in size, even if it seems slow. Skipping time here means tight, flat buns—my grandmother swore by this, and she was right.
Best Sauces and Condiments for These Flavors
Classic Butter Glaze
Nothing beats the simple elegance of melted unsalted butter brushed over warm buns. I melt 2 tbsp and add 1 tsp honey for a touch of sweetness that reminds me of Nonna’s Sunday table. Brush immediately after baking for maximum absorption. 💛
Garlic Herb Spread
Mix ¼ cup softened butter with 2 minced garlic cloves, 1 tbsp chopped parsley, and a pinch of sea salt. Spread on split buns before toasting—the aroma alone will transport you to an Italian deli on a busy weekend morning.
Sweet Cinnamon Butter
Combine 3 tbsp softened butter with 1 tbsp brown sugar and ½ tsp cinnamon. This is perfect for breakfast rolls or French toast-style treats. I love making this with my kids on lazy Saturday mornings.
Spicy Sriracha Mayo
Blend ½ cup mayonnaise with 1 tbsp sriracha and 1 tsp lime juice. This adds a kick that balances beautifully with the softness of the buns. Great for sliders or pulled pork sandwiches.
I always use Kewpie mayo for this—its rich, creamy texture is worth the trip to the Asian market. 🌟
Honey Mustard Glaze
Whisk together 3 tbsp Dijon mustard, 2 tbsp honey, and 1 tbsp apple cider vinegar. Drizzle over warm buns for a tangy-sweet finish that pairs wonderfully with ham or turkey.
Nutrition Facts
Frequently Asked Questions
Can I use instant yeast instead of active dry?
Yes! Use the same amount and skip the activation step. Just mix it directly with the dry ingredients. Instant yeast works faster, so reduce the first rise to about 45 minutes. Saf-Instant is my trusted brand for this method.
Why didn’t my buns rise properly?
Old yeast or water that was too hot or cold are common culprits. Check your yeast’s expiration date and use a thermometer for 110°F water. Also, ensure your rising spot is warm and draft-free.
How do I make them ahead of time?
After shaping, cover and refrigerate overnight. In the morning, let them rise at room temperature for 1-2 hours before baking. You can also freeze baked buns for up to 1 month.
Can I skip the egg?
Yes, but the texture will be slightly denser. Replace it with ¼ cup yogurt or 2 tbsp oil for similar richness. The buns will still be soft but may not hold their shape as well.

Trained in classic French technique but raised on slow-cooked ribs and spicy rubs, she blends culinary skill with smoke and soul.
- Recipe for Boneless Pork Chops in Cast Iron Skillet: Sear and Baste to Juicy Perfection - October 3, 2026
- Recipe for Boneless Cross Rib Roast: Slow-Roasted Beef with Herb Crust - October 3, 2026
- Hamburgers in Sauce Recipe Crock Pot: Slow-Cooked Savory Delight - October 3, 2026