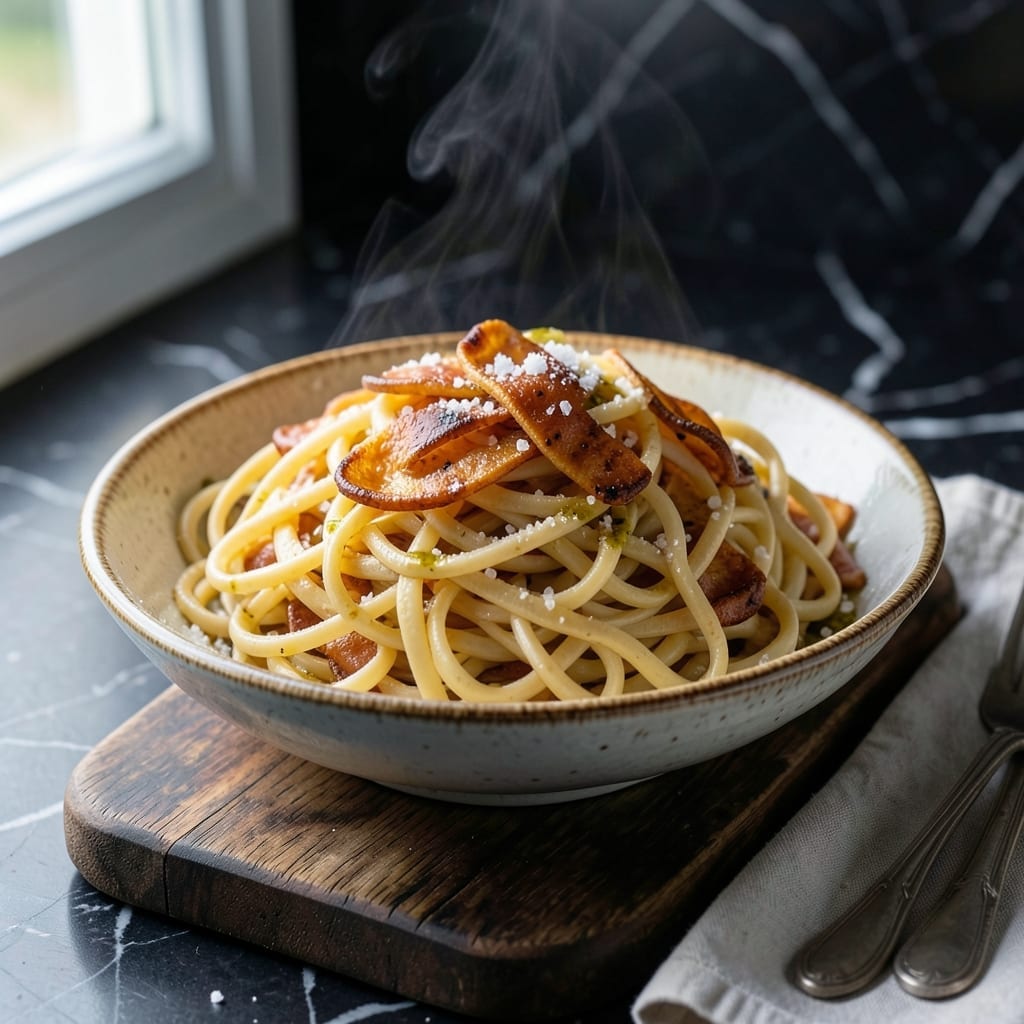
Fresh, homemade egg noodles elevate any meal with their tender texture and rich flavor. This recipe transforms simple ingredients into perfect ribbons with minimal effort.
I developed this method to prove that homemade pasta doesn’t require special equipment or hours of work. The dough comes together quickly, and rolling it out creates those signature wide, flat noodles.
What you’ll achieve is pasta that’s noticeably better than store-bought—silky smooth, with a delicate bite that holds sauce beautifully. The process is as rewarding as the result.
Use these noodles in soups, casseroles, or with your favorite sauce. The possibilities are endless.
Ingredients for Egg Noodles Recipe Video
Seven simple ingredients make these silky homemade ribbons a reality in minutes.
| Ingredient | Amount | Notes |
|---|---|---|
| All-Purpose Flour 🌾 | 2 cups | Plus extra for dusting surfaces |
| Large Eggs 🥚 | 3 whole | Room temperature preferred |
| Kosher Salt 🧂 | ½ tsp | Diamond Crystal recommended |
| Water 💧 | 2 tbsp | Ice cold for elasticity |
| Olive Oil 🫒 | 1 tsp | Extra-virgin for richness |
| Egg Yolks 🥚 | 2 whole | Additional for extra richness |
| Semolina Flour 🌾 | ¼ cup | Optional for texture |
[recipe_ingredient_scaler]
The flour is the foundation here. King Arthur all-purpose is my go-to—consistent protein content means predictable results. If you’re hunting for semolina (that coarse, golden flour), Bob’s Red Mill sells it in most grocery stores. Room temperature eggs incorporate better into the dough, so pull them out 30 minutes before starting (or plunge cold eggs in warm water for 5 minutes).
No all-purpose? Bread flour works but the noodles will be slightly chewier. Out of semolina? Skip it—the texture difference is subtle. For extra richness, add another yolk. The water needs to be ice cold (fridge-cold works) to develop the gluten properly. If your dough feels dry, add more water 1 tsp at a time—it’s easier to fix dry dough than sticky dough.
Fresh egg noodles keep 2-3 days refrigerated in an airtight container (toss with a little flour first to prevent sticking). They freeze beautifully for 3 months—dust with flour, shape into nests, then seal in bags. Cook from frozen, but add 1-2 minutes to the boiling time.
Why You’ll Love This Recipe
- One Bowl Magic: I mix the flour, eggs, and a pinch of salt right in the bowl—no fancy equipment, just my hands and five minutes.
- Rich, Simple Flavor: The eggs give these noodles a deep, buttery taste that store-bought just can’t match.
- Meal Prep Hero: I cook a big batch on Sunday and toss them into soups, stir-fries, or salads all week long.
- Penny-Pincher’s Dream: Flour, eggs, and a drizzle of olive oil cost less than a dollar and feed my family of four.
Step-by-Step Instructions for Egg Noodles
This method delivers fresh pasta ribbons faster than you can boil the water.
Step 1: Form the Dough Base
On a clean work surface, create a well with the 2 cups All-Purpose Flour and 0.25 cup Semolina Flour. I like to use a large wooden cutting board for this—it gives you plenty of room to work and absorbs excess moisture.
Crack the 3 whole Large Eggs and 2 whole Egg Yolks into the center of the well. Add the 0.5 tsp Kosher Salt, 1 tsp Olive Oil, and 2 tbsp Water to the eggs. The cold water adds elasticity to the dough, while the olive oil ensures tenderness.
Using a fork, gradually incorporate the flour into the wet ingredients, starting from the inner rim of the well and working outward. Continue mixing until the dough becomes too stiff for the fork—you’ll see it start to clump together into a shaggy mass.
Step 2: Knead to Silky Smoothness
Once the dough comes together, switch to using your hands. Knead the dough for 8-10 minutes until it transforms from rough and lumpy to smooth and elastic. I press down with the heel of my hand, push the dough away, then fold it back over itself in a rhythmic motion.
If the dough feels too sticky, dust your work surface and hands with a bit of extra all-purpose flour. If it’s too dry, wet your hands slightly with cold water. You want the dough to feel slightly tacky but not stick to your fingers. The texture should resemble Play-Doh when it’s ready.
This kneading process develops the gluten, which gives your noodles their chewy texture. Don’t rush it—you’ll notice the dough becomes more pliable and silky as you work it.
Step 3: Rest and Relax the Gluten
Shape the dough into a ball, wrap it tightly in plastic wrap, and let it rest at room temperature for 30 minutes. This rest period allows the gluten to relax, making the dough easier to roll out thinly without springing back.
I always set a timer for this step—it’s tempting to skip the rest, but you’ll struggle to achieve those paper-thin sheets without it. The dough should feel noticeably softer after resting. While you wait, prepare your pasta machine or rolling pin and dust your work surface with additional flour to prevent sticking.
Step 4: Roll and Cut the Noodles
Divide the rested dough into 4 equal portions for manageability. Working with one portion at a time (keep the others covered), flatten it into a rough rectangle with your hands. Set your pasta machine to the widest setting and feed the dough through.
Fold the sheet in thirds like a letter, then feed it through the machine again on the same setting. Repeat this process 2-3 times until the dough is smooth. Then, gradually decrease the settings, passing the dough through once at each level, until you reach the second-to-thinnest setting.
For cutting, I use the pasta machine’s fettuccine attachment. Feed the thin sheet through to create uniform ribbons. Alternatively, dust the sheet with flour, roll it loosely, and slice into ¼-inch wide strips with a sharp knife. Shake out the noodles and dust with flour to prevent sticking.
Step 5: Cook Immediately or Store for Later
To cook fresh, bring a large pot of salted water to a rolling boil. Add the noodles and cook for 2-3 minutes until they float to the surface and are tender but still have a slight bite. Fresh pasta cooks much faster than dried, so keep an eye on it.
If not cooking immediately, dust the noodles with additional flour, shape into nests, and place on a floured baking sheet. You can refrigerate them for up to 24 hours or freeze for up to 1 month. No need to thaw frozen noodles—just add them directly to boiling water, adjusting the cooking time by 1-2 minutes.
Pro Tips For Making Egg Noodles Recipe Video
- Knead Longer: Work the dough for at least 8-10 minutes by hand—it’ll start rough but transforms into a smooth, elastic ball that rolls out effortlessly.
- Rest the Dough: After kneading, let it sit covered on the counter for 30 minutes; this relaxes the gluten so the noodles don’t spring back when you roll them thin.
- Use Room-Temp Eggs: Take the eggs out of the fridge an hour before starting, or soak them in warm water for 10 minutes—cold eggs make the dough tough and harder to mix evenly.
- Dust Lightly: When rolling and cutting, use just enough flour to prevent sticking, too much makes the noodles dry and dense; a light touch keeps them tender.
Make-Ahead Tips for This egg noodles recipe video
Prep Ahead Strategy
I always make a double batch of this dough on Sunday afternoons. The dough balls rest beautifully in the fridge for 24 hours before rolling—just wrap them tightly in plastic. This means fresh pasta is only 10 minutes away on busy weeknights. 💡
Dough Storage
After kneading but before resting, you can refrigerate the dough for up to 48 hours. The cold actually enhances the gluten development. Bring it to room temperature for 30 minutes before rolling to prevent cracking.
Fresh Noodle Refrigeration
Once cut, toss the ribbons with 1 tbsp flour and spread on a baking sheet. Cover with a towel and refrigerate for 1-2 days. The flour coating prevents the strands from sticking together.
Freezing for Later
For long-term storage, freeze uncooked nests on a baking sheet first, then transfer to ziplock bags. They’ll keep for 3 months without freezer burn. I label mine with dates using masking tape.
Quick Thaw Method
No need to thaw frozen noodles. Drop them directly into boiling water and add 1-2 minutes to the cooking time. The texture remains perfect—this is my weeknight dinner secret. ❄️
Portion Control
Divide your dough into 4 portions before rolling. This lets you make exactly what you need. I often roll and cut one portion while storing the rest for later use.
Nutrition Facts
Frequently Asked Questions
Can I make these without a pasta machine?
Use a rolling pin to roll the dough as thin as possible, then slice into ¼-inch strips with a sharp knife. It takes a little more elbow grease but works perfectly.
Why do my noodles turn out tough?
Over-kneading is the most common cause. Stop as soon as the dough becomes smooth, usually after 8-10 minutes. Also, ensure you’re using ice-cold water for elasticity.
How do I prevent them from sticking?
Dust generously with flour during every step. After cutting, toss the noodles with 1 tbsp flour and form into nests. Never stack fresh noodles directly on top of each other.
Can I use whole wheat flour?
Yes, but replace only 50% of the all-purpose flour. Whole wheat makes the dough denser and may require a bit more water. The noodles will have a nuttier flavor.

Trained in classic French technique but raised on slow-cooked ribs and spicy rubs, she blends culinary skill with smoke and soul.
- Recipe for Boneless Pork Chops in Cast Iron Skillet: Sear and Baste to Juicy Perfection - October 3, 2026
- Recipe for Boneless Cross Rib Roast: Slow-Roasted Beef with Herb Crust - October 3, 2026
- Hamburgers in Sauce Recipe Crock Pot: Slow-Cooked Savory Delight - October 3, 2026