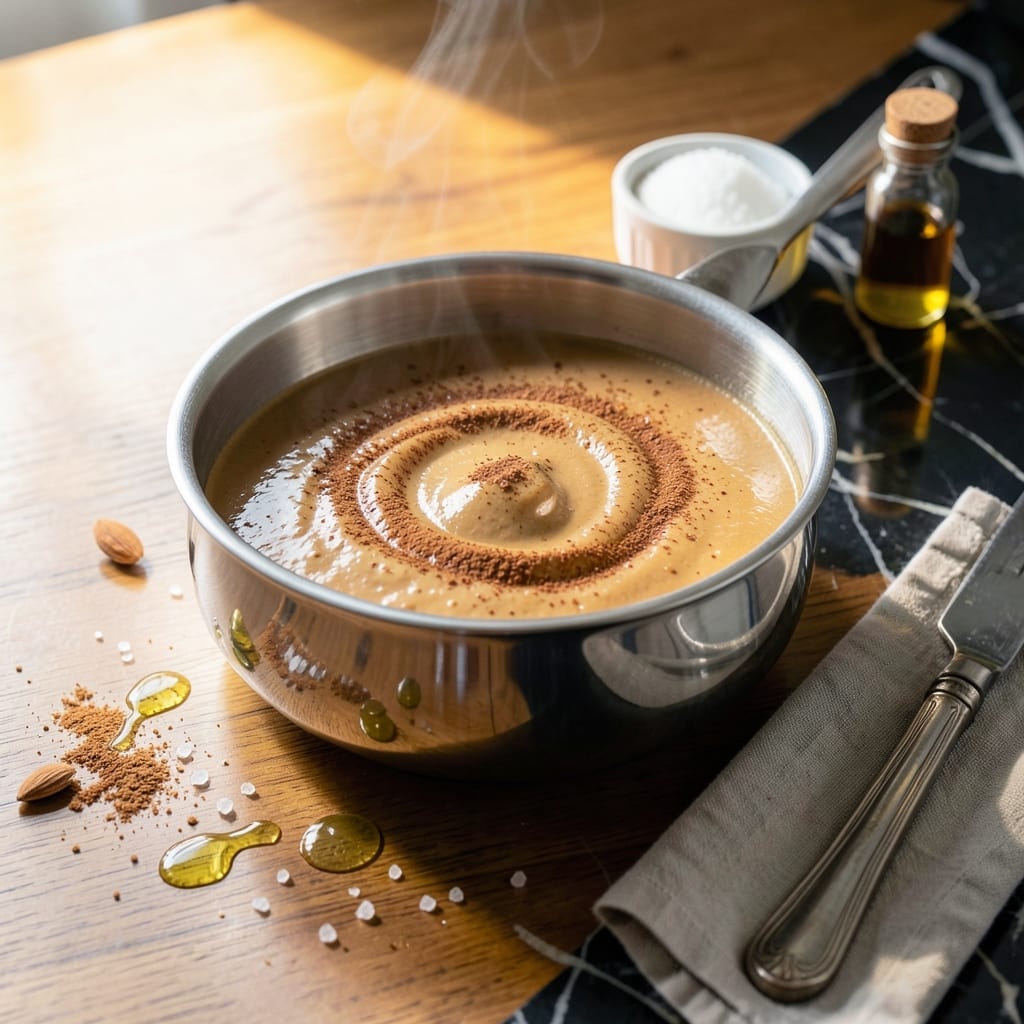
There’s a simple secret to transforming your morning coffee into a rich and velvety experience. This homemade creamer uses just one primary ingredient with a touch of sweetness for perfect balance.
I developed this method after tiring of store-bought options loaded with preservatives. The process takes 5 minutes and requires no special equipment—just a whisk and a jar.
The result is a smooth, creamy addition that enhances without overpowering your coffee’s natural flavors. It keeps well in the fridge for up to two weeks, ready whenever you need it.
Customize the sweetness or add vanilla for extra depth. This small change makes a noticeable difference in your daily cup.
Ingredients for Evaporated Milk Coffee Creamer
Six simple ingredients create this velvety creamer for your daily brew.
| Ingredient | Amount | Notes |
|---|---|---|
| Evaporated Milk 🥛 | 12 oz | Full-fat for creaminess |
| Granulated Sugar 🍚 | 2 tbsp | Adjust to taste |
| Pure Vanilla Extract 🌿 | 1 tsp | For depth of flavor |
| Ground Cinnamon 🌶️ | ¼ tsp | Optional for warmth |
| Sea Salt 🧂 | 0.125 tsp | Fine grain preferred |
| Almond Extract 🌰 | ¼ tsp | Optional for nutty note |
[recipe_ingredient_scaler]
The evaporated milk is the star—look for full-fat cans at any grocery store. I grab mine from Walmart or Kroger; the Pet brand is consistently smooth and rich. Don’t confuse it with sweetened condensed milk (that’s a whole different beast). If you’re making a big batch, Costco’s bulk cans are perfect (and cheaper per ounce).
No vanilla extract? Vanilla bean paste at half the amount adds speckles and intensity. Swap sugar for maple syrup or honey—just reduce by a third since liquids are sweeter. Skip the cinnamon if you prefer neutral flavor. The salt might seem odd, but it balances the sweetness—don’t omit it. For a richer twist, add 1 tbsp heavy cream.
This keeps beautifully in a sealed jar for 2 weeks in the fridge. Shake before using—the sugar may settle. For longer storage, freeze in ice cube trays, then transfer to a bag. Thaw overnight in the fridge. Room temperature makes it pour easier.
Why You’ll Love This Recipe
- Five Minute Mix: I just stir everything together in a saucepan and it’s done before my coffee finishes brewing.
- Warm Vanilla Hug: The vanilla and cinnamon turn plain coffee into something that tastes like dessert without being sweet.
- Fridge Staple: I make a big batch Sunday night and my mornings feel like a café visit all week.
- Pantry Savior: Evaporated milk and sugar cost pennies, and it lasts for ages in the fridge.
Step-by-Step Instructions for Evaporated Milk Coffee Creamer
Here’s the method. Straightforward, tested, works every time.
Step 1: Combine Base Ingredients in a Saucepan
Pour the 12 oz Evaporated Milk into a small saucepan. I use a heavy-bottomed pan to prevent scorching—this ensures even heat distribution. Set the pan over medium-low heat and let it warm gently.
Add the 2 tbsp Granulated Sugar and stir with a whisk or wooden spoon until it dissolves completely. You want to see the sugar grains disappear and the mixture become smooth. This typically takes 2-3 minutes of constant stirring.
Step 2: Infuse with Flavorings
Once the sugar is fully dissolved, remove the pan from heat. Stir in the 1 tsp Pure Vanilla Extract, 0.25 tsp Ground Cinnamon, 0.125 tsp Sea Salt, and 0.25 tsp Almond Extract. The heat from the milk will help release the aromas of the extracts and spices.
I’ve found that adding the flavorings off heat prevents the almond and vanilla extracts from losing their delicate compounds to evaporation. Stir for 30 seconds until everything is well incorporated and you see a uniform color throughout the mixture.
Step 3: Heat Gently to Blend Flavors
Return the saucepan to low heat and warm the mixture for another 3-4 minutes. Stir frequently to prevent a skin from forming on the surface. You’ll notice the mixture becoming slightly thicker and more fragrant.
Keep the heat low—you don’t want this to boil. The ideal temperature is just below a simmer, where tiny bubbles might form at the edges but don’t break the surface. This gentle heating allows the flavors to meld without curdling the milk or altering its texture.
Step 4: Cool and Store for Use
Remove the pan from heat and let the creamer cool to room temperature. This usually takes 20-30 minutes at room temperature, or you can speed it up with a brief ice bath, stirring occasionally.
As it cools, the mixture will thicken slightly. Once cooled, pour it into a clean glass jar or bottle with a tight-fitting lid. I prefer glass because it doesn’t absorb odors and you can see the creamer’s beautiful, creamy consistency.
Store in the refrigerator for up to 7 days. The flavors will continue to develop over the first 24 hours, so for the best taste, I recommend making it a day ahead if possible. Shake well before each use as the spices may settle.
Pro Tips For Making Evaporated Milk Coffee Creamer
- Warm the Milk First: Heat the evaporated milk gently on low for 2-3 minutes before mixing—cold milk struggles to dissolve the sugar evenly, and I learned this the hard way after stirring forever with clumps left behind.
- Use Fine Sugar: Swap granulated sugar for super-fine if you have it; it dissolves faster and smoother, especially when working with the thick evaporated milk base.
- Skip the Boil: Resist the urge to let the mixture boil—it can scorch the milk and make the creamer taste bitter. Keep it just warm enough to blend the ingredients.
- Bloom the Cinnamon: Add the ground cinnamon to the warm milk for 5 minutes before mixing everything else—it wakes up the flavor and gives the creamer a richer spice profile.
Troubleshooting This Recipe
Too Thin or Watery
If your creamer seems thin, you likely didn’t heat it long enough. Return it to low heat for an additional 2-3 minutes—evaporated milk thickens as it warms. I always use a heavy-bottomed saucepan for even heating. 🔥
Grainy Texture
Graininess usually means the sugar didn’t fully dissolve. Warm the mixture again over medium-low heat and whisk vigorously until smooth. Avoid boiling, as this can cause curdling. A fine-mesh strainer helps remove any undissolved bits.
Curdling Issues
Curdling happens if the mixture gets too hot. If it starts to separate, immediately remove from heat and whisk in 1 tsp cold milk to stabilize. Next time, keep the temperature just below a simmer. I learned this the hard way during my first batch.
Weak Flavor
If the flavor seems bland, you may have under-measured the extracts. Add an extra ½ tsp vanilla or ¼ tsp almond extract and let it sit for 30 minutes to meld. The salt is crucial—it enhances all other flavors.
Separation in Storage
Some separation is normal. Always shake before using. If it’s excessively separated, it may have been stored too long. For best results, use within 7 days and store in an airtight glass jar. I prefer mason jars for easy shaking. ✨
Overly Sweet
If it’s too sweet, balance it with a pinch of salt or a splash of plain evaporated milk. Next time, reduce the sugar to 1 tbsp or use a less sweet alternative like maple syrup. Taste as you go—this recipe is easily adjustable.
Nutrition Facts
Frequently Asked Questions
Can I use sweetened condensed milk instead?
No, the textures are completely different. Sweetened condensed milk is much thicker and sweeter, which would overpower your coffee. Stick with evaporated milk for the right consistency.
How long can I keep this in the fridge?
It stays fresh for up to 2 weeks in an airtight container. Shake before each use as the spices may settle at the bottom. For longer storage, freeze in ice cube trays.
Why does my creamer separate after storing?
Some separation is natural with homemade creamers. Always give it a good shake before pouring. If it’s excessively separated, it may have been stored too long.
Can I make this dairy-free?
Yes! Use canned coconut milk instead for a rich, dairy-free version. The texture will be slightly different but still delicious in coffee.

Trained in classic French technique but raised on slow-cooked ribs and spicy rubs, she blends culinary skill with smoke and soul.
- Recipe for Boneless Pork Chops in Cast Iron Skillet: Sear and Baste to Juicy Perfection - October 3, 2026
- Recipe for Boneless Cross Rib Roast: Slow-Roasted Beef with Herb Crust - October 3, 2026
- Hamburgers in Sauce Recipe Crock Pot: Slow-Cooked Savory Delight - October 3, 2026