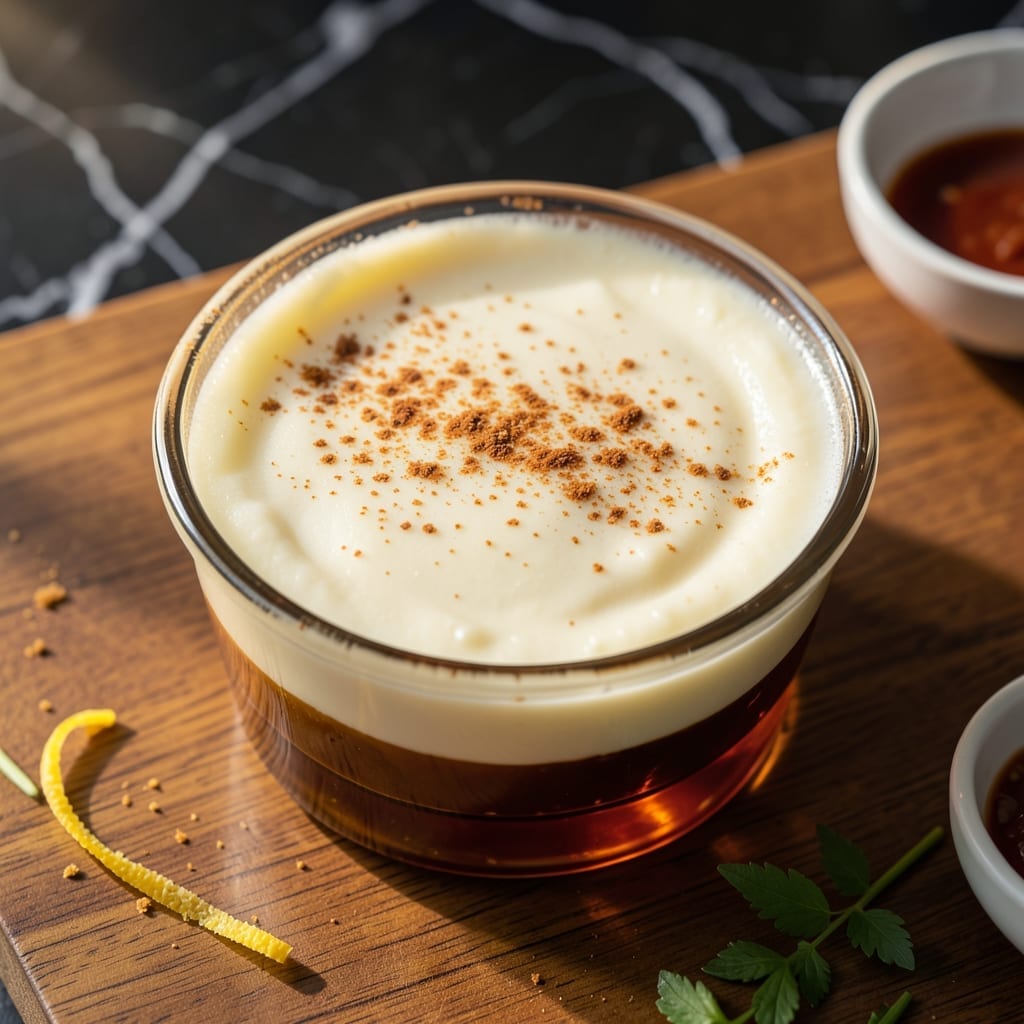
There’s nothing quite like the first bite of properly made flan, with its silky smooth texture and rich caramel topping. This version uses evaporated milk for an extra layer of creaminess that’s hard to beat.
I’ve tested this method across different ovens and pans to ensure it works every time. The key is gentle heat and patience—no shortcuts when it comes to custard. The evaporated milk deepens the flavor while keeping the texture impossibly smooth.
What you’ll get is a dessert that’s elegant enough for special occasions but simple enough for a weeknight treat. The caramel forms a perfect glossy seal, and the custard holds its shape while still being delicately tender.
Serve chilled for the best experience. Here’s how to make it.
Ingredients for Flan Recipe with Evaporated Milk
Elegant dessert with just eight ingredients for that silky texture everyone loves.
| Ingredient | Amount | Notes |
|---|---|---|
| Granulated Sugar 🍚 | 1 cup | For caramel layer |
| Water 💧 | ¼ cup | For caramel syrup |
| Large Eggs 🥚 | 4 whole | Room temperature preferred |
| Evaporated Milk 🥛 | 1 can | 12 oz can, full-fat |
| Sweetened Condensed Milk 🥛 | 1 can | 14 oz can, standard |
| Vanilla Extract 🌿 | 1 tsp | Pure extract preferred |
| Salt 🧂 | ¼ tsp | Fine grain for even mixing |
| Whole Milk 🥛 | ½ cup | Optional for thinner texture |
[recipe_ingredient_scaler]
The evaporated milk is non-negotiable here—Carnation is the most reliable brand at any grocery store. Sweetened condensed milk should be Eagle Brand for consistent sweetness and thickness. Don’t confuse evaporated with condensed—they’re completely different. The eggs need to be room temperature to blend smoothly into the custard. Check your can sizes: evaporated is 12 oz, condensed is 14 oz.
No evaporated milk? Simmer regular milk until reduced by half—takes about 20 minutes and a watchful eye. Out of condensed? Make your own by mixing 1 cup powdered sugar with 1 cup warm milk—not identical but workable. Vanilla extract can be swapped for vanilla bean paste if you want those specks. Skip the whole milk if you prefer a denser custard.
Caramel hardens fast once cooled, so prepare it right before adding custard. The custard keeps in the fridge for up to 5 days—actually improves with a day’s rest. Cover tightly with plastic wrap directly on the surface to prevent a skin from forming. Best served well-chilled.
Why You’ll Love This Recipe
- One Bowl Magic: I just dump the eggs, evaporated milk, and sweetened condensed milk in a bowl—no fancy prep, no mess.
- Caramel Bliss: That first bite where the silky custard meets the crackly sugar crust? I make it just to have that moment again.
- Potluck Hero: I bring this to parties and someone always asks for the recipe—works for fancy dinners or a weeknight treat.
- Budget Winner: A can of evaporated milk and eggs are cheap, but this tastes like a restaurant dessert. Honestly, I save a fortune.
Step-by-Step Instructions for Silky Smooth Caramel Custard
Master the technique and you’ll create a flawlessly smooth dessert with a perfect caramel top every time.
Step 1: Prepare the Caramel Base
In a small saucepan, combine the 1 cup Granulated Sugar and 0.25 cup Water. Cook over medium heat without stirring—just gently swirl the pan occasionally to ensure even melting.
Watch closely as the mixture transforms from clear to deep amber. This process takes about 8-10 minutes. Remove from heat immediately once it reaches the desired color to prevent burning. Quickly pour the hot caramel into your baking dish, tilting to coat the bottom evenly before it hardens.
Step 2: Whisk the Custard Mixture
In a large bowl, whisk together the 4 whole Large Eggs, 1 can Evaporated Milk, 1 can Sweetened Condensed Milk, 0.5 cup Whole Milk, 1 tsp Vanilla Extract, and 0.25 tsp Salt until fully combined and smooth.
I always use room temperature eggs for better integration. The mixture should be pale and uniform with no streaks of egg visible. Avoid over-whisking, which can introduce too many air bubbles that might affect the texture of your finished dessert.
Step 3: Combine and Prepare for Baking
Pour the custard mixture over the hardened caramel in your baking dish. The caramel layer will soften slightly but maintain its shape. Gently tap the dish on the counter to remove any large air bubbles.
Cover the dish tightly with aluminum foil to prevent a skin from forming on the custard during baking. This step ensures your final product has that signature silky texture without any unwanted surface imperfections.
Step 4: Bake in a Water Bath
Place your covered baking dish in a larger roasting pan. Carefully pour hot water into the roasting pan until it reaches about halfway up the sides of the baking dish. This water bath creates gentle, even heat for perfect custard setting.
Bake in a preheated 350°F oven for 50-60 minutes. The custard is done when the edges are set but the center still has a slight jiggle when gently shaken. The center will continue setting as it cools.
Step 5: Cool and Chill Completely
Remove the baking dish from the water bath and let it cool to room temperature on a wire rack, about 1 hour. Then refrigerate uncovered for at least 4 hours or preferably overnight.
This extended chilling time is crucial for the custard to fully set and for the caramel to properly re-liquefy. When ready to serve, run a knife around the edges and invert onto a serving plate. The caramel should pour out beautifully over the custard.
Pro Tips For Making Flan Recipe With Evaporated Milk
- Bake in Water Bath: Always set your flan dish in a deeper pan filled with hot water halfway up the sides—this gentle, even heat prevents curdling and gives that silky texture.
- Strain the Custard: After whisking the eggs with evaporated and condensed milk, strain the mixture through a fine-mesh sieve to remove any lumps or bits of egg for a perfectly smooth flan.
- Don’t Overmix Eggs: I learned this the hard way—whisk the eggs just until combined with the milks, not vigorously, or you’ll trap air bubbles that turn into unsightly holes in your finished flan.
- Cool Before Unmolding: Let the flan cool to room temperature in the pan, then refrigerate for at least 4 hours—this patience pays off when it slides out cleanly with the caramel intact.
Common Mistakes When Making Great flan recipe with evaporated milk
Overheating the Caramel
I can’t tell you how many times I’ve seen caramel turn bitter from just 30 seconds too long on the heat. Watch like a hawk—once it hits that deep amber color, pull it immediately. David always jokes I’ve got a sixth sense for caramel timing. 🔥
Skipping the Water Bath
This isn’t optional—without that gentle water bath, your custard will cook unevenly and develop a rubbery texture. I tested this once in my Austin kitchen without the bath, and the edges were tough while the center stayed liquid. Lesson learned.
Using Cold Eggs
Room temperature eggs blend smoothly into the custard base. Cold eggs can create lumps that never fully incorporate, no matter how hard you whisk. I always set my eggs out 1 hour before starting. Trust me, it makes a noticeable difference.
Overmixing the Custard
Whisk just until combined—overdoing it introduces air bubbles that can create unsightly holes in your finished dessert. I use a gentle hand and stop as soon as the mixture looks uniform. The goal is silky, not frothy.
Rushing the Chilling
Patience is key here. The custard needs that full 4 hours in the fridge to set properly. I’ve tried cutting corners, and the result is always a wobbly mess that won’t hold its shape when inverted.
Wrong Pan Size
Use an 8-inch round pan for the right depth. Too large and your custard will be shallow and overcooked. Too small and it won’t cook through properly. I learned this the hard way during my early diner days.
Nutrition Facts
Frequently Asked Questions
Can I use regular milk instead of evaporated?
You can, but the texture won’t be as rich. Evaporated milk has 60% less water, creating that ultra-creamy consistency. If substituting, simmer regular milk until reduced by half first.
Why did my caramel turn grainy?
This usually happens if sugar crystals form on the pan sides. Prevent this by using a clean pan and avoiding stirring. If it happens, add 1-2 tablespoons water and gently swirl to dissolve.
How do I know when it’s fully set?
The edges should be firm with a slight jiggle in the center. It will finish setting as it cools. Overbaking creates a dense texture—pull it out at 50-60 minutes.
Can I make this ahead of time?
It keeps well for 5 days refrigerated. In fact, the flavors deepen after 24 hours. Just cover tightly with plastic wrap touching the surface.

Trained in classic French technique but raised on slow-cooked ribs and spicy rubs, she blends culinary skill with smoke and soul.
- Recipe for Boneless Pork Chops in Cast Iron Skillet: Sear and Baste to Juicy Perfection - October 3, 2026
- Recipe for Boneless Cross Rib Roast: Slow-Roasted Beef with Herb Crust - October 3, 2026
- Hamburgers in Sauce Recipe Crock Pot: Slow-Cooked Savory Delight - October 3, 2026