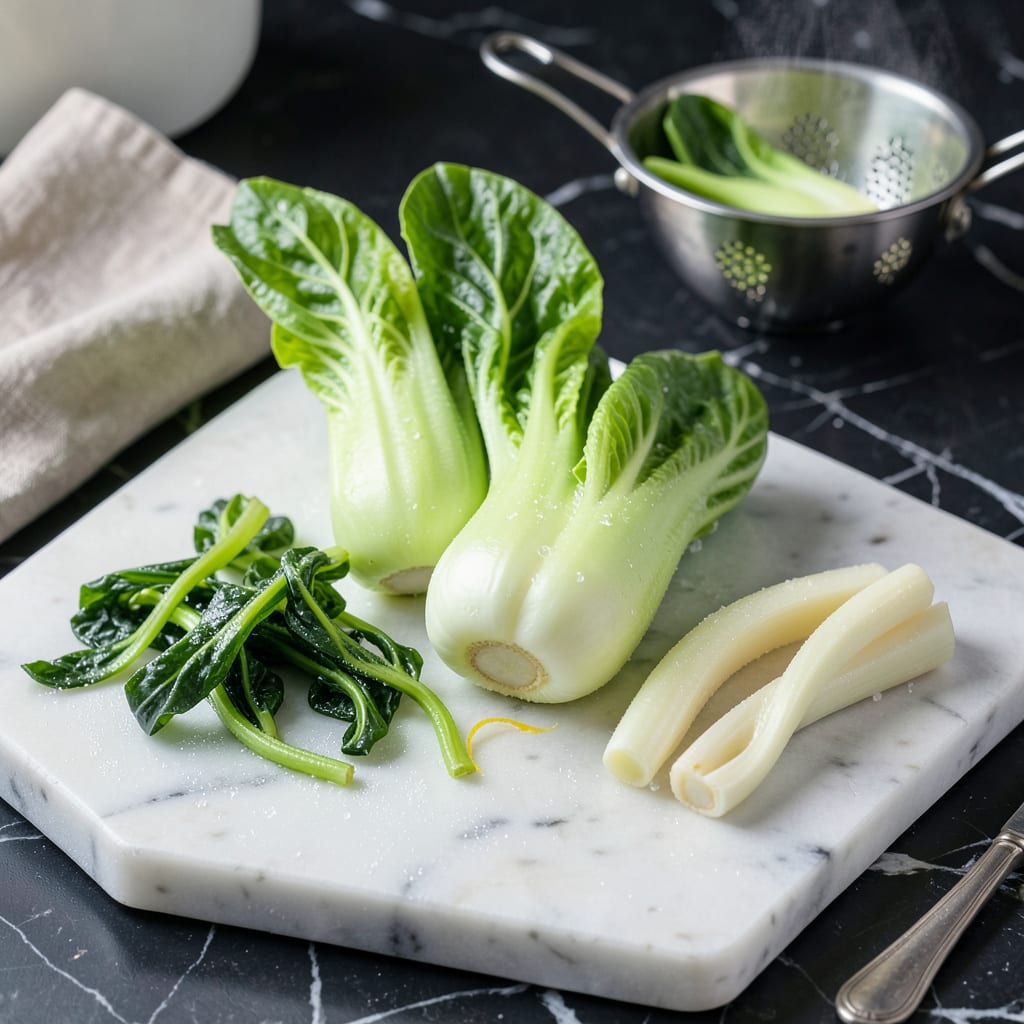
I used to think freezing bok choy was a gamble—until I cracked the code for keeping it crisp-tender months later. No more sad, mushy greens in my stir-fries. The trick isn’t just tossing it in the freezer; it’s a quick blanch-and-shock method that locks in texture and color. I’ve been using this technique for years, and it’s saved me countless trips to the store when fresh bok choy wasn’t available.
Here’s what most people get wrong: skipping the blanching step. Those extra 3 minutes in boiling water make all the difference between icy, waterlogged leaves and bok choy that still has bite. I use this method for both baby and mature bok choy, though the smaller stalks freeze particularly well. The key is working fast once you pull it from the ice bath—water is the enemy of freezer quality.
What you’ll get is bok choy that keeps its vibrant green color and tender-crisp texture for up to 8 months. No more wasting half your bunch when recipes call for just a few stalks. I toss the frozen pieces straight into soups, stir-fries, or even vegan dumpling fillings—no thawing required. The flavor stays remarkably fresh, with just a slight sweetness that develops during freezing.
This isn’t just about preservation—it’s about having restaurant-quality greens ready whenever inspiration strikes. Whether you’re meal prepping or just tired of throwing out wilted produce, this method changes the game. Let me walk you through the exact steps that work every time.
📚 In This Guide
- What You’ll Need
- Instructions
- Tips and Common Mistakes
What Youll Need
- ● Fresh bok choy – 1–2 lbs (choose firm, vibrant heads with no wilted leaves 🌱).
- ● Sharp chef’s knife or cleaver (for clean cuts).
- ● Cutting board (preferably large, 12″x18″ or bigger).
- ● Colander or large strainer (for rinsing).
- ○ Salad spinner (optional but highly recommended for drying 💨).
- ● Paper towels or clean kitchen towels (if air-drying).
- ● Baking sheet (lined with parchment paper for easy transfer).
- ● Freezer-safe bags (quart or gallon size, thick to prevent freezer burn ❄️) OR
- ● Airtight containers (leave ½-inch headspace for expansion).
- ● Permanent marker (for labeling with dates).
- ● Blanching pot (4–6 qt, with lid) or large saucepan.
- ● Ice water bath – Large bowl + ice + cold water (enough to submerge bok choy).
- ● Slotted spoon or tongs (for transferring veggies).
- ● Kitchen timer (or smartphone) for precise blanching ⏱️.
- ○ Vacuum sealer (optional, for long-term storage).
Step-by-Step Instructions for Freezing Bok Choy
Preserving bok choy properly ensures it stays tender and flavorful for months—here’s exactly how to do it right.
Select and Wash the Bok Choy
Start by choosing fresh, crisp bok choy with vibrant green leaves and firm white stems. Avoid any with wilted leaves or brown spots, as these won’t freeze well. I like to pick heads that feel heavy for their size—that’s a sign they’re full of moisture and freshness.
Separate the leaves and rinse them thoroughly under cold running water. Bok choy tends to collect dirt in its crevices, so I soak the leaves in a large bowl of cold water for 2-3 minutes, swishing them gently to loosen any trapped grit. Drain and rinse again if needed until the water runs completely clear.
Blanch the Bok Choy for Optimal Texture
Bring a large pot of water to a rolling boil. While waiting, prepare an ice water bath in a separate large bowl—this will stop the cooking process immediately. Working in batches, add the bok choy leaves to the boiling water and blanch for 90 seconds for baby bok choy or 2 minutes for mature bok choy.
The blanching process preserves that crisp-tender texture you want. You’ll notice the leaves turn a brighter green and the stems become slightly translucent at the edges—that’s your visual cue they’re ready. Use tongs to transfer the blanched bok choy directly to the ice bath and let it cool for 2 minutes to halt the cooking.
Drain and Dry Thoroughly
Drain the cooled bok choy in a colander, pressing gently to remove excess water. Here’s the thing—any remaining moisture will turn to ice crystals and make your bok choy mushy when thawed. I spread the leaves in a single layer on clean kitchen towels and pat them completely dry with additional towels.
For extra insurance against freezer burn, I let the bok choy air-dry on the towels for 10-15 minutes before packaging. The stems should feel dry to the touch with no visible water droplets. This step is crucial for maintaining that tender texture you worked so hard to preserve.
Package for Long-Term Storage
Divide the dried bok choy into portion-sized amounts. I like to use quart-sized freezer bags, squeezing out as much air as possible before sealing. For even better protection, I double-bag the bok choy or use a vacuum sealer if available. Make sure to label each package with the date—properly frozen bok choy maintains quality for 8-12 months.
Arrange the packages in a single layer in your freezer initially. Once completely frozen (after about 4 hours), you can stack them to save space. The initial flat freezing prevents the leaves from sticking together and makes it easier to remove just what you need later.
Thaw and Use in Cooking
When ready to use, there’s no need to thaw the bok choy completely. I simply add the frozen pieces directly to stir-fries, soups, or sauté pans. The leaves will separate easily as they cook. For stir-fries, add the frozen bok choy during the last 3-4 minutes of cooking to prevent over-softening.
You’ll find the texture remains remarkably close to fresh—tender stems with slightly wilted but still vibrant leaves. The flavor concentrates slightly during freezing, so you might want to adjust seasoning just a bit when cooking. This method works beautifully for any recipe where you’d normally cook bok choy, from miso soup to vegetable fried rice.
Tips and Common Mistakes
Freezing bok choy the right way makes all the difference between mushy disappointment and crisp-tender perfection. Here’s what I’ve learned from years of preserving greens.
Blanching Precision: Those 90 seconds for baby bok choy and 2 minutes for mature bok choy in Step 2 are critical. I set a timer because over-blanching turns stems soft, while under-blanching leaves them tough. Watch for the leaves to brighten and stems to become slightly translucent at the edges—that’s your perfect visual cue. The immediate 2-minute ice bath stops cooking instantly, locking in that ideal texture.
Drying is Everything: The 10-15 minutes of air-drying in Step 3 isn’t optional. I once rushed this step and ended up with ice crystals that turned my bok choy to mush. After patting dry, spread leaves in a single layer and let them sit. They should feel completely dry to the touch—no moisture at all—before packaging. This prevents freezer burn and maintains that tender bite you want.
Packaging Strategy: In Step 4, removing all air from the freezer bags is key. I press the bag flat, seal it most of the way, then insert a straw to suck out the remaining air before finishing the seal. For extra protection against freezer burn, double-bagging works wonders. The initial 4 hours of flat freezing might seem tedious, but it prevents clumping and makes portioning so much easier later.
Cooking from Frozen: When using your frozen bok choy in Step 5, remember it cooks faster than fresh. Those 3-4 minutes in stir-fries are just right—add it frozen, and it will thaw and cook perfectly in that time. For soups, toss it in during the last 5 minutes of simmering. The texture stays remarkably close to fresh, with just a slight concentration of flavor that actually enhances dishes.
Pro Tips for Freeze Bok Choy
- Freezing bok choy the right way makes all the difference between mushy disappointment and crisp-tender perfection. He…
- Blanching Precision: Those 90 seconds for baby bok choy and 2 minutes for mature bok choy in Step 2 are critical. I s…
- Drying is Everything: The 10-15 minutes of air-drying in Step 3 isn’t optional. I once rushed this step and ended up …
Frequently Asked Questions
Can you freeze bok choy without blanching first?
While you can freeze bok choy raw, blanching (boiling for 2-3 minutes) is highly recommended. It preserves color, texture, and nutrients while killing enzymes that cause spoilage. Raw-frozen bok choy may turn mushy or develop off-flavors within weeks. For best results, always blanch!
How long does frozen bok choy last in the freezer?
Properly blanched and stored bok choy stays fresh for 8–12 months at 0°F (-18°C). Label bags with the freeze date and use within a year for peak quality. After 12 months, it’s safe to eat but may lose crispness or flavor.
What’s the best way to thaw frozen bok choy?
Avoid microwaving! For stir-fries or soups, add frozen bok choy directly to hot dishes—it thaws instantly. For salads or side dishes, thaw in the fridge overnight or submerge sealed bags in cold water for 30–60 minutes. Drain excess water before cooking.
Can I freeze baby bok choy the same way as regular?
Yes! Baby bok choy freezes just like full-sized—blanch whole (if small) or halve lengthwise. Its tender stems may soften slightly more, so it’s perfect for soups, stews, or braised dishes post-freezing. Avoid freezing if you want crisp raw salads.
Why did my frozen bok choy turn slimy or brown?
Sliminess or browning usually means improper blanching or storage. Over-blanching (beyond 3 minutes) or under-drying before freezing causes ice crystals to damage cells. Use airtight bags, remove excess air, and freeze in single layers first to prevent this!
Freezing bok choy is a game-changer for reducing waste and keeping this nutritious green on hand whenever inspiration strikes! ✨ With the right prep—blanching, drying, and airtight storage—you’ll lock in that fresh, crisp-tender texture for up to 8–12 months. No more last-minute grocery runs or wilted veggies in your crisper.
Ready to put your frozen stash to use? Toss it into stir-fries, soups, or smoothies for a quick nutrient boost. Or, if you’re feeling adventurous, try freezing a batch with different seasonings—garlic-ginger bok choy, anyone? 😉 Happy freezing!

Trained in classic French technique but raised on slow-cooked ribs and spicy rubs, she blends culinary skill with smoke and soul.
- Recipe for Boneless Pork Chops in Cast Iron Skillet: Sear and Baste to Juicy Perfection - October 3, 2026
- Recipe for Boneless Cross Rib Roast: Slow-Roasted Beef with Herb Crust - October 3, 2026
- Hamburgers in Sauce Recipe Crock Pot: Slow-Cooked Savory Delight - October 3, 2026