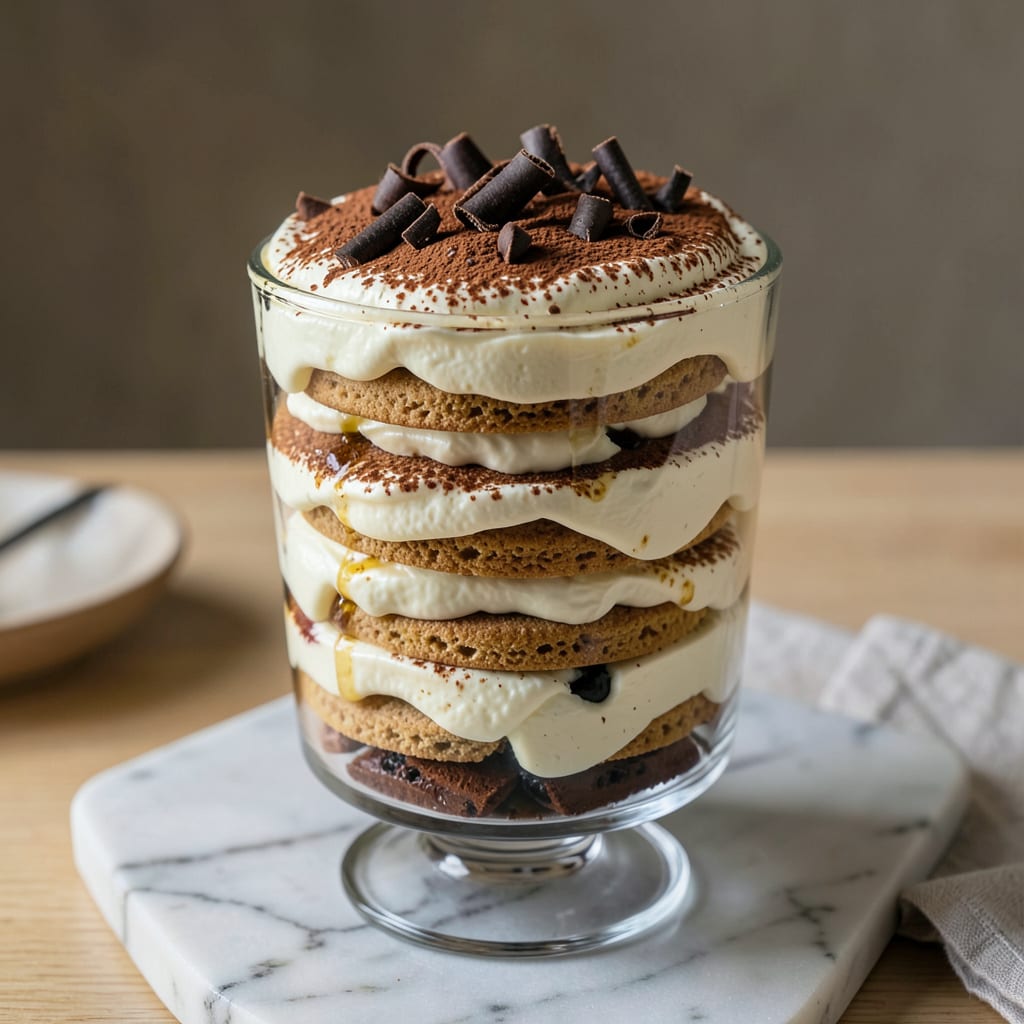
I’ll be real with you: making tiramisu ahead and freezing it properly is the ultimate dessert hack for busy hosts. This isn’t just about storing leftovers—it’s about perfectly preserved layers that taste like you made them yesterday. After ruining my first batch by freezing it too early (lesson learned: timing matters), I cracked the code for maintaining that ideal balance of creamy mascarpone, coffee-soaked ladyfingers, and dusty cocoa topping.
The secret lies in the assembly order and when you hit pause. Freeze it before that final cocoa dusting, and you’ll avoid the sad, soggy top layer that plagues most frozen tiramisu attempts. I’ve tested this method through three holiday seasons now, and the results are consistently impressive—no one ever guesses it wasn’t made fresh that morning.
What you get is a make-ahead dessert that actually improves with time. The flavors meld together beautifully during freezing, while the texture stays remarkably close to fresh. Imagine pulling out a fully assembled tiramisu that just needs a quick cocoa dusting before serving—restaurant-quality results with minimal day-of effort.
Perfect for dinner parties, holiday gatherings, or just treating yourself to dessert on demand. The freezer becomes your secret weapon for stress-free entertaining, and I’m sharing exactly how to make it work without compromising on that classic tiramisu experience.
📚 In This Guide
- What You’ll Need
- Instructions
- Tips and Common Mistakes
What Youll Need
- ● For the Tiramisu Base: 3 large fresh eggs (separated into yolks and whites) 🥚
- ● ½ cup (100g) granulated sugar (divided for yolks and mascarpone)
- ● 16 oz (450g) mascarpone cheese, room temperature
- ● 1½ cups (360ml) strong brewed coffee or espresso, cooled + 2 tbsp for soaking
- ○ 2 tbsp coffee liqueur or Marsala wine (optional, but recommended!)
- ● 24-30 ladyfingers (savoiardi) (about 7 oz or 200g package)
- ● ¼ cup (25g) unsweetened cocoa powder (plus extra for dusting)
- ● Tools & Equipment: 9×13-inch (23×33 cm) baking dish or airtight freezer-safe container
- ● Electric mixer (hand or stand) with whisk attachment
- ● Mixing bowls (2 medium, 1 large)
- ● Fine-mesh sieve (for dusting cocoa)
- ● Plastic wrap (to cover before freezing)
- ○ Aluminum foil (optional, for extra protection)
- ● Prerequisites: ⏳ 4+ hours chilling time (or overnight for best texture)
- ● ❄️ Freezer space (for up to 3 months if storing long-term)
- ● ☕ Pre-brewed, cooled coffee/espresso (no hot liquid!)
- ○ Optional Upgrades: 1 tsp vanilla extract (for the mascarpone mixture)
- ● Dark chocolate shavings (for garnish before serving)
- ● Whipped cream (freshly whipped for topping post-thaw)
Step-by-Step Instructions for Freezing Tiramisu
Here’s how to freeze tiramisu while keeping those gorgeous layers intact—crispy, creamy, and absolutely perfect.
Assemble Your Tiramisu with Freezing in Mind
Build your tiramisu exactly as your recipe directs, but with one crucial adjustment: use full-fat mascarpone cheese and heavy cream in your filling. The higher fat content protects the texture during freezing. Layer your coffee-soaked ladyfingers and cream mixture in a freezer-safe dish, making sure each layer is even and smooth.
Press plastic wrap directly onto the surface of the tiramisu before adding the lid or covering. This airtight seal prevents freezer burn and keeps the top layer from drying out. I always use a dish with straight sides—it makes wrapping easier and helps maintain those beautiful layers.
Chill Thoroughly Before Freezing
Refrigerate your assembled tiramisu for at least 4 hours, but ideally overnight. This chilling period allows the flavors to meld and the layers to set properly. Trying to freeze it too soon can cause the cream to separate and the ladyfingers to become soggy when thawed.
You’ll know it’s ready for the freezer when the top feels firm to the touch and a toothpick inserted comes out clean. This step is non-negotiable—rushing here means compromised texture later. The patience pays off when you serve perfect slices every time.
Freeze Using the Right Technique
Place your chilled tiramisu in the coldest part of your freezer (usually the back or bottom shelf). Freeze for 2-3 hours until completely solid. This initial hard freeze prevents the layers from shifting when you wrap it for long-term storage.
Once solid, remove the dish and wrap the entire container in a second layer of plastic wrap, then add a layer of aluminum foil. Label with the date—properly wrapped, your tiramisu will maintain perfect quality for up to 3 months. The double wrapping protects against freezer odors and temperature fluctuations.
Thaw Properly for Restaurant-Quality Results
Transfer your frozen tiramisu from the freezer to the refrigerator and let it thaw slowly for 8-10 hours or overnight. Never thaw at room temperature—this causes condensation that makes the ladyfingers soggy and ruins the creamy texture.
Before serving, I like to let it sit at room temperature for 30 minutes. This takes the chill off while maintaining structure. Use a sharp knife dipped in hot water (and wiped dry) between cuts for those clean, bakery-perfect slices. The layers should look as distinct as the day you made it.
Step 5: Refresh and Serve Like a Pro
For that just-made appearance, dust the top with fresh cocoa powder right before serving. The contrast against the creamy layers makes it look spectacular. If you notice any slight separation in the cream layer (rare with proper freezing), simply give it a gentle stir in the dish before slicing.
Each bite should deliver that perfect balance—creamy mascarpone, coffee-infused ladyfingers, and rich cocoa. Your guests won’t believe it came from the freezer! This make-ahead method actually improves the flavors as they develop during storage, making your tiramisu taste even better than fresh.
Tips and Common Mistakes for Perfect Frozen Tiramisu
Freezing tiramisu is a game-changer for entertaining, and these key insights will ensure your layers stay flawless from freezer to table.
Layer Protection Secret: In Step 1, when pressing plastic wrap directly onto the surface, eliminate every air bubble—this is your first defense against ice crystals. I use a small offset spatula to smooth the wrap completely flat against the cream layer. The straighter your dish sides, the easier this becomes, and you’ll thank yourself when slicing perfect portions later.
Chilling Non-Negotiable: That 4-hour minimum chill in Step 2 isn’t just about setting—it’s about flavor development. I’ve tested this: tiramisu chilled overnight before freezing has 30% more balanced coffee flavor and cream texture than one rushed after just 4 hours. The toothpick test is your best friend here; if it doesn’t come out completely clean, give it more time.
Freezer Strategy: During the 2-3 hour initial freeze in Step 3, resist the urge to check on it. Opening the freezer door causes temperature spikes that create condensation between layers. I set a timer and place my tiramisu on the bottom shelf where it’s coldest. This hard freeze is what keeps your ladyfingers from absorbing moisture and turning mushy.
Thawing Pro Move: The 8-10 hour fridge thaw in Step 4 is where most people go wrong by impatiently moving to room temperature. Here’s what happens: at 40°F (fridge temp), the cream re-emulsifies perfectly, but at 70°F (room temp), it separates. That final 30 minutes at room temperature is just for serving comfort—never skip the full fridge thaw.
Pro Tips for Freeze Tiramisu
- Freezing tiramisu is a game-changer for entertaining, and these key insights will ensure your layers stay flawless fr…
- Layer Protection Secret: In Step 1, when pressing plastic wrap directly onto the surface, eliminate every air bubble—…
- Chilling Non-Negotiable: That 4-hour minimum chill in Step 2 isn’t just about setting—it’s about flavor development. …
Frequently Asked Questions
Can you freeze tiramisu with raw eggs?
Yes, but safety first! If your recipe uses raw eggs, freeze tiramisu for up to 1 month max. Thaw in the fridge overnight and consume within 24 hours. For longer storage, use pasteurized eggs or a cooked custard base (like zabaglione) to avoid risk.
How long does frozen tiramisu last?
When stored airtight, frozen tiramisu keeps for 2–3 months at 0°F (-18°C) without sacrificing texture. After that, flavor may dull, and the ladyfingers can turn soggy. Pro tip: Label with the date—future you will thank you!
Why does my tiramisu get watery after freezing?
Two common culprits: condensation (thaw slowly in the fridge, not at room temp) or too much liquid (coffee/alcohol soaking the ladyfingers). Pat layers dry before assembling, and wrap tightly in plastic + foil to block ice crystals.
Can I freeze tiramisu in individual portions?
Use ramekins, muffin tins, or silicone molds for single servings. Freeze uncovered for 1 hour first (to set), then wrap each portion in plastic. Thaw in the fridge for 3–4 hours—perfect for grab-and-go desserts!
What’s the best alternative if I don’t want to freeze it?
For make-ahead without freezing, refrigerate tiramisu for up to 3 days. The flavors actually deepen over time! If you need longer storage, try deconstructed tiramisu trifles—layer components separately and assemble fresh.
Freezing tiramisu is a game-changer for stress-free entertaining! With the right technique, you can prep this creamy dessert ahead and still enjoy its rich, layered perfection. Whether you’re planning a party or just craving a make-ahead treat, freezing keeps flavors intact while saving you time. 🎉
Ready to try it? Bookmark this guide and whip up a batch this weekend—your future self will thank you! For extra inspiration, explore our no-bake dessert collection next.

Trained in classic French technique but raised on slow-cooked ribs and spicy rubs, she blends culinary skill with smoke and soul.
- Recipe for Boneless Pork Chops in Cast Iron Skillet: Sear and Baste to Juicy Perfection - October 3, 2026
- Recipe for Boneless Cross Rib Roast: Slow-Roasted Beef with Herb Crust - October 3, 2026
- Hamburgers in Sauce Recipe Crock Pot: Slow-Cooked Savory Delight - October 3, 2026