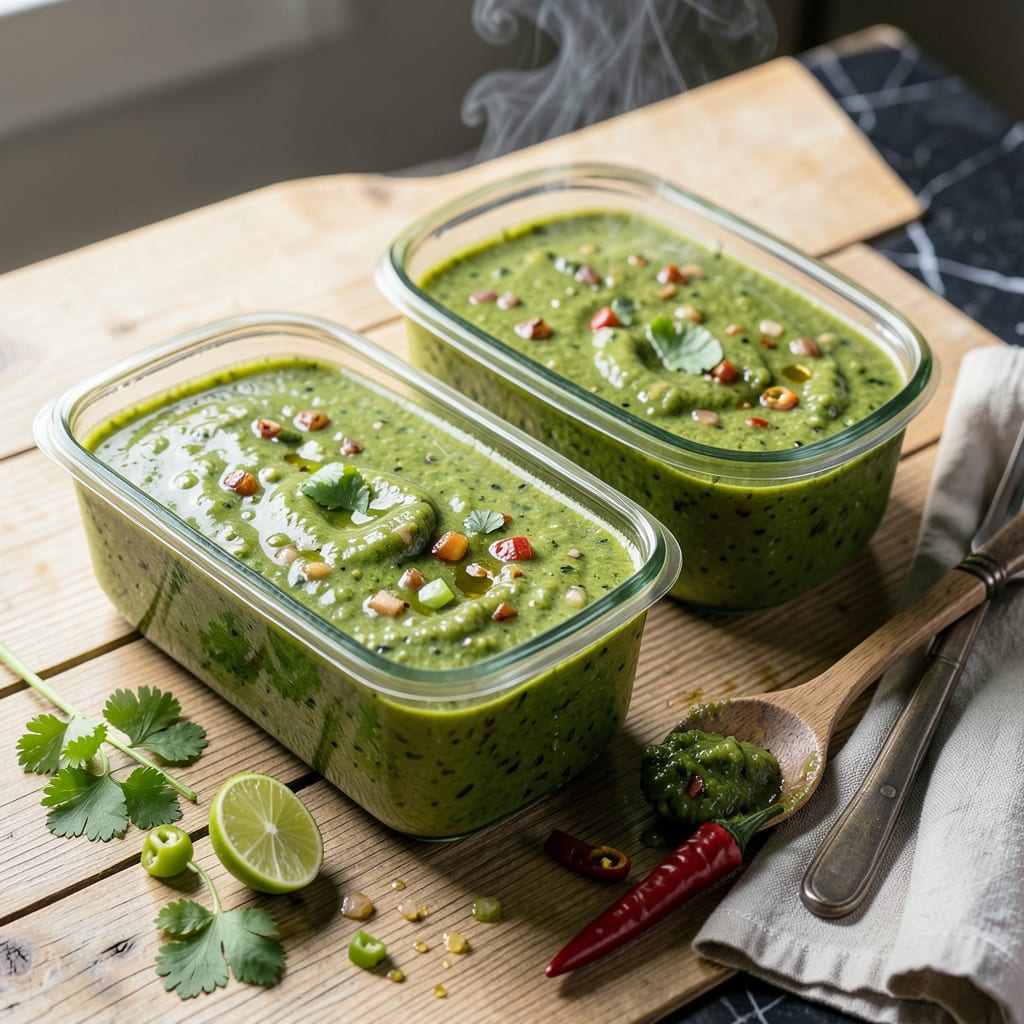
That first batch of homemade salsa verde is always magical—bright, tangy, and packed with fresh flavor. But what happens when you make too much? Freezing it properly means you can enjoy that same vibrant taste months later without losing quality. I’ve tested every method, and the right approach keeps that zesty kick intact.
Here’s the thing—salsa verde freezes beautifully if you handle it right. Ice cube trays work great for small portions, while freezer bags save space for larger batches. The key is removing as much air as possible before sealing to prevent freezer burn. I’ve had jars last up to 6 months with no flavor loss when stored properly.
When you’re ready to use it, thawing in the fridge overnight works best, though a quick microwave thaw works in a pinch. The texture might separate slightly, but a quick pulse in the blender brings it right back to life. I always add a squeeze of fresh lime after thawing to brighten it up.
Frozen salsa verde becomes your secret weapon for quick meals—toss it with shredded chicken for tacos, stir into soups for extra depth, or use as a marinade for grilled meats. That summer garden flavor stays ready whenever you need it.
📚 In This Guide
- What You’ll Need
- Instructions
- Tips and Common Mistakes
What Youll Need
- ● Fresh salsa verde – 2–4 cups (homemade or store-bought, ensure it’s cooled to room temperature)
- ● Freezer-safe containers – Airtight glass jars (16 oz) or BPA-free plastic containers with tight lids
- ○ Freezer bags – Quart-sized, heavy-duty (optional for space-saving storage)
- ● Permanent marker – For labeling dates (💡 trust us, future-you will thank you!)
- ○ Lemon or lime juice – 1–2 tbsp (optional, helps preserve color and tanginess)
- ○ Plastic wrap – Optional, to press directly on salsa surface to minimize air exposure
- ● Measuring cups/spoons – For portioning (if freezing in smaller batches)
- ○ Ice cube trays – Optional, for freezing 1–2 tbsp portions (perfect for single servings!)
- ○ Vacuum sealer – Optional but ideal for long-term storage (extends shelf life to 6+ months)
- ● Cooling rack – If salsa is freshly made and still warm
Instructions
Here’s how to freeze your salsa verde while keeping all that fresh, zesty flavor intact.
Cool the Salsa Completely
Before freezing, make sure your salsa verde has cooled to room temperature. I like to spread it out in a shallow container to speed up this process. If you freeze it while still warm, ice crystals will form unevenly, which can affect the texture when you thaw it later.
This step usually takes about 30-45 minutes depending on how much salsa you’re working with. You’ll know it’s ready when the container feels cool to the touch and there’s no visible steam rising from the surface. Stir it occasionally to help it cool evenly.
Choose Your Freezing Containers
I prefer using airtight containers or heavy-duty freezer bags for freezing salsa verde. Glass jars work well too, but leave about 1 inch of headspace at the top since liquids expand when frozen. For freezer bags, I recommend the quart-size – they’re perfect for single batches.
If you’re using bags, place them in a bowl or mug while filling to keep them steady. This prevents spills and makes it easier to remove air before sealing. For containers, make sure they have tight-fitting lids to prevent freezer burn. Label everything with the date – salsa verde keeps best when used within 3 months.
Portion and Package the Salsa
Divide the cooled salsa into your chosen containers. For bags, I like to portion about 1-2 cups per bag – enough for most recipes. Squeeze out as much air as possible before sealing to prevent freezer burn. With containers, fill them to about ¾ full to allow for expansion.
Here’s a trick I’ve learned: place the filled bags flat on a baking sheet before freezing. Once frozen solid, you can stack them vertically like books, saving tons of freezer space. For containers, place them on a stable shelf where they won’t get jostled as the liquid freezes.
Freeze and Store Properly
Place your packaged salsa in the coldest part of your freezer, usually the back or bottom shelf. Freeze at 0°F or lower for best results. The salsa will take about 4-6 hours to freeze completely, but I recommend leaving it overnight to ensure it’s fully solid.
Once frozen, you can rearrange the packages if needed. Just be gentle – you don’t want to crack any containers or puncture bags. The salsa will keep its best quality for about 3 months, though it’s still safe to eat for up to 6 months if properly stored.
Thaw and Use Your Frozen Salsa
When you’re ready to use the salsa, transfer it to the refrigerator to thaw overnight. For quicker thawing, you can place the sealed bag in a bowl of cold water for about 1-2 hours. Never thaw at room temperature or in warm water – this can affect both texture and safety.
After thawing, give the salsa a good stir. You might notice some separation, which is normal. The flavor will be just as bright and tangy as when you first made it. Use it in all your favorite recipes – it works perfectly in everything from tacos to eggs to marinades.
Tips and Common Mistakes
Freezing salsa verde properly means keeping that vibrant flavor and perfect texture. Here’s what I’ve learned from years of preserving my homemade batches.
Cooling Technique: In Step 1, spreading the salsa in a shallow container really speeds up the cooling process. I’ve found that using a metal baking sheet works even better than glass or plastic because it conducts heat away faster. Don’t rush this step – those 30-45 minutes are crucial for preventing ice crystals that can make your salsa watery when thawed. Stir it a few times during cooling to help release heat evenly from the center.
Packaging Wisdom: For Step 3, when using freezer bags, here’s my trick: place the bag in a measuring cup with the top folded over the rim. This keeps it perfectly open while you spoon in the salsa, preventing messy spills. Remember to leave that 1 inch of headspace in containers – I learned the hard way that salsa expands more than you’d expect when frozen. Squeeze out every bit of air from bags before sealing; I actually use a straw to suck out the last bit for a perfect vacuum seal.
Freezing Strategy: The 4-6 hours mentioned in Step 4 is accurate, but I always freeze overnight when possible. Here’s why: a slow, complete freeze at 0°F preserves the cell structure of the herbs and vegetables better than a quick freeze. Place packages in the back of the freezer where the temperature stays most consistent. If you’re using glass jars, wrap them in a towel during the initial freezing to prevent cracking from rapid temperature changes.
Thawing Insight: When you’re ready to use your salsa, the 1-2 hour cold water thaw in Step 5 works great, but here’s what I do: I place the sealed bag in a colander in the sink and run a very thin stream of cold water over it. This creates constant water movement for faster, more even thawing. Always stir well after thawing – some separation is normal, but a good mix restores that perfect consistency you worked hard to preserve.
Pro Tips for Freezing Salsa Verde
- Freezing salsa verde properly means keeping that vibrant flavor and perfect texture. Here’s what I’ve learned from ye…
- Cooling Technique: In Step 1, spreading the salsa in a shallow container really speeds up the cooling process. I’ve f…
- Packaging Wisdom: For Step 3, when using freezer bags, here’s my trick: place the bag in a measuring cup with the top…
Frequently Asked Questions
Can you freeze salsa verde with dairy (like crema or cheese)?
It’s best to freeze dairy-free salsa verde! Dairy products (like crema or queso fresco) can separate, curdle, or turn grainy when thawed. Freeze the base (tomatoes, peppers, onions, herbs) first, then stir in fresh dairy after reheating for the creamiest texture.
How long does frozen salsa verde last?
When stored in airtight containers or heavy-duty freezer bags, salsa verde stays fresh for 4–6 months. For peak flavor, use it within 3 months. Label bags with the date—trust us, future-you will thank you!
Why does my thawed salsa verde look watery?
Tomatoes release liquid when frozen and thawed. Fix it by draining excess water (use a fine-mesh strainer) or simmering the salsa for 5–10 minutes to thicken. A splash of lime juice can also revive the zing!
Can I freeze salsa verde in glass jars?
Glass jars can crack in the freezer due to expansion. If you must use them, choose tempered glass (like mason jars) and leave 1-inch headspace. Plastic or silicone containers are safer bets!
What’s the best way to thaw frozen salsa verde?
For even thawing, transfer salsa to the fridge overnight (8–12 hours). Need it faster? Use the defrost setting on your microwave or place the sealed bag in cold water. Avoid hot water—it can make textures mushy!
Freezing salsa verde is a game-changer for keeping that zesty, herb-packed flavor ready whenever you need it! 🌿 With the right prep—like cooling it first and using airtight containers—you can lock in freshness for up to 6 months. No more last-minute batches or wasted ingredients!
Now that you’re equipped with the know-how, why not double your next batch? Stock your freezer and tag a friend who’d love this hack—because great salsa (and tips) are meant to be shared! 😉

Trained in classic French technique but raised on slow-cooked ribs and spicy rubs, she blends culinary skill with smoke and soul.
- Recipe for Boneless Pork Chops in Cast Iron Skillet: Sear and Baste to Juicy Perfection - October 3, 2026
- Recipe for Boneless Cross Rib Roast: Slow-Roasted Beef with Herb Crust - October 3, 2026
- Hamburgers in Sauce Recipe Crock Pot: Slow-Cooked Savory Delight - October 3, 2026