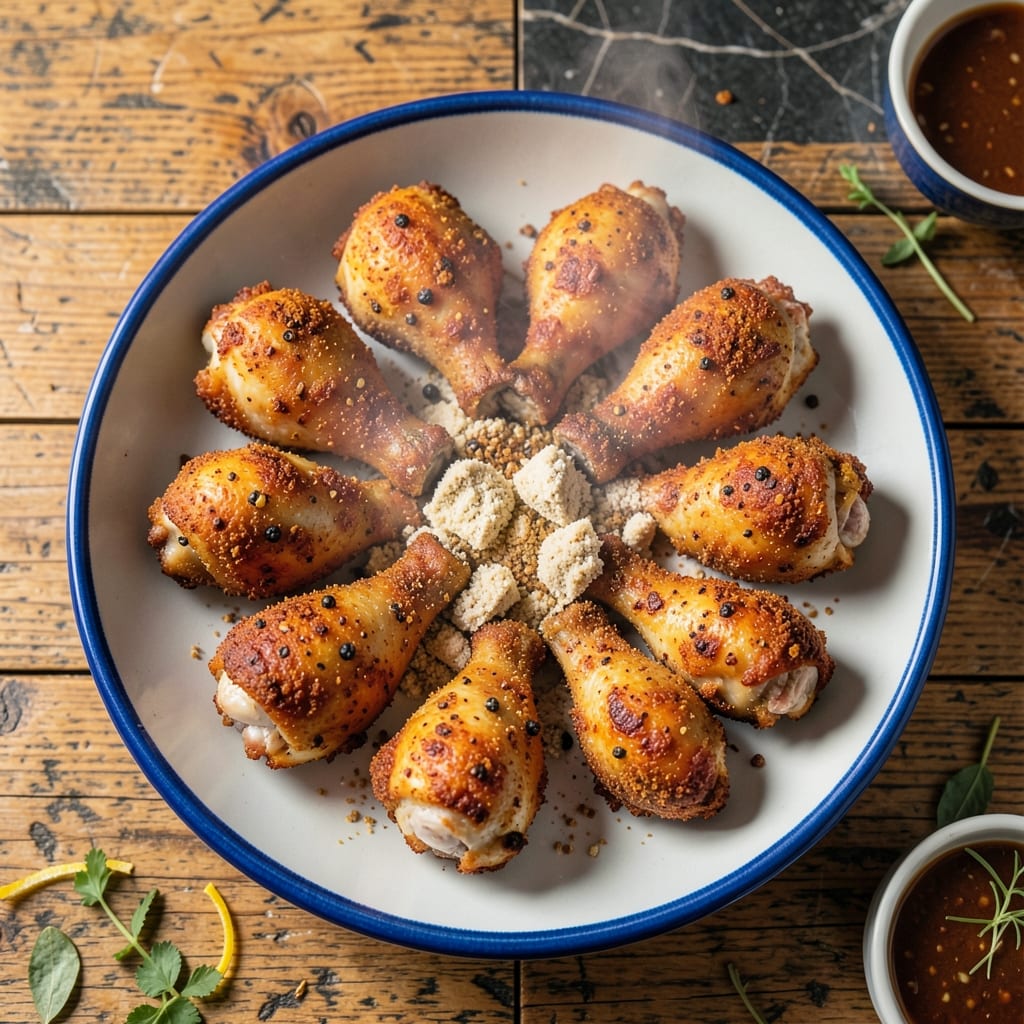
This method guarantees juicy fried chicken every time by starting with a boiling step that locks in moisture before frying.
The pre-boiling process tenderizes the meat while infusing it with subtle flavor from the seasoned water. This creates a foundation for the ultra-crispy coating that follows.
After boiling, the chicken gets a double-dredge in seasoned flour for maximum crunch. The result is meat that stays succulent under a golden, shatteringly crisp exterior.
This technique delivers on the promise of restaurant-quality fried chicken at home with a foolproof method for perfect texture.
Ingredients for Fried Chicken Recipe Boil First
Pantry staples and chicken pieces combine for restaurant-quality results at home with this method.
| Ingredient | Amount | Notes |
|---|---|---|
| Chicken Thighs 🍗 | 2 ½ lb | Bone-in, skin-on preferred |
| Chicken Drumsticks 🍗 | 1 ½ lb | Bone-in, skin-on preferred |
| Kosher Salt 🧂 | ¼ cup | Diamond Crystal preferred |
| Black Peppercorns 🌶️ | 1 tbsp | Freshly cracked preferred |
| Bay Leaves 🍃 | 2 pieces | Dried, for boiling water |
| Garlic Cloves 🧄 | 6 cloves | Smashed, for boiling water |
| All-Purpose Flour 🌾 | 3 cups | For double-dredge coating |
| Cornstarch 🌾 | ½ cup | For extra crispiness |
| Paprika 🌶️ | 2 tbsp | Sweet or smoked variety |
| Garlic Powder 🧄 | 1 tbsp | For seasoned flour |
| Onion Powder 🧅 | 1 tbsp | For seasoned flour |
| Cayenne Pepper 🔥 | ½ tsp | Adjust for heat preference |
| Buttermilk 🥛 | 2 cups | For soaking post-boil |
| Vegetable Oil 🫒 | 4 cups | For deep frying, high smoke point |
[recipe_ingredient_scaler]
The chicken selection matters most for this technique. Bone-in, skin-on thighs and drumsticks provide the juiciest results due to their higher fat content and connective tissue. For optimal texture, source from Whole Foods or Costco where the birds are typically larger and more consistent. Ensure the pieces are uniform in size for even cooking during both the boiling and frying stages.
Substitutions require careful consideration here. Bone-in chicken breasts can work but may dry out more easily—reduce boiling time by 2-3 minutes. For the coating, gluten-free flour blends plus one teaspoon xanthan gum can replace all-purpose flour. Buttermilk substitutes like thinned yogurt with a splash of vinegar work in a pinch, though the tang won’t be as pronounced.
The pre-boiled chicken can rest in buttermilk for up to 12 hours in the fridge before frying. Cooked chicken keeps 3-4 days refrigerated or freezes for 3 months. Reheat in a 350°F oven on a wire rack to maintain crispiness—microwaving will soften the coating.
Why You’ll Love This Recipe
- One Pot Magic: I love that I can boil the chicken with just salt, peppercorns, and bay leaves in one pot before frying—no fancy prep.
- Crispy Perfection: The pre-boiling step locks in moisture so the skin gets that shatteringly crisp texture every time.
- Feeds the Fam: Between us, this is my go-to for Sunday dinners—dark meat stays juicy and no one complains.
- Budget Winner: Chicken thighs and drumsticks are cheap, and this method stretches them into two meals with leftovers.
Step-by-Step Instructions for Fried Chicken Recipe Boil First
This method ensures exceptionally juicy meat with a shatteringly crisp coating.
Step 1: Prepare and Boil the Chicken
Combine the 2.5 lb Chicken Thighs and 1.5 lb Chicken Drumsticks in a large pot. Add the 0.25 cup Kosher Salt, 1 tbsp Black Peppercorns, 2 pieces Bay Leaves, and 6 cloves Garlic Cloves.
Cover with cold water by about 2 inches and bring to a gentle boil over medium-high heat. Reduce to a simmer and cook for 12-15 minutes until the chicken is just cooked through but not falling off the bone. The meat should be opaque and register 165°F internally.
This pre-cooking step is crucial—it seasons the meat deeply while keeping it moist during frying. Remove from water and let drain on a wire rack for 10 minutes to cool slightly and allow excess moisture to evaporate.
Step 2: Create the Seasoned Coating
In a large bowl, whisk together the 3 cups All-Purpose Flour, 0.5 cup Cornstarch, 2 tbsp Paprika, 1 tbsp Garlic Powder, 1 tbsp Onion Powder, and 0.5 tsp Cayenne Pepper until thoroughly combined. The cornstarch is key for that ultra-crisp texture.
Transfer half of this mixture to a shallow dish for the initial dredge. Reserve the remaining seasoned flour for the second coating. This double-dredge technique creates a thicker, more textured crust that stays crisp longer.
Step 3: Soak in Buttermilk and Double-Dredge
Pour the 2 cups Buttermilk into a separate shallow dish. Dip each piece of cooled chicken into the buttermilk, ensuring it’s fully coated. Let any excess drip off for a moment before rolling in the first dish of seasoned flour.
After the first dredge, return the chicken to the buttermilk for another quick dip. Then press firmly into the reserved seasoned flour, making sure to coat every crevice. The coating should look shaggy and thick—this is what creates that signature crunch.
Place the coated chicken on a wire rack set over a baking sheet. Let it rest for 10-15 minutes to allow the coating to adhere properly. This resting period prevents the coating from sliding off during frying.
Step 4: Deep-Fry to Golden Perfection
Heat the 4 cups Vegetable Oil in a deep, heavy pot to 350°F over medium-high heat. Use a deep-fry thermometer for accuracy—maintaining the correct temperature is essential for even cooking and crispiness.
Working in batches to avoid crowding, carefully lower the chicken into the hot oil. Fry for 12-15 minutes, turning occasionally, until the coating is a deep golden brown and the internal temperature reaches 165°F. The oil should bubble steadily but not violently.
Drain on a wire rack or paper towels. The juices should run clear when pierced, and the coating should be uniformly crisp with no raw flour spots. Serve immediately while hot and crispy.
Pro Tips For Making Fried Chicken Recipe Boil First
- Boil with Skin On: Keep the skin on during the boil—it locks in moisture and gives the final fried crust extra crunch. I learned this the hard way after making dry, flavorless chicken without it.
- Salt the Water: Use a full tablespoon of kosher salt per quart of water for the boil. Sounds like a lot, but it actually changes the outcome—seasoning the meat all the way through.
- Dry Thoroughly: Pat the chicken bone-dry with paper towels after boiling. Skip this and your crust won’t crisp properly, no matter how hot the oil.
- Rest Before Frying: Give the boiled chicken 10 minutes on a rack before frying. This lets the coating stick better and prevents soggy spots—I was skeptical until I tried it.
Essential Equipment for This Dish
Deep-Fry Thermometer
A deep-fry thermometer is non-negotiable for maintaining precise oil temperature. I use the Taylor Precision Products model—it clips to the pot and gives accurate readings between 200-400°F. Without it, you risk undercooked meat or burnt coating. 🌡️
Heavy-Duty Pot
Choose a 5-6 quart heavy-bottomed pot like Le Creuset Dutch oven for even heat distribution. The heavy base prevents hot spots that can cause uneven frying. Fill with oil no more than ½ full to avoid dangerous overflow when adding chicken.
Wire Rack Setup
For draining and cooling, I swear by a wire rack set over a baking sheet. The OXO Good Grips version has feet to keep the rack elevated. This allows air circulation under the chicken, preventing soggy bottoms while the coating sets.
Tongs for Safety
Use 12-inch locking tongs—I prefer OXO’s stainless steel version—for safe handling. The length keeps your hands away from hot oil, and the locking mechanism makes storage easier. Never use forks, which can pierce the coating and release precious juices.
Paper Towel Station
Keep a stack of heavy-duty paper towels nearby for quick cleanup. I use Bounty Select-a-Size because they’re absorbent and strong. Blot excess oil from the thermometer between uses to maintain accuracy.
Buttermilk Bowl
Use a wide, shallow dish for the buttermilk soaking step. A 9×13-inch glass baking dish works perfectly. The wide surface allows easy dipping while the depth prevents spills when coating multiple pieces.
Nutrition Facts
Frequently Asked Questions
Why boil chicken before frying?
Boiling first ensures the meat cooks through gently while staying juicy. The 12-15 minutes in seasoned water also infuses flavor deep into the meat before the crispy coating is added.
Can I use boneless chicken?
Yes, but reduce boiling time to 8-10 minutes to avoid drying it out. Bone-in pieces are preferred for this method as they stay moister during frying.
How do I keep the coating crispy?
Maintain oil at 350°F and fry in small batches. Drain on a wire rack, not paper towels, to prevent steam from softening the crust.
Can I skip the buttermilk soak?
No, the buttermilk helps the flour coating adhere and adds tenderness. Skipping it may result in a less crispy, uneven finish.

Trained in classic French technique but raised on slow-cooked ribs and spicy rubs, she blends culinary skill with smoke and soul.
- Recipe for Boneless Pork Chops in Cast Iron Skillet: Sear and Baste to Juicy Perfection - October 3, 2026
- Recipe for Boneless Cross Rib Roast: Slow-Roasted Beef with Herb Crust - October 3, 2026
- Hamburgers in Sauce Recipe Crock Pot: Slow-Cooked Savory Delight - October 3, 2026