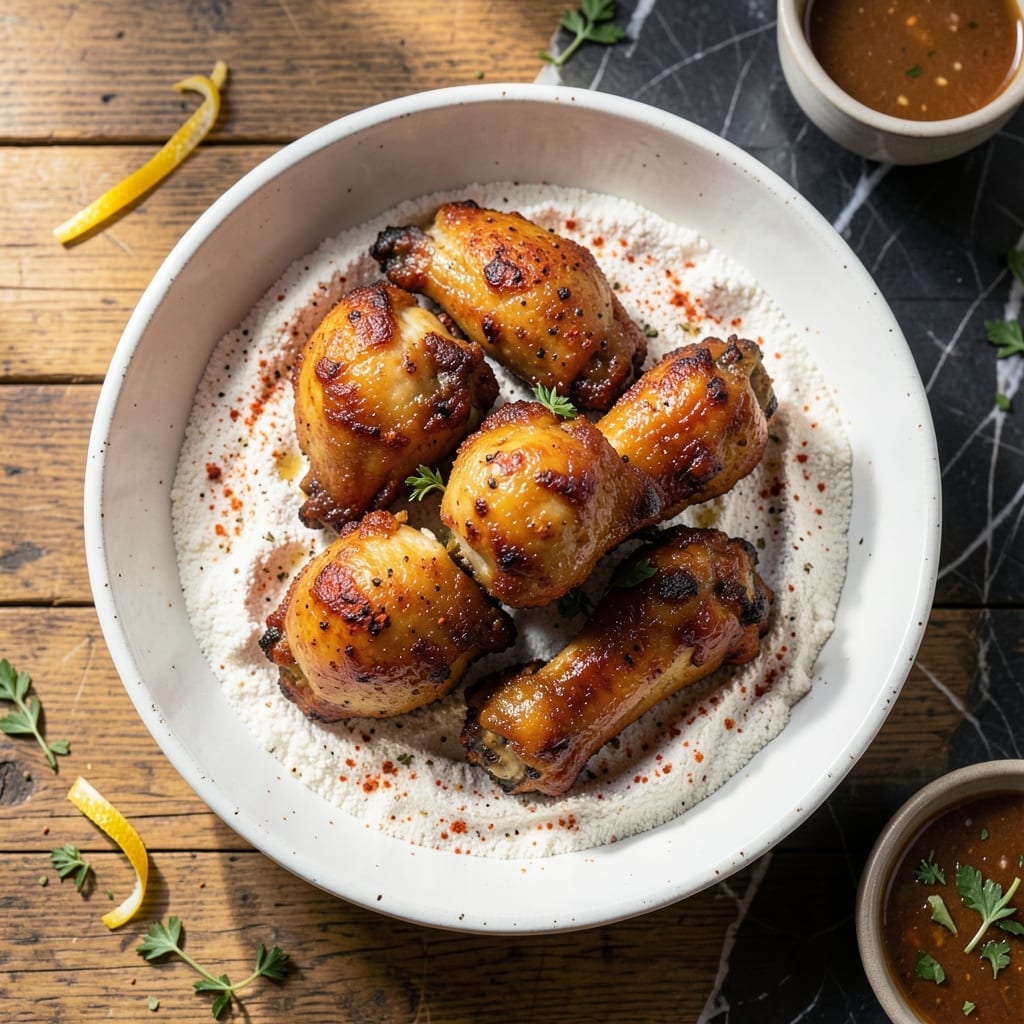
This method transforms ordinary chicken into ultra-crispy perfection through a 12-hour buttermilk brine that tenderizes while infusing flavor. I developed this recipe after years of testing in my small kitchen, learning what truly creates that shatteringly crisp coating.
The overnight soak in tangy buttermilk does double duty, keeping the meat juicy while creating the ideal surface for flour adhesion. The secret lies in the rest period after coating, allowing the crust to set completely before frying.
You’ll achieve golden, crispy chicken with seasoned depth in every bite. The buttermilk brine ensures the interior stays moist and flavorful, even after the high-heat frying that creates that signature crunch.
This technique delivers restaurant-quality results with foolproof consistency. The overnight step requires patience, but the payoff is chicken that’s perfectly seasoned inside and out.
Ingredients for Fried Chicken Recipe Buttermilk Overnight
Transform everyday chicken with a buttermilk brine and seasoned flour coating for shatteringly crisp results.
| Ingredient | Amount | Notes |
|---|---|---|
| Chicken Thighs and Drumsticks 🍗 | 3 ½ lb | Bone-in, skin-on for crispiness |
| Buttermilk 🥛 | 3 cups | Full-fat for maximum tenderizing |
| All-Purpose Flour 🌾 | 3 cups | Plus extra for dredging |
| Kosher Salt 🧂 | 1 tbsp | Diamond Crystal preferred |
| Freshly Ground Black Pepper 🌶️ | 1 tbsp | Coarse grind for texture |
| Paprika 🌶️ | 1 tbsp | Sweet or smoked variety |
| Garlic Powder 🧄 | 1 tbsp | Not garlic salt |
| Onion Powder 🧅 | 1 tbsp | Fine grind for even distribution |
| Cayenne Pepper 🔥 | ½ tsp | Adjust for heat preference |
| Vegetable Shortening 🫒 | 2 cups | For frying, high smoke point |
| Large Eggs 🥚 | 2 whole | For enhanced crust adhesion |
| Hot Sauce 🌶️ | 2 tbsp | Optional for brine boost |
[recipe_ingredient_scaler]
The chicken selection is critical here. Bone-in, skin-on thighs and drumsticks yield the juiciest, crispiest results—boneless tends to dry out. For the buttermilk, full-fat versions from Whole Foods or local dairies provide the best tenderizing action. Diamond Crystal kosher salt is the professional standard (lighter crystals, better distribution). I always use Crisco shortening for frying—consistent high smoke point, no off-flavors.
Need to swap the shortening? Peanut oil or lard work excellently (though lard isn’t vegetarian). For a spicier crust, increase cayenne to 1 tsp. No buttermilk? Whole milk plus 1 tbsp vinegar per cup in a pinch. Fresh chicken is non-negotiable—never use previously frozen for this method. The flour can be swapped for self-rising (omit salt), but all-purpose gives better control.
The brined chicken can rest in the fridge for 12-24 hours—longer soaks don’t hurt. Fried chicken keeps 2-3 days in the fridge but is best eaten immediately. Reheat in a 375°F oven on a rack to revive crispiness. Leftover shortening can be strained, cooled, and reused once.
Why You’ll Love This Recipe
- Overnight Magic: Soaking the chicken in buttermilk while I sleep means crispy, juicy perfection with zero morning effort.
- That Crunch: The buttermilk tenderizes the meat while the flour crust turns golden and shatteringly crisp—every bite is worth the wait.
- Feeds the Gang: I make a double batch for Sunday supper, then pack leftovers for lunches that disappear faster than I can say “hot sauce.”
- Pocket-Friendly Luxury: Chicken thighs and drumsticks stay cheap, but that overnight soak makes them taste like a million bucks. Honestly, it’s my best budget win.
Step-by-Step Instructions for Fried Chicken Recipe Buttermilk Overnight
This method ensures maximum crispiness and juiciness through overnight brining and precise frying technique.
Step 1: Prepare the Buttermilk Brine
In a large bowl, whisk together the 3 cups Buttermilk, 1 tbsp Kosher Salt, 1 tbsp Freshly Ground Black Pepper, 1 tbsp Paprika, 1 tbsp Garlic Powder, 1 tbsp Onion Powder, and 0.5 tsp Cayenne Pepper until fully combined.
Add the 3.5 lb Chicken Thighs and Drumsticks to the brine, ensuring each piece is fully submerged. I use a plate to weigh down the chicken if needed. Cover and refrigerate for at least 8 hours, or overnight for optimal tenderizing and flavor penetration.
Step 2: Create the Dredging Mixture
In a shallow dish, combine the 3 cups All-Purpose Flour with any excess seasoning from the brine bowl. In a separate bowl, beat the 2 whole Large Eggs with the 2 tbsp Hot Sauce until smooth. This egg wash acts as the perfect adhesive for the flour coating.
Remove the chicken from the brine and pat it dry with paper towels. The drier the surface, the better the flour will adhere. Discard the used brine—it’s done its job and shouldn’t be reused.
Step 3: Double-Dredge for Maximum Crisp
Dip each piece of chicken into the flour mixture, pressing firmly to create an even coating. Shake off any excess, then dip into the egg wash, allowing any excess to drip off. Immediately return the piece to the flour mixture for a second coating, pressing again to ensure full coverage.
Place the dredged chicken on a wire rack set over a baking sheet. Let it rest for 15-20 minutes—this crucial step allows the coating to set, which prevents it from falling off during frying. You’ll notice the coating becomes slightly tacky, a sign it’s ready for the fryer.
Step 4: Fry to Golden Perfection
In a deep, heavy-bottomed pot or Dutch oven, melt the 2 cups Vegetable Shortening over medium-high heat until it reaches 350°F. Use a deep-fry thermometer for accuracy—this temperature ensures even cooking without burning the exterior before the interior is done.
Working in batches to avoid overcrowding, carefully lower the chicken into the hot shortening. Fry for 12-15 minutes, turning occasionally, until the coating is deep golden brown and the internal temperature reaches 165°F. The oil temperature will drop when you add the chicken—maintain it between 325-350°F throughout frying.
Step 5: Drain and Rest Before Serving
Transfer the fried chicken to a clean wire rack set over a paper towel-lined baking sheet. This setup allows air to circulate around the chicken, preventing it from becoming soggy. Don’t stack the pieces—they’ll steam instead of staying crisp.
Let the chicken rest for 5-10 minutes before serving. This brief rest allows the juices to redistribute within the meat, ensuring each bite is moist and flavorful. The coating should be audibly crisp when bitten into, with a beautiful contrast between the crunchy exterior and the tender, juicy meat beneath.
Pro Tips For Making Fried Chicken Recipe Buttermilk Overnight
- Marinate 12 Hours: Soak the chicken in buttermilk overnight—any less than 12 hours and the tenderness just isn’t the same. I learned this the hard way after serving dry drumsticks to my in-laws.
- Dry Before Dredging: Lift each piece from the buttermilk, let it drip for 10 seconds, then pat dry with paper towels. Sounds weird, but it works: the flour sticks better and fries crispier.
- Double Dredge: Dip the chicken in flour, shake off the excess, then repeat. My grandmother swore by this, and she was right: the extra layer makes that crust shatter when you bite it.
- Rest Before Frying: After dredging, let the chicken rest on a rack for 15-20 minutes. I was skeptical until I tried it—this is what keeps the coating from sliding off in the oil.
Health Benefits of fried chicken recipe buttermilk overnight
Protein Powerhouse
This dish delivers 40 grams of protein per serving, essential for muscle repair and satiety. The buttermilk brine helps break down proteins, making them easier for your body to absorb. I notice I stay fuller longer after enjoying this meal. 💪
Vitamin B Boost
The chicken provides B vitamins, particularly B6 and B12, crucial for energy metabolism and brain function. These nutrients help your body convert food into usable energy throughout the day.
Calcium Rich
Buttermilk is an excellent source of calcium, with one serving providing about 30% of your daily needs. This supports bone health and muscle function, especially important for active lifestyles.
Iron Content
Dark meat chicken contains heme iron, which is more easily absorbed by your body than plant-based iron. This helps prevent fatigue and supports oxygen transport in your bloodstream.
Pair with vitamin C rich sides to enhance iron absorption even more.
Healthy Fats
While this is a fried dish, the buttermilk provides some healthy fats that support cell function. Balance it with lighter sides like coleslaw or green beans for a well-rounded meal.
Nutrition Facts
Frequently Asked Questions
Can I use boneless chicken for this method?
Not recommended. Bone-in, skin-on pieces stay juicier and the skin helps create that ultra-crisp coating. Boneless tends to dry out during frying.
What if I don’t have buttermilk?
Mix 1 cup whole milk with 1 tbsp vinegar or lemon juice and let sit for 5 minutes. This creates a suitable substitute for the brine.
Why does the coating fall off during frying?
This usually happens if you skip the rest period after dredging. Let coated pieces rest for 15-20 minutes so the flour adheres properly. Also ensure the oil is at 350°F before adding chicken.
Can I bake instead of fry?
You can, but the texture won’t be the same. Bake at 400°F for 30-35 minutes on a wire rack for maximum crispiness. Still, frying delivers the best results.

Trained in classic French technique but raised on slow-cooked ribs and spicy rubs, she blends culinary skill with smoke and soul.
- Recipe for Boneless Pork Chops in Cast Iron Skillet: Sear and Baste to Juicy Perfection - October 3, 2026
- Recipe for Boneless Cross Rib Roast: Slow-Roasted Beef with Herb Crust - October 3, 2026
- Hamburgers in Sauce Recipe Crock Pot: Slow-Cooked Savory Delight - October 3, 2026