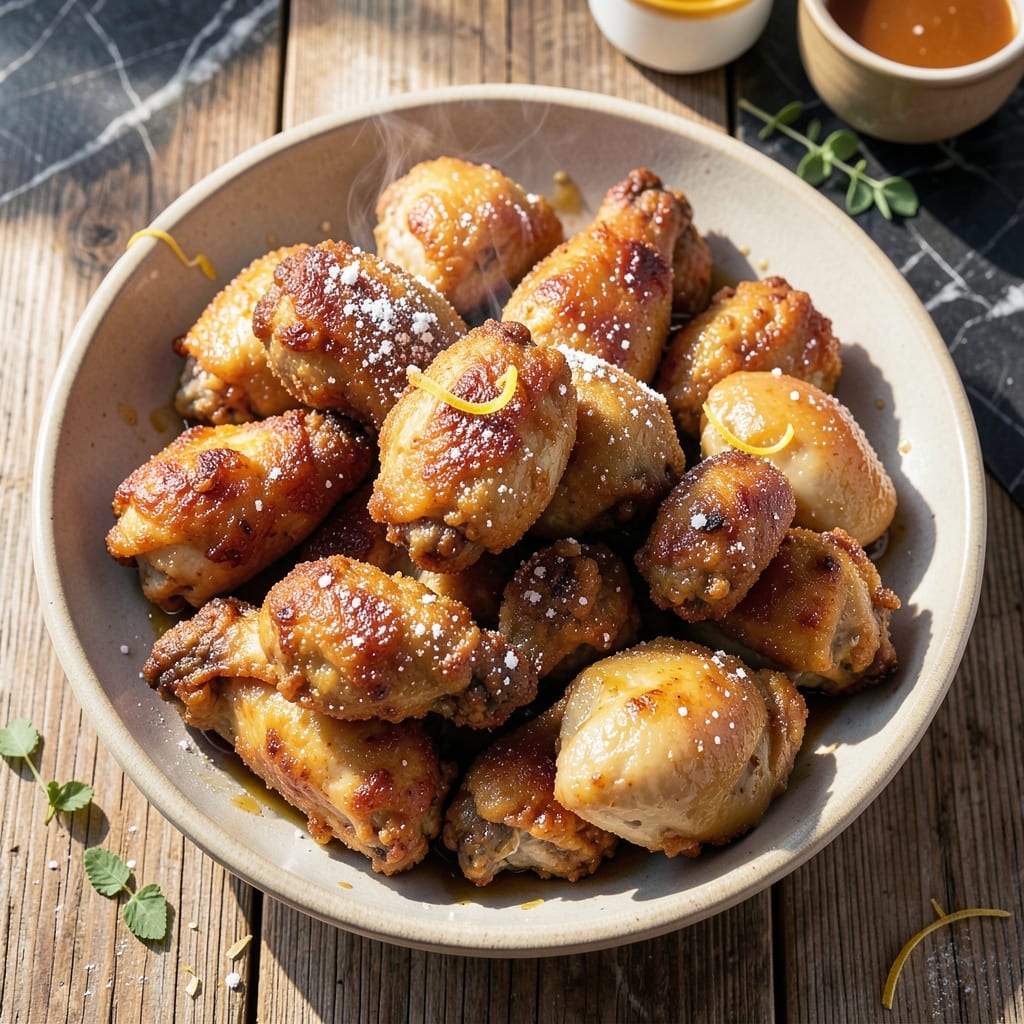
Achieving perfectly crispy fried chicken with moist centers is easier than you think using a deep fryer. This method ensures consistent results every time with minimal effort.
The key is maintaining the right oil temperature—350°F to 375°F—which creates that signature golden crust while locking in juices. A well-seasoned flour coating and proper marinating time elevate the flavor.
Each piece emerges with a shatteringly crisp exterior and tender meat inside. The deep fryer’s even heat distribution means no hot spots or uneven cooking.
Serve hot for the best texture. This technique delivers restaurant-quality results at home.
Ingredients for Fried Chicken Recipe Using Deep Fryer
Pantry staples and fresh chicken create this deep-fried classic with shatteringly crisp results.
| Ingredient | Amount | Notes |
|---|---|---|
| Chicken Thighs 🍗 | 2 ½ lb | Bone-in, skin-on for crispiness |
| Chicken Breasts 🍗 | 1 ½ lb | Bone-in, skin-on preferred |
| Buttermilk 🥛 | 2 cups | Full-fat for tenderizing |
| All-Purpose Flour 🌾 | 3 cups | Divided for dredging |
| Cornstarch 🌾 | ½ cup | For extra crispiness |
| Kosher Salt 🧂 | 2 tbsp | Diamond Crystal preferred |
| Black Pepper 🌶️ | 1 tbsp | Freshly ground for best flavor |
| Paprika 🌶️ | 1 tbsp | Sweet or smoked variety |
| Garlic Powder 🧄 | 1 tbsp | Not garlic salt |
| Onion Powder 🧅 | 1 tbsp | Fresh ground preferred |
| Cayenne Pepper 🔥 | ½ tsp | Adjust for heat preference |
| Vegetable Oil 🫒 | 8 cups | For deep frying, high smoke point |
| Large Eggs 🥚 | 2 whole | For egg wash binding |
[recipe_ingredient_scaler]
The chicken quality is paramount. Bone-in, skin-on thighs and breasts deliver superior texture and moisture retention compared to boneless cuts. Source from Whole Foods or local butchers for consistent sizing and freshness. The buttermilk should be full-fat—reduced-fat versions lack the acidity needed for proper tenderizing. For the oil, peanut or vegetable oil with a high smoke point is essential for maintaining consistent temperature.
Buttermilk substitutions include whole milk with 1 tbsp lemon juice or vinegar per cup. For a gluten-free coating, replace all-purpose flour with rice flour or cornmeal blend. No cayenne? Red pepper flakes at half the amount work well. The cornstarch is non-negotiable—it’s what creates that signature crunch. If you must skip it, increase flour by 25%, but expect less crispiness.
Marinated chicken keeps 2 days in the fridge before cooking. Fried chicken is best eaten fresh but reheats well in a 350°F oven for 10-12 minutes. Leftover oil can be strained, cooled, and reused 2-3 times if stored in a cool, dark place.
Why You’ll Love This Recipe
- Set It and Forget: I just coat the chicken, drop it in the deep fryer, and let the oil work its magic—no flipping or babysitting required.
- Buttermilk Magic: The buttermilk soak keeps the meat so juicy that even the breast stays tender, while the flour-cornstarch crust crisps up perfectly.
- Crowd Pleaser: Between us, this is the only meal my picky nephew and foodie brother both request for birthdays.
- Leftovers? Nope: Honestly, I’ve never had any—every piece disappears, but if by some miracle there’s one left, it reheats surprisingly well in the air fryer.
Step-by-Step Instructions for Fried Chicken Using Deep Fryer
Master the technique for achieving that signature golden crust with moist, flavorful meat every time.
Step 1: Marinate Chicken in Buttermilk
Combine the 2.5 lb Chicken Thighs and 1.5 lb Chicken Breasts with the 2 cups Buttermilk in a large bowl. I ensure each piece is fully submerged for even tenderizing. The buttermilk’s acidity breaks down proteins, guaranteeing juicy meat.
Cover and refrigerate for at least 4 hours, though overnight yields the most tender results. This step is non-negotiable for achieving the promised moisture in every bite.
Step 2: Prepare the Seasoned Dredge
In a large shallow dish, whisk together the 3 cups All-Purpose Flour, 0.5 cup Cornstarch, 2 tbsp Kosher Salt, 1 tbsp Black Pepper, 1 tbsp Paprika, 1 tbsp Garlic Powder, 1 tbsp Onion Powder, and 0.5 tsp Cayenne Pepper. The cornstarch is the secret to extra crispiness.
In a separate bowl, beat the 2 whole Large Eggs lightly. This creates the perfect binding layer between the buttermilk marinade and the seasoned flour mixture.
Step 3: Double-Dredge for Maximum Crunch
Remove the chicken from the buttermilk, allowing excess to drip off. Dip each piece first in the beaten eggs, then into the seasoned flour mixture, pressing firmly to adhere. For maximum crunch, I repeat this dredging process a second time.
Let the coated chicken rest on a wire rack for 15 minutes. This resting period allows the coating to set, preventing it from falling off during frying.
Step 4: Deep Fry to Golden Perfection
Preheat your deep fryer with the 8 cups Vegetable Oil to 350°F. The precise temperature is crucial—too low and the chicken absorbs oil, too high and the outside burns before the inside cooks.
Working in batches to avoid crowding, carefully lower the chicken into the hot oil. Fry for 12-15 minutes for thighs and 10-12 minutes for breasts, or until the internal temperature reaches 165°F and the coating is deep golden brown.
Step 5: Drain and Rest for Optimal Texture
Transfer the fried chicken to a wire rack set over a baking sheet to drain. This elevation prevents the bottom from becoming soggy. Resist the urge to stack the pieces—this would trap steam and compromise crispiness.
Let the chicken rest for 5-10 minutes before serving. This final rest allows the juices to redistribute, ensuring the promised moist centers with every bite. The crust should remain audibly crisp when bitten into.
Pro Tips For Making Fried Chicken Recipe Using Deep Fryer
- Double Fry for Crisp: Fry the chicken once at 325°F until cooked through, then again at 375°F for 2-3 minutes to get that shatteringly crisp crust—I learned this the hard way after too many soggy batches.
- Dry the Chicken: Pat the buttermilk-soaked pieces very dry before dredging, or the flour won’t stick properly. Sounds tedious, but it’s the only way to avoid patchy coating.
- Skip the Overcrowding: Fry in small batches so the oil temperature doesn’t plummet. After ruining a few pieces by cramming the basket, I now stick to 3-4 thighs at a time, max.
- Add Cornstarch Boost: Mix ¼ cup cornstarch into your flour dredge for extra crunch. My grandmother swore by this, and she was right—it’s the thing that matters most for that perfect texture.
Flavor Customization for This Dish
Spicy Heat Boost
For a fiery kick, increase the cayenne pepper to 1 full tsp in your dredge. I also add ½ tsp chipotle powder for smoky depth. This works wonderfully with the existing buttermilk marinade to balance the heat.
Herb-Infused Crust
Add 1 tbsp dried rosemary and 1 tbsp dried thyme to your flour mixture for an aromatic twist. The herbs in the coating create a fragrant crust that pairs beautifully with the chicken’s natural richness.
Extra Crispy Texture
Replace ½ cup of the all-purpose flour with crushed cornflakes in your dredge. This trick, I learned from my grandmother, creates an incredibly crispy texture. The cornflakes add a delightful crunch without altering the flavor profile.
Sweet and Spicy
Mix 2 tbsp brown sugar into your seasoned flour for a touch of sweetness. The sugar caramelizes slightly during frying, creating a subtle sweet-spicy balance. This works especially well with the paprika already in your mix.
Citrus Zing
Add 1 tbsp lemon zest and 1 tbsp orange zest to your flour mixture. The citrus oils in the zest brighten the overall flavor. I love how this subtle change makes the chicken taste fresher.
For extra brightness, serve with lemon wedges on the side. 💛
Nutrition Facts
Frequently Asked Questions
What oil works best for deep frying?
Use oils with a high smoke point like peanut or vegetable oil. These maintain stable 350°F to 375°F temperatures without breaking down. Avoid olive oil—it burns at these temps.
Can I use boneless chicken?
Yes, but bone-in pieces stay juicier. If using boneless, reduce frying time to 8-10 minutes. The coating may adhere less securely without skin, so press firmly during dredging.
Why did my coating fall off?
Common causes: skipping the 15-minute rest after dredging, overcrowding the fryer, or oil that’s too hot. Ensure oil is at 350°F and work in batches.
How do I keep it crispy after frying?
Drain on a wire rack, not paper towels. Keep in a 200°F oven for up to 30 minutes if serving later. Never cover—trapped steam makes it soggy.

Trained in classic French technique but raised on slow-cooked ribs and spicy rubs, she blends culinary skill with smoke and soul.
- Recipe for Boneless Pork Chops in Cast Iron Skillet: Sear and Baste to Juicy Perfection - October 3, 2026
- Recipe for Boneless Cross Rib Roast: Slow-Roasted Beef with Herb Crust - October 3, 2026
- Hamburgers in Sauce Recipe Crock Pot: Slow-Cooked Savory Delight - October 3, 2026