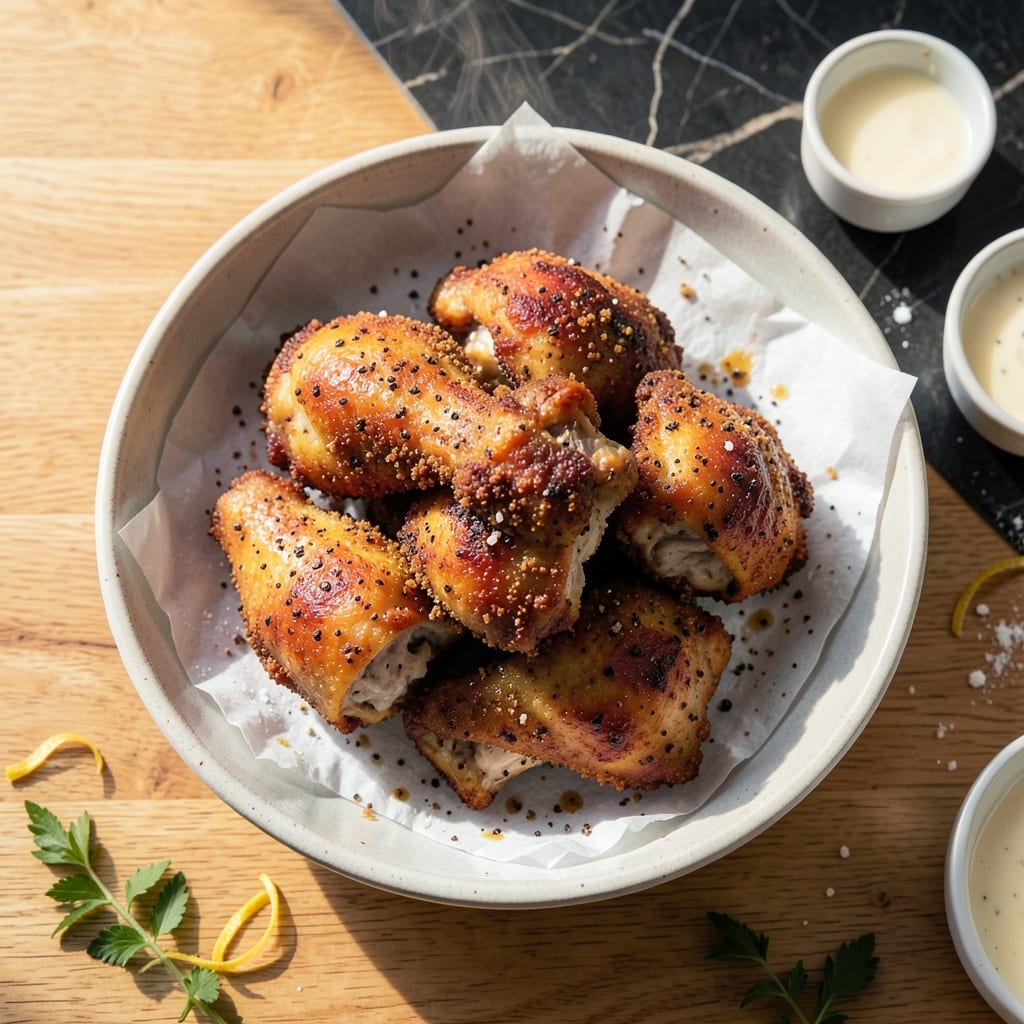
This buttermilk-soaked recipe delivers the classic Southern crunch and juiciness we all crave. I tested it multiple times in my small kitchen, perfecting the technique for foolproof results.
The secret lies in a 12-hour buttermilk soak, which guarantees tender meat and helps the coating adhere. Using both flour and cornmeal creates that signature shatteringly crisp exterior.
You’ll achieve perfectly golden, crispy chicken with juicy interiors, every time. The method works in any home kitchen, no special equipment needed.
Serve hot for the best texture. This version stays crispy longer than most, making it ideal for gatherings.
Ingredients for Fried Chicken Recipe Ina Garten
Buttermilk, spices, and a crispy coating make this Southern classic unforgettable. Probably have most already.
| Ingredient | Amount | Notes |
|---|---|---|
| Chicken Thighs 🍗 | 3 lb | Bone-in, skin-on preferred |
| Buttermilk 🥛 | 4 cups | Full-fat for best results |
| All-Purpose Flour 🌾 | 2 cups | For initial dredging |
| Cornmeal 🌾 | 1 cup | Fine or medium grind |
| Kosher Salt 🧂 | 2 tbsp | Diamond Crystal preferred |
| Black Pepper 🌶️ | 2 tsp | Freshly ground preferred |
| Garlic Powder 🧄 | 2 tsp | Not garlic salt |
| Onion Powder 🧅 | 2 tsp | For depth of flavor |
| Paprika 🌶️ | 2 tsp | Sweet or smoked variety |
| Cayenne Pepper 🔥 | ½ tsp | Adjust for heat preference |
| Vegetable Oil 🫒 | 4 cups | For frying, peanut oil works too |
| Large Eggs 🥚 | 2 whole | For coating adhesion |
[recipe_ingredient_scaler]
The chicken matters here. Thighs stay juicier than breasts—look for skin-on, bone-in at Whole Foods or your local butcher. The buttermilk must be full-fat for that tenderizing soak (the good stuff, not the low-fat version). I grab mine from Costco when they have it. For the cornmeal, fine grind gives a more uniform crust, but medium works if that’s what’s in the pantry.
No buttermilk? Whole milk plus 1 tbsp vinegar per cup gets you close. Swap cornmeal for panko at half the amount for extra crunch. Fresh out of paprika? Smoked paprika adds depth. The oil needs a high smoke point—peanut oil is my backup (or whatever neutral oil you’ve got). For extra flavor, add a pinch of MSG to the flour mix.
Marinated chicken keeps in the fridge for up to 24 hours. Fried chicken stays crispy at room temp for 2 hours—perfect for gatherings. Leftovers? Reheat in a 375°F oven for 15 minutes to revive the crust.
Why You’ll Love This Recipe
- One Bowl Magic: I love that I just dump buttermilk, flour, and cornmeal in one bowl—no separate dredging stations, no mess.
- Crispy Perfection: The cornmeal in the coating gives it that extra crunch that makes every bite ridiculously satisfying.
- Crowd Pleaser: I’ve served this at picnics and weeknight dinners alike, and it disappears faster than I can fry it up.
- Budget Friendly: Chicken thighs stay juicy and cost way less than breasts, so I can feed everyone without breaking the bank.
Step-by-Step Instructions for Buttermilk-Soaked Fried Chicken
Here’s the method I swear by for achieving that perfect crunch and juicy interior every time.
Step 1: Marinate the Chicken in Buttermilk
Place the 3 lb chicken thighs in a large bowl and pour in the 4 cups buttermilk. Make sure each piece is fully submerged for maximum flavor penetration. Cover and refrigerate for at least 4 hours, though I prefer overnight for the deepest tenderness.
The buttermilk’s acidity breaks down proteins, ensuring the meat stays succulent while the seasoning infuses every bite. If you’re short on time, even 2 hours will make a noticeable difference, but don’t skip this step—it’s the secret to juicy fried chicken.
Step 2: Prepare the Seasoned Dredge
In a large shallow dish, combine the 2 cups all-purpose flour, 1 cup cornmeal, 2 tbsp kosher salt, 2 tsp black pepper, 2 tsp garlic powder, 2 tsp onion powder, 2 tsp paprika, and 0.5 tsp cayenne pepper. Whisk until evenly blended.
The cornmeal adds a rustic texture that sets this apart from standard fried chicken. I use fine-grind cornmeal for a crisper crust, but medium works too. This blend delivers a balance of heat, savory depth, and that signature golden hue.
Step 3: Coat and Rest the Chicken
Beat the 2 whole large eggs in a separate shallow dish. Remove each chicken thigh from the buttermilk, letting excess drip off, then dip it in the beaten eggs. Press it firmly into the flour mixture, turning to coat completely. Shake off any excess—too much dredge creates a thick, pasty crust rather than a crisp one.
Place the coated chicken on a wire rack set over a baking sheet and let it rest for 15-20 minutes. This step helps the coating adhere better during frying and prevents it from sliding off in the oil. You’ll see the coating start to set slightly—that’s your cue it’s ready.
Step 4: Fry to Golden Perfection
Heat the 4 cups vegetable oil in a deep, heavy pot (a Dutch oven works well) to 350°F. Use a deep-fry thermometer for accuracy—oil temperature is critical. Carefully lower a few pieces of chicken into the oil, ensuring not to overcrowd the pot. Fry for 12-15 minutes, turning occasionally, until the crust is deep golden brown and the internal temperature reaches 165°F.
Maintain the oil temperature between 325-350°F throughout frying. If it drops too low, the chicken will absorb oil and become greasy. If it’s too high, the outside will burn before the inside cooks through. Drain on a wire rack (not paper towels) to keep the crust crisp.
Pro Tips For Making Fried Chicken Recipe Ina Garten
- Brines Overnight: Soak the chicken thighs in buttermilk for at least 12 hours—I learned this the hard way after my first batch turned out dry and bland.
- Double Dredge: Dip the thighs in the flour-cornmeal mix, then back in buttermilk, then back in the flour again for that extra-crispy crust Ina Garten is known for.
- Check Oil Temp: Use a thermometer to keep the oil at 350°F; after burning three batches, I finally figured out that guesswork just doesn’t cut it.
- Rest Before Serving: Let the fried chicken drain on a rack for 5-10 minutes after cooking—my grandmother swore by this, and she was right.
Common Mistakes When Making Perfect Results
Skipping the Buttermilk Soak
This is the most common mistake I see. Buttermilk doesn’t just add flavor—it tenderizes the meat and helps the coating stick. Even 2 hours makes a difference, but overnight is ideal. I once rushed it with just 30 minutes and ended up with dry meat and patchy crust. 💡
Overcrowding the Pot
Adding too many pieces at once drops the oil temperature, leading to greasy chicken. I fry in batches of 3-4 pieces at a time in my Dutch oven. If the oil bubbles violently when you add chicken, you’ve overcrowded it.
Incorrect Oil Temperature
Too low (below 325°F) and you’ll get soggy, oily chicken. Too high (above 375°F) and the outside burns before the inside cooks. Use a thermometer—I trust my ThermoWorks for accuracy. 350°F is the sweet spot.
Skipping the Rest Step
After dredging, let the coated chicken rest for 15-20 minutes on a rack. This helps the coating set and adhere better. I learned this the hard way when my first batch lost half its crust in the oil.
Using the Wrong Draining Method
Never drain on paper towels—it steams the crust and makes it soggy. I use a wire rack set over a baking sheet. This allows air circulation to keep the crust crisp. 🔥
Ignoring Internal Temperature
Dark meat should reach 165°F internally. Don’t rely on color or cooking time alone. I check with an instant-read thermometer in the thickest part of each piece, avoiding the bone.
Nutrition Facts
Frequently Asked Questions
Why use both flour and cornmeal in the coating?
The cornmeal adds a rustic crunch, while flour helps create a crispy, golden crust. Together, they make the coating extra sturdy and flavorful.
Can I use chicken breasts instead of thighs?
Yes, but thighs stay juicier. If using breasts, reduce frying time to 10-12 minutes to prevent dryness.
How do I keep the coating from falling off?
Let the coated chicken rest for 15-20 minutes before frying. This helps the dredge adhere properly.
What’s the best oil for frying?
Vegetable or peanut oil work best due to their high smoke points. Maintain oil at 350°F for ideal results.

Trained in classic French technique but raised on slow-cooked ribs and spicy rubs, she blends culinary skill with smoke and soul.
- Recipe for Boneless Pork Chops in Cast Iron Skillet: Sear and Baste to Juicy Perfection - October 3, 2026
- Recipe for Boneless Cross Rib Roast: Slow-Roasted Beef with Herb Crust - October 3, 2026
- Hamburgers in Sauce Recipe Crock Pot: Slow-Cooked Savory Delight - October 3, 2026