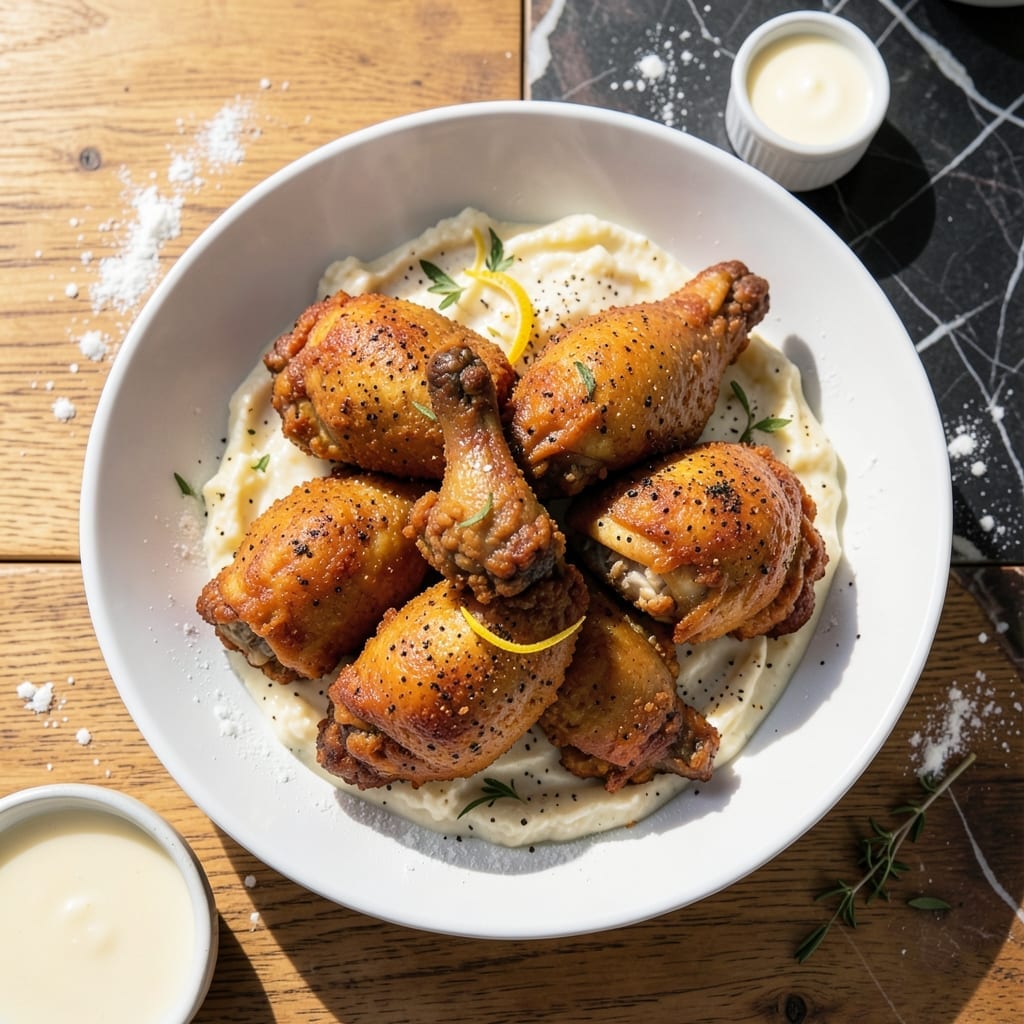
This method brings classic fried chicken to life with a simple yet effective dairy twist. I developed this approach after years of testing, perfecting the balance between crispy coating and juicy meat.
Using regular milk in the batter creates a subtle richness that enhances the chicken’s natural flavor. The technique ensures a golden-brown crust that stays crispy without being greasy.
The process is straightforward but precise—hot oil, proper timing, and the right flour-to-milk ratio make all the difference. This delivers the classic taste you expect with a homestyle touch.
Serve it fresh for the best texture and flavor. Here’s how to make it perfectly every time.
Ingredients for Fried Chicken Recipe with Regular Milk
Classic ingredients for crispy, golden chicken with a rich, dairy-enhanced crust.
| Ingredient | Amount | Notes |
|---|---|---|
| Chicken Thighs 🍗 | 2 ½ lb | Boneless, skinless, cut into strips |
| Whole Milk 🥛 | 1 cup | Regular, full-fat preferred |
| All-Purpose Flour 🌾 | 2 cups | For coating, divided |
| Cornstarch 🌽 | ½ cup | For extra crispiness |
| Large Eggs 🥚 | 2 whole | Beaten for batter |
| Kosher Salt 🧂 | 2 tsp | Diamond Crystal preferred |
| Black Pepper 🌶️ | 1 tsp | Freshly ground |
| Garlic Powder 🧄 | 1 tsp | For seasoning |
| Onion Powder 🧅 | 1 tsp | For depth of flavor |
| Paprika 🌶️ | 1 tsp | Sweet or smoked variety |
| Cayenne Pepper 🔥 | ¼ tsp | Adjust for heat preference |
| Vegetable Oil 🫒 | 4 cups | For frying, high smoke point |
[recipe_ingredient_scaler]
The chicken matters most. Thighs stay juicier than breasts—look for skinless, boneless with good marbling. Whole Foods or Costco have reliable options. Use full-fat milk; low-fat won’t deliver the same richness. The flour and cornstarch combo (divided as noted) creates that signature crunch. Always check your oil’s smoke point—peanut oil works too if you prefer.
No buttermilk? Regular milk with a tablespoon of vinegar works in a pinch. Swap cornstarch for more flour at a 1:1 ratio, but the texture won’t be as crisp. For gluten-free, rice flour or a GF blend can replace all-purpose. The spices are flexible—add celery salt or dried thyme if you like. Just don’t skip the salt; it’s essential for flavor development.
Fry in small batches to keep the oil hot. Leftovers (if any) stay 2-3 days in the fridge—reheat in the oven to revive crispiness. Oil can be reused once if strained and stored in a cool, dark place. Never pour hot oil down the drain.
Why You’ll Love This Recipe
- No-Fuss Batter: The milk and egg blend makes the coating stick effortlessly—no fancy tricks, just dip and fry.
- Crispy Outside, Juicy Inside: That cornstarch in the flour mix gives it the perfect crunch while keeping the thighs ridiculously tender.
- Feeds a Crowd: I’ve served this at picnics and weeknight dinners alike. Honestly, it’s always the first thing to disappear.
Step-by-Step Instructions for Fried Chicken With Regular Milk
Master the technique for restaurant-quality fried chicken with a tender interior and shatteringly crisp exterior.
Step 1: Prepare the Seasoned Flour Coating
In a large bowl, combine the 2 cups all-purpose flour, 0.5 cup cornstarch, 2 tsp kosher salt, 1 tsp black pepper, 1 tsp garlic powder, 1 tsp onion powder, 1 tsp paprika, and 0.25 tsp cayenne pepper. Whisk thoroughly until the mixture is uniform and no streaks of spice remain.
The cornstarch is essential here—it creates micro-crisp edges that flour alone cannot achieve. I always sift the flour first to prevent lumps in the coating, though with proper whisking this shouldn’t be an issue. Set this mixture aside while you prepare the wet components.
Step 2: Create the Milk and Egg Wash
In a separate medium bowl, whisk together the 1 cup whole milk and 2 whole large eggs until fully homogeneous. The milk’s proteins and fats will help the coating adhere while adding subtle richness to the final product.
Use full-fat milk as specified—lower-fat versions won’t create the same velvety wash consistency. The mixture should look like thin pancake batter. I find that beating the eggs lightly before adding the milk prevents any stubborn streaks of egg white from remaining.
Step 3: Coat and Rest the Chicken
Pat the 2.5 lb chicken thighs completely dry with paper towels—this is non-negotiable for proper coating adhesion. Cut them into uniform strips if not already prepared, as this ensures even cooking.
Dredge each piece first in the flour mixture, pressing gently to adhere, then dip in the milk wash, allowing excess to drip off. Return to the flour mixture for a second coating, pressing firmly this time to create a thick, craggy crust. Place on a wire rack set over a baking sheet. Let rest for 10 minutes—this allows the coating to hydrate and cling better during frying.
Step 4: Fry to Golden Perfection
In a heavy Dutch oven or deep fryer, heat the 4 cups vegetable oil to 350°F. Use a deep-fry thermometer for accuracy; oil temperature is critical. The oil should shimmer but not smoke when ready.
Working in batches to avoid crowding, carefully lower the chicken into the hot oil. Fry for 6-8 minutes until the coating is deep golden brown and the internal temperature reaches 165°F. The chicken should float freely when done. Maintain oil temperature between batches—adding cold chicken will cause a drop, so adjust the heat as needed.
Step 5: Drain and Serve Immediately
Transfer the fried chicken to a wire rack set over a paper towel-lined baking sheet. This setup allows air to circulate, preventing the coating from becoming soggy. Let drain for 2-3 minutes before serving.
The chicken should have a crisp, audibly crunchy exterior with juicy, tender meat inside. Serve immediately while hot—the contrast between the crisp crust and moist interior is at its peak right out of the oil. Any leftovers should be reheated in a 375°F oven for 10-12 minutes to restore crispness.
Pro Tips For Making Fried Chicken Recipe With Regular Milk
- Double Dredge Thighs: Dip each thigh in the milk-egg wash, then flour, then back in the wash and flour again—this builds a shatteringly crisp crust that actually stays put.
- Rest the Coated Chicken: After dredging, let the chicken rest on a rack for 10 minutes before frying so the coating sets and doesn’t slide off in the oil.
- Skip Cold Milk: Take the whole milk out of the fridge 20 minutes early; cold milk can make the batter clump and the coating stick poorly to the thighs.
- Add Cornstarch to Flour: Cut the all-purpose flour with 2 tablespoons of cornstarch—it lightens the crust and gives that extra crunch without changing the flavor.
Wine and Beer Pairings for This Dish
Crisp Beer Pairings
A cold American lager like Budweiser or Coors Banquet cuts through the richness with crisp, clean carbonation. The light malt sweetness complements the chicken’s savory seasoning. I always keep a few cans chilled for this exact purpose. 🍺
Bold IPA Choices
If you prefer hops, a West Coast IPA with citrus notes—think Sierra Nevada or Lagunitas—balances the fried coating beautifully. The bitterness cleanses your palate between bites, making each piece taste as fresh as the first.
Light Wine Options
For wine lovers, a chilled Riesling with a touch of sweetness works wonders. I recommend Dr. Loosen Blue Slate—its stone fruit notes and acidity stand up to the crispy texture without overwhelming the dish. 🍷
Rich Stout Alternative
A dry stout like Guinness offers a surprising but delicious contrast. The roasted malt flavors complement the chicken’s savory spices, while the creaminess mirrors the milk’s richness in the batter.
Sparkling Rosé
A crisp rosé with fine bubbles—such as Whispering Angel—adds a refreshing touch. The berry notes and effervescence make it a perfect match for warm-weather fried chicken dinners. ✨
Nutrition Facts
Frequently Asked Questions
Why use milk instead of buttermilk?
Regular milk adds richness without the tang of buttermilk. The proteins help the coating adhere while creating a subtly sweeter, golden crust.
Can I use a different oil for frying?
Yes, any oil with a high smoke point above 350°F works. Peanut oil adds flavor, while canola or sunflower oil are neutral alternatives.
How do I keep the coating crispy?
Drain on a wire rack, not paper towels. Reheat leftovers in a 375°F oven for 10-12 minutes to restore crunch.
What if my oil isn’t hot enough?
The coating will absorb oil and become greasy. Use a thermometer to maintain 350°F throughout frying for best results.

Trained in classic French technique but raised on slow-cooked ribs and spicy rubs, she blends culinary skill with smoke and soul.
- Recipe for Boneless Pork Chops in Cast Iron Skillet: Sear and Baste to Juicy Perfection - October 3, 2026
- Recipe for Boneless Cross Rib Roast: Slow-Roasted Beef with Herb Crust - October 3, 2026
- Hamburgers in Sauce Recipe Crock Pot: Slow-Cooked Savory Delight - October 3, 2026