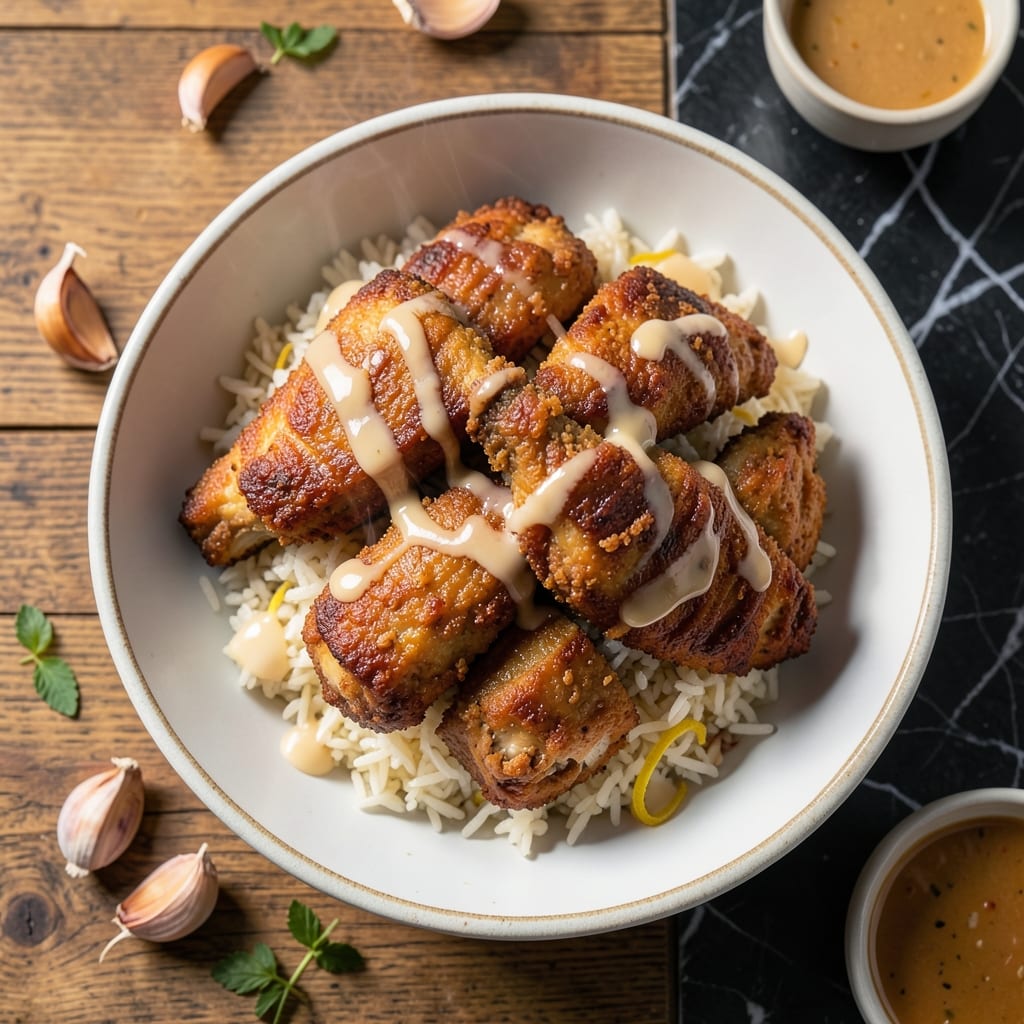
This gluten-free fried chicken delivers ultra-crispy results that rival any traditional version. I developed this method after testing countless flours, and rice flour emerged as the clear winner for maximum crunch without gluten.
The secret lies in the rice flour’s fine texture, which creates a shatteringly crisp coating that stays golden even after frying. Each piece emerges with a perfectly seasoned crust that encapsulates juicy, tender meat inside.
What you’ll get is chicken with a crispy exterior that cracks with every bite, revealing moist meat beneath. The rice flour batter fries up light and airy, never greasy or soggy.
Serve hot with your favorite dipping sauces or alongside classic comfort sides. This technique works every time with consistent, professional results.
Ingredients for Fried Chicken Recipe with Rice Flour
Rice flour, seasonings, and chicken: the trio that delivers that ultra-crispy result you crave.
| Ingredient | Amount | Notes |
|---|---|---|
| Chicken Thighs 🍗 | 2 lb | Boneless, skinless, cut into strips |
| Rice Flour 🌾 | 2 cups | Fine white rice flour preferred |
| Cornstarch 🌽 | ½ cup | Adds extra crispiness |
| Large Eggs 🥚 | 2 whole | Beaten for batter binding |
| Buttermilk 🥛 | 1 ½ cups | Full-fat for richness |
| Garlic Powder 🧄 | 2 tsp | Freshly opened for potency |
| Onion Powder 🧅 | 2 tsp | Balances flavor profile |
| Paprika 🌶️ | 2 tsp | Sweet or smoked variety |
| Salt 🧂 | 2 tsp | Diamond Crystal kosher preferred |
| Black Pepper 🌶️ | 1 tsp | Freshly ground for best flavor |
| Cayenne Pepper 🔥 | ½ tsp | Adjust to spice preference |
| Peanut Oil 🫒 | 4 cups | High smoke point for frying |
| Hot Sauce 🌶️ | 2 tbsp | Optional for extra kick |
[recipe_ingredient_scaler]
The rice flour is non-negotiable here. Bob’s Red Mill is widely available and consistent—look for the fine white variety, not brown rice flour (it’s heavier). Chicken thighs stay juicier than breasts through the high-heat frying. Buttermilk from Whole Foods or your local dairy has that tangy richness that tenderizes the meat. If you’re making a big batch, Costco sells buttermilk in larger containers (freeze extras in ice cube trays).
No buttermilk? Whole milk with 1 tbsp vinegar or lemon juice per cup works in a pinch. Swap chicken thighs for breasts if you prefer, but cut them into even strips so they cook uniformly. For gluten-free cornstarch, Argo or Clabber Girl are reliable. The peanut oil can be swapped for vegetable or canola oil—just avoid olive oil (smoke point too low). Skip the hot sauce if you’re sensitive to spice (it’s just for a subtle background warmth).
Fry in batches—don’t crowd the pan or the oil temp drops and you’ll lose that ultra-crispy texture. Leftovers? They reheat surprisingly well in a 400°F oven for 10-12 minutes. Keeps 3-4 days in the fridge, though they’re best fresh. Freeze uncooked breaded pieces for up to 3 months for future cravings.
Why You’ll Love This Recipe
- No-Fuss Coating: I just toss the chicken in rice flour and cornstarch—no messy breadcrumb station required. The buttermilk dip makes it stick like a dream.
- Extra Crispy Bite: Honestly, rice flour gives it a lighter, crunchier crust than regular flour. That first bite with the juicy thigh inside? Ridiculously good.
- Freezer Friendly: I double the batch and freeze half for lazy days. Reheats in the oven almost as crispy as fresh.
- Budget Winner: Chicken thighs stay cheap, and rice flour is a pantry staple. Feeds my family of four for less than takeout.
Step-by-Step Instructions for Fried Chicken With Rice Flour
This method delivers that promised gluten-free crunch with every bite, and it’s easier than you think.
Step 1: Prepare the Chicken and Wet Batter
Cut the 2 lb Chicken Thighs into uniform strips—about 1 inch thick—so they cook evenly. I keep the pieces similar in size to ensure consistent frying times and prevent some from overcooking while others finish.
In a large bowl, whisk together the 2 whole Large Eggs, 1.5 cups Buttermilk, 2 tsp Salt, 1 tsp Black Pepper, 2 tsp Garlic Powder, 2 tsp Onion Powder, 2 tsp Paprika, 0.5 tsp Cayenne Pepper, and 2 tbsp Hot Sauce until smooth. The buttermilk’s acidity tenderizes the meat while the spices infuse it with flavor.
Step 2: Create the Crispy Rice Flour Coating
In a separate large bowl, combine the 2 cups Rice Flour and 0.5 cup Cornstarch. The cornstarch adds an extra layer of crunch that makes this coating irresistibly crispy. I like to whisk them together thoroughly to break up any lumps.
This gluten-free blend creates a lighter, airier crust than traditional wheat flour. The fine texture of the rice flour ensures it clings beautifully to the chicken without becoming gummy or dense.
Step 3: Coat and Rest for Maximum Crisp
Dip each piece of chicken into the buttermilk mixture, letting any excess drip off for a moment. Then dredge it in the rice flour mixture, pressing gently to ensure full coverage. I find it helps to use one hand for wet and one for dry to keep things tidy.
Place the coated pieces on a wire rack set over a baking sheet. Let them rest for 10-15 minutes at room temperature. This crucial step allows the coating to hydrate and adhere properly, which means it won’t flake off during frying and will achieve that perfect golden crisp.
Step 4: Fry to Golden Perfection
Heat the 4 cups Peanut Oil in a deep, heavy pot to 350°F. Use a thermometer for accuracy—this temperature is ideal for cooking the chicken through while achieving a deep golden brown without burning the coating.
Fry the chicken in batches to avoid crowding the pot, which would lower the oil temperature. Cook for 6-8 minutes per side until the coating is deep golden brown and the internal temperature reaches 165°F. Drain on a wire rack to keep it crisp, not soggy.
Step 5: Rest and Serve Immediately
Let the fried chicken rest for 5 minutes before serving. This allows the juices to redistribute so every bite stays moist inside its ultra-crisp shell. The coating should be shatteringly crisp, with a beautiful golden hue and no greasy residue.
Serve immediately while hot and crispy. The contrast between the tender, flavorful chicken and the crunchy rice flour coating is what makes this dish so special. I promise, you won’t miss the gluten one bit.
Pro Tips For Making Fried Chicken Recipe With Rice Flour
- Double Dip the Chicken: After the buttermilk soak, dip in rice flour, then back in buttermilk, then rice flour again—I learned this the hard way, but it’s the only way to get that shatteringly crisp crust.
- Heat the Oil Right: Use a thermometer and keep the oil at 350°F. Any lower and the chicken soaks up grease; any higher and the rice flour burns before the meat cooks through.
- Pat Thighs Dry: Before dredging, blot the chicken thighs with paper towels. Sounds tedious, but it makes a real difference—wet skin keeps the rice flour from sticking properly.
- Rest Before Frying: Let the dredged chicken sit for 10 minutes on a rack. This gives the rice flour time to adhere, so you don’t end up with bare spots in the crust.
Serving Suggestions for fried chicken recipe with rice flour
Classic Comfort Sides
Serve this with creamy mashed potatoes and savory gravy for a hearty meal. The smooth texture contrasts beautifully with the crispy chicken. I love using Yukon Gold potatoes for their buttery flavor.
Fresh and Light
A crisp green salad with buttermilk ranch dressing cuts through the richness. Toss 6 cups mixed greens with cherry tomatoes, cucumber, and a sprinkle of shredded cheddar. The cool crunch balances the hot chicken perfectly.
Southern Favorites
Collard greens slow-cooked with smoked bacon and apple cider vinegar make an authentic pairing. Simmer 1 lb greens with 4 slices bacon and ¼ cup vinegar for 45 minutes. 💛
Dipping Sauces
Offer honey mustard and sriracha mayo for dipping. Mix 3 tbsp mayo with 1 tbsp sriracha for the mayo, and combine ¼ cup mustard with 2 tbsp honey for the mustard. Both complement the chicken’s spice.
Family-Style Feast
Create a spread with corn on the cob and baked beans. Boil 4 ears corn for 8 minutes, and bake 1 can beans with ¼ cup brown sugar at 375°F for 30 minutes. Perfect for gatherings.
Quick Pickles
Serve bread and butter pickles on the side for a tangy crunch. The sweet and sour flavor profile enhances the savory chicken. I always keep a jar of Bread & Butter Chipotle Pickles from the local market handy. ✨
Nutrition Facts
Frequently Asked Questions
Why use rice flour instead of regular flour?
Rice flour creates a lighter, crispier crust that absorbs less oil than wheat flour. It’s also naturally gluten-free, making it perfect for sensitive diets. The fine texture helps it cling better to chicken.
Can I bake this instead of frying?
Yes, but the texture will differ. Bake at 400°F for 20-25 minutes, flipping halfway. It won’t be as crispy as frying, but still delicious. Use a wire rack for airflow.
How do I keep the coating from falling off?
Let the breaded chicken rest for 10-15 minutes before frying. This helps the coating adhere. Also, avoid overcrowding the frying pan.
What oil works best for frying?
Peanut oil is ideal for its high smoke point and neutral flavor. Vegetable or canola oil also work well. Avoid olive oil—it has a low smoke point.

Trained in classic French technique but raised on slow-cooked ribs and spicy rubs, she blends culinary skill with smoke and soul.
- Recipe for Boneless Pork Chops in Cast Iron Skillet: Sear and Baste to Juicy Perfection - October 3, 2026
- Recipe for Boneless Cross Rib Roast: Slow-Roasted Beef with Herb Crust - October 3, 2026
- Hamburgers in Sauce Recipe Crock Pot: Slow-Cooked Savory Delight - October 3, 2026