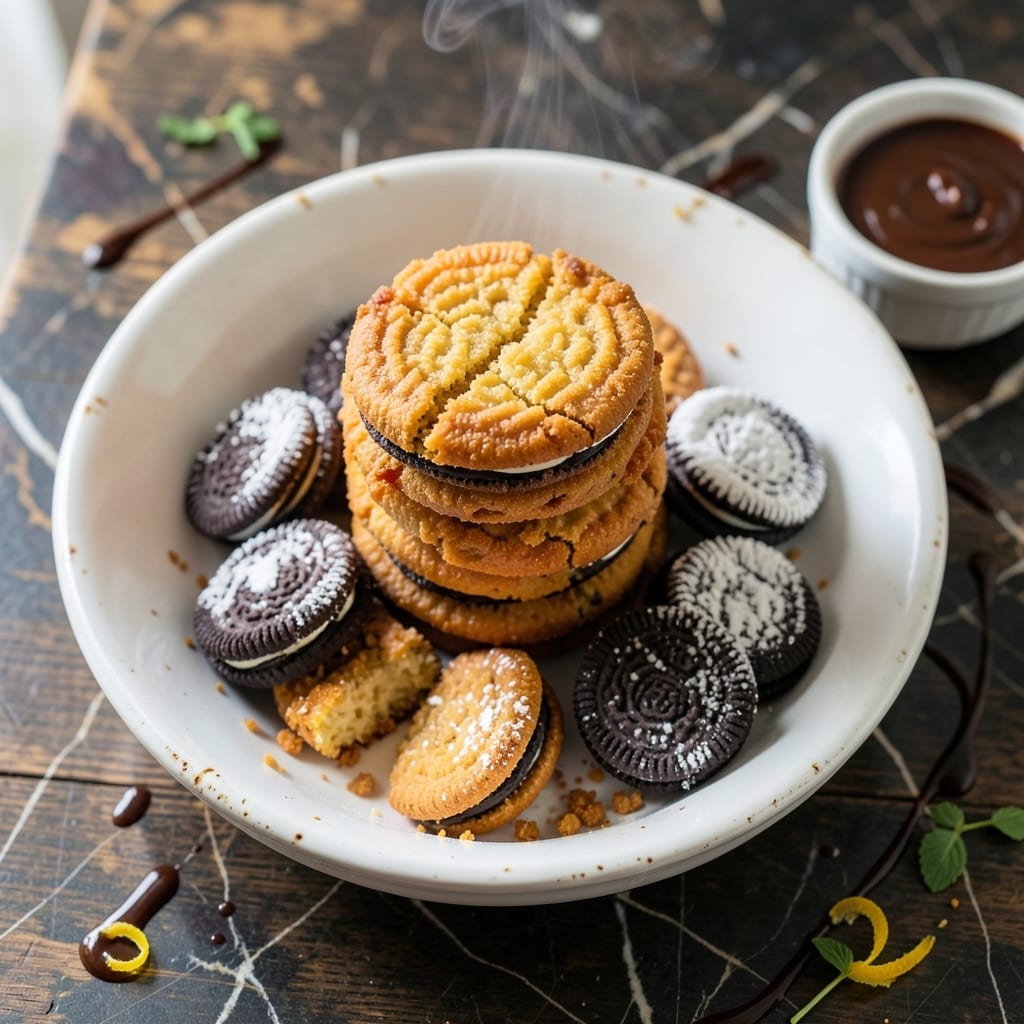
This recipe transforms store-bought cookies into a fairground favorite with a simple Bisquick coating. I developed this method after testing multiple batters, and this version delivers the perfect crispy shell.
The secret is using cold ingredients and maintaining oil temperature at 350°F. This ensures the coating sets quickly without absorbing excess oil, while the Oreos stay perfectly intact inside.
You’ll end up with golden, crunchy bites that reveal a creamy vanilla center with every bite. The contrast between the hot, crispy exterior and cool, soft cookie is what makes this treat irresistible.
Serve warm with a dusting of powdered sugar or a drizzle of chocolate sauce. Ready in under 20 minutes.
Ingredients for Fried Oreo Recipe with Bisquick
Transform store-bought cookies into fairground magic with these essential components
| Ingredient | Amount | Notes |
|---|---|---|
| Oreo Cookies 🍪 | 12 pieces | Regular size, keep cold |
| Bisquick Pancake and Baking Mix 🥞 | 1 ½ cups | Original formula preferred |
| Large Eggs 🥚 | 2 whole | Cold, beaten lightly |
| Whole Milk 🥛 | 1 cup | Cold for crispier coating |
| Vegetable Oil 🫒 | 4 cups | For deep frying, 350°F |
| Vanilla Extract 🌿 | 1 tsp | Pure extract for flavor |
| Granulated Sugar 🧂 | 2 tbsp | Optional for sweetness boost |
| Powdered Sugar 🍚 | ¼ cup | For dusting finished cookies |
| Chocolate Sauce 🍫 | ½ cup | For drizzling, optional |
| Salt 🧂 | ¼ tsp | Fine grain for seasoning |
[recipe_ingredient_scaler]
The Bisquick is non-negotiable here—original formula yields the crispiest shell. Cold ingredients are key: keep your Oreos refrigerated until ready to coat, and use chilled milk and eggs straight from the fridge. For the oil, vegetable or canola oil with a high smoke point works best. I recommend Crisco for consistent results at 350°F.
No Bisquick? Homemade pancake mix (1 cup flour + 1.5 tsp baking powder + 0.25 tsp salt) works in a pinch. For a richer flavor, buttermilk instead of whole milk adds tang. The chocolate sauce can be store-bought—Hershey’s or Ghirardelli are reliable. Powdered sugar is standard, but a cinnamon-sugar blend adds warmth.
Fry in small batches to maintain oil temperature. Drain on paper towels to remove excess oil. These taste best served immediately but hold for 2-3 hours at room temperature. Refrigerate leftovers in an airtight container for up to 2 days—reheat briefly in the oven.
Why You’ll Love This Recipe
- 5-Minute Batter: That Bisquick shortcut means I just stir eggs, milk, and mix—no measuring flour or baking powder. Honestly, it’s faster than making pancakes.
- Fair Favorite at Home: I first had these at the county fair and now make them for birthday parties and movie nights. Kids go wild, adults sneak seconds.
- Budget Dessert Win: A box of Oreos and a cup of Bisquick feed a crowd for pennies. I’ll be real: it’s my go-to when I need a treat that feels special but won’t break the bank.
Step-by-Step Instructions for Fried Oreos With Bisquick
This streamlined method delivers crispy, golden treats with minimal effort and maximum flavor.
Step 1: Prepare the Coating Batter
In a medium bowl, whisk together the 1.5 cups Bisquick Pancake and Baking Mix, 2 tbsp Granulated Sugar, and 0.25 tsp Salt until evenly combined. The sugar adds subtle sweetness that complements the Oreo filling beautifully.
Create a well in the center and add the 2 whole Large Eggs, 1 cup Whole Milk, and 1 tsp Vanilla Extract. Whisk until smooth, ensuring no lumps remain. The batter should coat the back of a spoon but remain thin enough to drizzle easily.
Step 2: Heat the Oil and Prep the Oreos
Pour the 4 cups Vegetable Oil into a heavy-bottomed pot or deep fryer to a depth of at least 2 inches. Heat over medium-high heat until the oil reaches 350°F on a deep-fry thermometer. Maintain this temperature throughout frying for consistent results.
While the oil heats, remove the 12 pieces Oreo Cookies from the refrigerator. Keep them cold until ready to dip—this helps the coating adhere better and prevents the filling from leaking into the oil during frying.
Step 3: Coat and Fry the Oreos
Working in batches to avoid overcrowding, dip each Oreo into the batter, turning to coat completely. Allow excess batter to drip off for 5 seconds before carefully lowering it into the hot oil using a slotted spoon or tongs.
Fry for 2-3 minutes until the coating turns deep golden brown and crisp. Turn occasionally to ensure even browning. The Oreos will float, so press them gently under the oil’s surface initially to prevent uneven cooking.
Step 4: Drain and Finish
Using a slotted spoon, transfer the fried Oreos to a wire rack set over a paper towel-lined baking sheet. This setup allows excess oil to drain without creating soggy bottoms. Let them cool for 2-3 minutes until safe to handle but still warm.
While still warm, dust generously with 0.25 cup Powdered Sugar using a fine-mesh sieve for even coverage. For an extra indulgent touch, drizzle with 0.5 cup Chocolate Sauce just before serving.
Pro Tips For Making Fried Oreo Recipe With Bisquick
- Chill the Oreos: Pop them in the freezer for 15-20 minutes before dipping—I learned this the hard way after watching my first batch fall apart in the batter.
- Thin the Batter: If your Bisquick mix looks too thick, add a splash more milk; you want it like pancake batter, not cookie dough.
- Heat the Oil: Use a deep skillet and heat the oil to 350°F—any cooler and the Oreos will soak up grease instead of frying crisp.
- Drain on a Rack: Skip the paper towels and use a wire rack so the excess oil drips off evenly—your fried Oreos will stay crunchy, not soggy.
Make-Ahead Tips for This Recipe
Batch Prep Strategy
I always mix the dry ingredients (1.5 cups Bisquick, 2 tbsp sugar, ¼ tsp salt) the night before and store in an airtight container. The wet ingredients (eggs, milk, vanilla) go in a separate container in the fridge. This cuts morning prep to 5 minutes. 💡
Batter Storage
If you need to prep the full batter ahead, whisk it together and refrigerate for up to 2 hours. The cold thickens it slightly, so stir in 1-2 tbsp ice water before using to restore the perfect dipping consistency.
Oreo Prep
Keep the Oreos chilled until ready to fry—this prevents the filling from leaking. If making a double batch, store extra cookies in the freezer in a single layer on a tray, then transfer to a bag. They’ll stay cold for up to 2 weeks.
Oil Management
Used oil can be strained through a fine-mesh sieve lined with cheesecloth and stored in the fridge for up to 1 month. I reuse mine for other deep-frying projects, but avoid mixing flavors like fish with sweet treats.
Reheating Leftovers
Place cooled fried Oreos on a wire rack in a 300°F oven for 5-7 minutes to crisp the coating. Skip the microwave—it’ll turn them soggy. Serve immediately with fresh powdered sugar. 🔥
Party Platter Prep
Fry all Oreos 1 hour before serving, let cool completely, then store at room temp. Re-crisp in batches right before guests arrive. This timing ensures they’re hot and fresh without last-minute stress.
Nutrition Facts
Frequently Asked Questions
Can I use pancake mix instead of Bisquick?
Yes, a homemade pancake mix works as a substitute. Use 1 cup flour, 1.5 tsp baking powder, and 0.25 tsp salt to replace the 1.5 cups Bisquick. The texture will be very similar.
Why do my fried Oreos keep breaking apart?
This usually happens if the oil isn’t hot enough or the Oreos aren’t cold. Maintain oil at 350°F and chill cookies before frying. Press lightly under oil initially to help the coating set.
How do I keep them crispy after frying?
Drain on a wire rack, not paper towels, to prevent sogginess. For leftovers, reheat in a 300°F oven for 5-7 minutes before serving. Never use a microwave.

Trained in classic French technique but raised on slow-cooked ribs and spicy rubs, she blends culinary skill with smoke and soul.
- Recipe for Boneless Pork Chops in Cast Iron Skillet: Sear and Baste to Juicy Perfection - October 3, 2026
- Recipe for Boneless Cross Rib Roast: Slow-Roasted Beef with Herb Crust - October 3, 2026
- Hamburgers in Sauce Recipe Crock Pot: Slow-Cooked Savory Delight - October 3, 2026