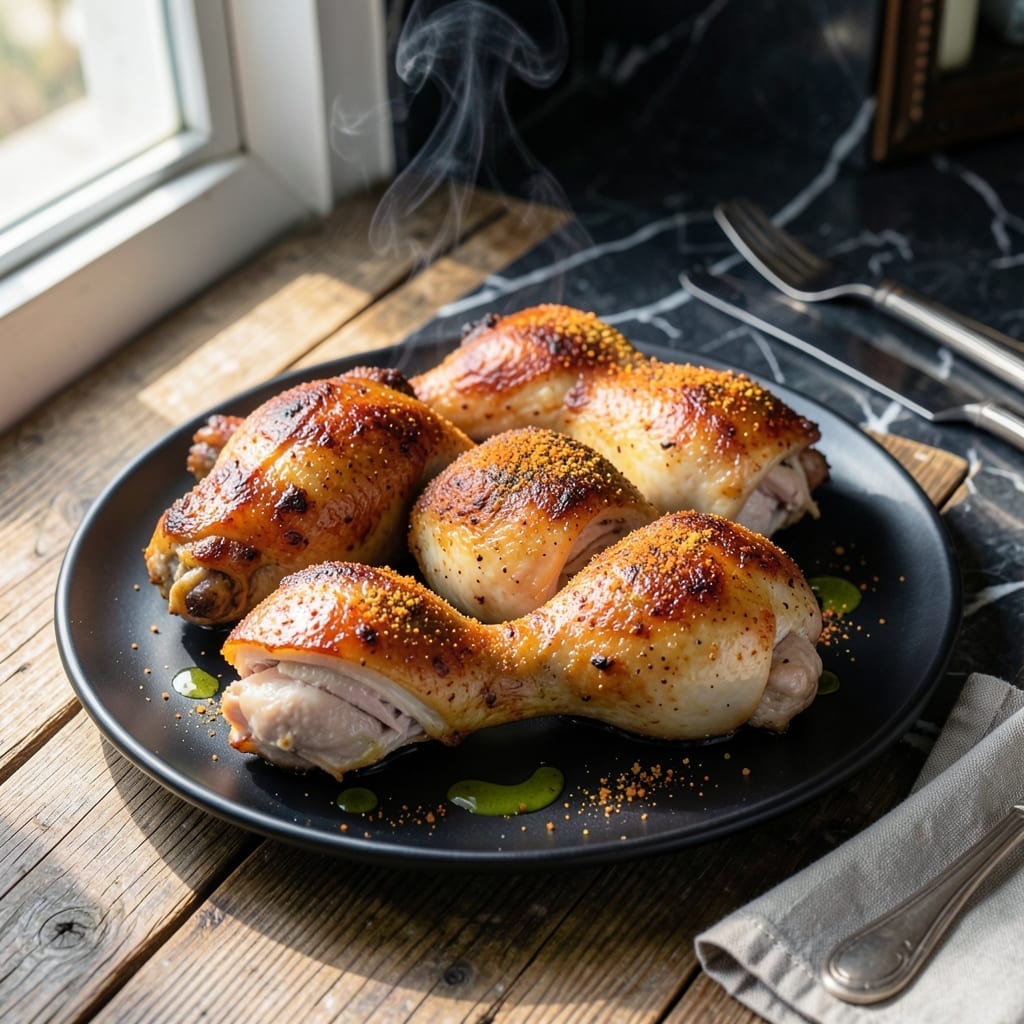
This method transforms frozen chicken legs into perfectly cooked meat with crispy skin every time. No thawing required—just season and bake for restaurant-quality results at home.
The key is starting with a hot oven to render fat and create that coveted golden crust. A simple dry rub enhances flavor while keeping the preparation straightforward. The meat stays tender as it cooks through slowly.
You’ll achieve juicy chicken with skin that cracks when you bite into it, all with minimal effort. This technique works whether you’re cooking for two or feeding a crowd.
Serve with roasted vegetables or mashed potatoes for a complete meal. Here’s how to make it.
Ingredients for Frozen Chicken Legs
These frozen chicken legs need just a bold dry rub and olive oil for crispy skin.
| Ingredient | Amount | Notes |
|---|---|---|
| Frozen Chicken Legs 🍗 | 4 lbs | Skin-on, bone-in thighs and drumsticks |
| Kosher Salt 🧂 | 2 tbsp | Diamond Crystal preferred for even coverage |
| Black Pepper 🌶️ | 1 ½ tsp | Freshly ground for best flavor |
| Garlic Powder 🧄 | 2 tsp | Not garlic salt for pure flavor |
| Onion Powder 🧅 | 2 tsp | Balances the dry rub blend |
| Paprika 🌶️ | 1 ½ tsp | Sweet or smoked for color and depth |
| Dried Thyme 🌿 | 1 tsp | Crushed between fingers to release oils |
| Dried Oregano 🍃 | 1 tsp | Mediterranean oregano preferred |
| Cayenne Pepper 🔥 | ¼ tsp | Optional for heat adjustment |
| Olive Oil 🫒 | 2 tbsp | Extra-virgin for drizzling before baking |
| Lemon Juice 🍋 | 1 tbsp | Freshly squeezed for brightness |
[recipe_ingredient_scaler]
The chicken legs must be skin-on and bone-in for crispy results. Most supermarkets carry them frozen in 4-5 lb bags—Costco has the best bulk pricing. Look for plump thighs with smooth, unbroken skin. Avoid packages with excessive ice crystals, which indicate freezer burn. The fat content in dark meat ensures juicy results even when cooking from frozen.
No garlic powder? Granulated garlic at the same amount works. Short on herbs? Poultry seasoning at one-third the quantity covers both thyme and oregano. For extra crunch, add 1 tbsp cornstarch to the dry rub. The olive oil can be swapped for avocado oil if that’s what you have on hand. Fresh lemon juice is ideal, but bottled works in a pinch.
Store uncooked chicken in the freezer for up to 9 months. Once seasoned, bake immediately or refrigerate for up to 24 hours before cooking. Leftovers keep in the fridge for 4 days and reheat best in a toaster oven to maintain crispiness.
Why You’ll Love This Recipe
- No Thaw Needed: I just toss the frozen legs straight into the oven with the spices—no waiting, no mess.
- Garlic-Onion Magic: The powdered duo creates this deep, savory crust that makes every bite irresistible.
- Feeds My Crowd: One batch fills my family of five, with leftovers for lunch the next day.
- Pocket-Friendly Meal: Chicken legs are already budget-friendly, and using frozen cuts the cost even more.
Step-by-Step Instructions for Oven-Baked Chicken Legs
Here is the method to transform frozen chicken legs into crispy-skinned, tender perfection.
Step 1: Thaw and Season the Chicken Legs
Place the 4 lbs frozen chicken legs in the refrigerator for 12-24 hours to thaw completely. Pat them thoroughly dry with paper towels—this is essential for achieving crispy skin. Any remaining moisture will steam the skin instead of crisping it.
In a small bowl, combine the 2 tbsp kosher salt, 1.5 tsp black pepper, 2 tsp garlic powder, 2 tsp onion powder, 1.5 tsp paprika, 1 tsp dried thyme, 1 tsp dried oregano, and 0.25 tsp cayenne pepper. Rub this mixture evenly over all sides of the chicken legs, pressing it into the skin.
Step 2: Preheat and Prepare for Baking
Preheat your oven to 425°F to ensure it’s fully hot before baking. While the oven heats, place the seasoned chicken legs on a wire rack set over a rimmed baking sheet. This setup allows air to circulate around the chicken, promoting even browning and crispiness on all sides.
Drizzle the 2 tbsp olive oil over the chicken legs, ensuring each piece is lightly coated. This helps the skin crisp up beautifully while locking in moisture. The chicken should look evenly seasoned and glistening before it goes into the oven.
Step 3: Bake to Crispy Perfection
Place the baking sheet in the preheated oven and bake the chicken legs for 45-50 minutes. Do not flip the chicken during baking—this ensures the skin stays crispy and doesn’t stick to the rack. Halfway through, rotate the baking sheet to promote even cooking.
You’ll know the chicken is done when the internal temperature reaches 175°F at the thickest part of the meat, and the skin turns a deep, golden brown. The juices should run clear when pierced with a knife, and the meat should pull away from the bone easily.
Step 4: Rest and Finish with Brightness
Transfer the chicken legs to a serving platter and let them rest for 5-10 minutes. Resting allows the juices to redistribute, ensuring each bite is tender and flavorful. Tent loosely with foil if needed to keep warm.
Just before serving, drizzle the 1 tbsp lemon juice over the chicken legs. This adds a bright, fresh note that balances the rich, savory spices. The lemon juice should be freshly squeezed for the best flavor impact.
Pro Tips For Making Frozen Chicken Legs
- Thaw First: I learned this the hard way—cooking frozen chicken legs straight from the freezer leads to uneven cooking. Let them thaw in the fridge overnight for consistent seasoning and doneness.
- Pat Them Dry: After thawing, pat the chicken legs dry with a paper towel—this helps the salt and spices stick better and promotes crispier skin.
- Season Generously: Don’t be shy with the kosher salt, garlic powder, and onion powder. Frozen chicken needs a little extra flavor boost to shine.
- Check the Temp: Use a meat thermometer to guarantee the legs hit 175°F at the thickest part. I used to guess and ended up with dry or undercooked spots.
Wine and Beer Pairings for These Flavors
Craft Beer Pairings
An amber ale like Fat Tire complements the savory spices with its caramel notes. The moderate bitterness cuts through the richness of the crispy skin. I find 12 oz is the perfect serving size. 🍺
Dark Beer Options
A porter or stout adds deep roasted flavors that match the charred bits on the chicken. Try Guinness for a classic pairing—its creamy texture balances the meal beautifully.
White Wine Choices
A crisp Sauvignon Blanc with citrus notes enhances the lemon finish. Look for New Zealand options like Kim Crawford for that bright acidity. Serve chilled at 45-50°F for best results.
Red Wine Alternatives
For red lovers, a light Pinot Noir works surprisingly well. The red fruit flavors don’t overpower the chicken’s seasoning. I prefer Oregon Pinots for their earthy undertones.
Non-Alcoholic Pairings
Sparkling lemon water with mint mirrors the dish’s brightness. Or try iced tea with a lemon wedge—unsweetened to let the chicken’s flavors shine. 💫
Nutrition Facts
Frequently Asked Questions
Do I need to thaw the chicken first?
Yes, always thaw in the fridge for 12-24 hours before cooking. Cooking from frozen can lead to uneven doneness and dry meat. Pat dry thoroughly for crispy skin.
What if my oven runs hot or cold?
Use an oven thermometer to check accuracy. If it runs hot, reduce temp by 25°F. For a cold oven, increase by 25°F and add 5-10 minutes to baking time.
Can I use boneless thighs instead?
Yes, but reduce baking time to 30-35 minutes since they cook faster. Bone-in versions stay juicier and hold up better to the high heat.
How do I prevent the skin from getting soggy?
Pat the chicken very dry before seasoning. Use a wire rack for air circulation, and don’t cover while baking. Resting on a rack keeps it crisp too.

Trained in classic French technique but raised on slow-cooked ribs and spicy rubs, she blends culinary skill with smoke and soul.
- Recipe for Boneless Pork Chops in Cast Iron Skillet: Sear and Baste to Juicy Perfection - October 3, 2026
- Recipe for Boneless Cross Rib Roast: Slow-Roasted Beef with Herb Crust - October 3, 2026
- Hamburgers in Sauce Recipe Crock Pot: Slow-Cooked Savory Delight - October 3, 2026