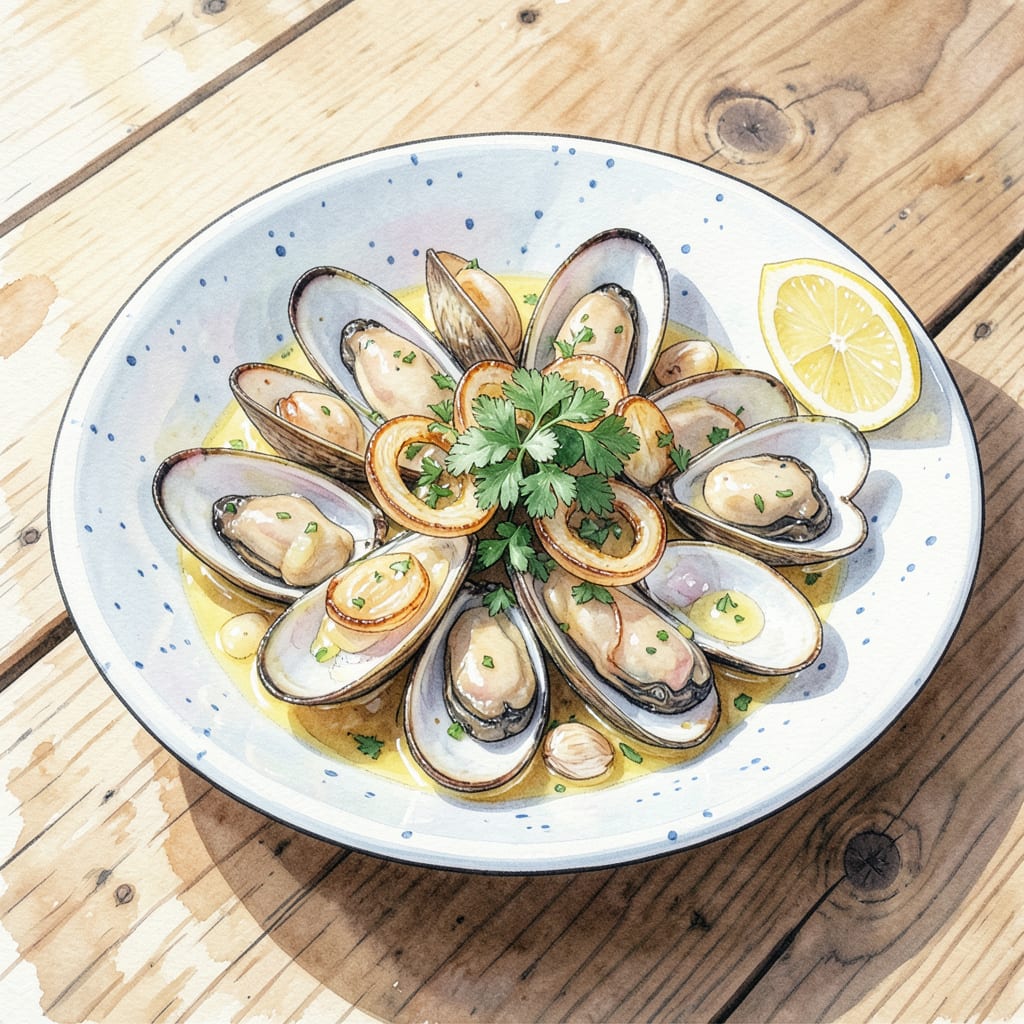
Frozen mussels without shells make weeknight seafood dinners effortless without sacrificing flavor. This professional technique delivers restaurant-quality results in just 15 minutes, transforming convenient frozen seafood into a dish that tastes fresh from the market. The key lies in proper thawing and a simple garlic-butter sauce that enhances the mussels’ natural sweetness.
I developed this method after years of working with fresh mussels, adapting it specifically for frozen varieties. The process ensures perfectly cooked mussels every time—tender yet firm, with no rubbery texture. A splash of white wine and lemon brightens the rich sauce, creating a balanced dish that pairs beautifully with crusty bread or al dente pasta.
Ingredients for Frozen Mussels Without Shell
These professional-grade ingredients transform frozen mussels into a restaurant-quality dish with minimal effort.
| Ingredient | Amount | Notes |
|---|---|---|
| Frozen mussels without shells 🐚 | 2 lb | Thawed according to package instructions |
| Unsalted butter 🧈 | ½ cup | European-style preferred for richness |
| Garlic cloves 🧄 | 6 cloves | Finely minced for even distribution |
| Dry white wine 🍷 | ½ cup | Sauvignon Blanc or Pinot Grigio recommended |
| Fresh lemon juice 🍋 | 2 tbsp | Newly squeezed for brightness |
| Shallots 🧅 | 2 whole | Finely diced for aromatic base |
| Fresh flat-leaf parsley 🌿 | ¼ cup | Chopped for garnish |
| Kosher salt 🧂 | 1 tsp | Diamond Crystal preferred |
| Freshly ground black pepper 🌶️ | ½ tsp | Medium-coarse grind |
| Red pepper flakes 🌶️ | ¼ tsp | Adjust for heat preference |
| Extra-virgin olive oil 🫒 | 2 tbsp | For sautéing aromatics |
| Crusty bread 🍞 | 1 whole | For serving (optional) |
[recipe_ingredient_scaler]
The mussels are the foundation—opt for wild-caught frozen mussels from reputable brands like Trader Joe’s or Patagonia Provisions. Proper thawing is critical: transfer to the refrigerator 12 hours prior or use the cold water method (sealed bag, 30 minutes). For the butter, European-style (82% fat content) creates superior emulsion in the sauce. Shallots and garlic should be freshly prepped—pre-minced versions lack the necessary aromatic potency for this application.
White wine substitutions must maintain acidity: dry vermouth works perfectly, or use clam juice with 1 tsp lemon juice for non-alcoholic versions. The parsley garnish is non-negotiable—it provides the necessary fresh contrast to the rich sauce. For heat adjustments, Aleppo pepper offers a more complex flavor profile than standard red pepper flakes. If avoiding alcohol entirely, substitute the wine with additional seafood stock (homemade preferred) plus 1 tbsp apple cider vinegar.
Prepare all ingredients before starting—this dish cooks in under 15 minutes. Store thawed mussels in the refrigerator for up to 24 hours before cooking. The completed dish holds well for 1 hour at room temperature, though the mussels firm up slightly. For optimal results, serve immediately with the sauce still emulsified. Leftover sauce can be refrigerated for 3 days and reheated gently—do not boil.
Step-by-Step Instructions for Frozen Mussels Without Shells
This professional method delivers perfectly cooked mussels in a rich garlic-butter sauce with minimal effort.
Step 1: Thaw and Prepare the Mussels
Begin by thawing the 2 lb frozen mussels without shells according to package instructions, typically in the refrigerator overnight or under cold running water for 30 minutes. Drain thoroughly in a colander, gently pressing to remove excess liquid. This step ensures even cooking and prevents watery sauce.
Transfer the mussels to a clean bowl and season lightly with 1 tsp kosher salt and 0.5 tsp freshly ground black pepper. The salt enhances the natural brininess while the pepper adds subtle warmth. Set aside while you prepare the aromatics—this brief rest allows the seasoning to adhere.
Step 2: Build the Aromatic Base
Heat 2 tbsp extra-virgin olive oil in a large, deep skillet over medium heat until shimmering. Add the 2 finely diced shallots and cook for 3-4 minutes, stirring frequently, until translucent and just beginning to caramelize at the edges. The shallots should release a sweet, oniony fragrance without browning.
Add the 6 finely minced garlic cloves and 0.25 tsp red pepper flakes, stirring constantly for 45-60 seconds until the garlic turns pale gold. Immediate stirring prevents burning, while the red pepper flakes infuse gentle heat. Remove the pan from heat momentarily if the garlic begins to color too quickly.
Step 3: Deglaze and Simmer the Mussels
Pour in 0.5 cup dry white wine and 2 tbsp fresh lemon juice, using a wooden spoon to scrape up any browned bits from the pan bottom. Return to medium-high heat and simmer for 2-3 minutes until the liquid reduces by about one-third. The alcohol will cook off, leaving behind concentrated flavor.
Add the seasoned mussels in an even layer, then pour in any accumulated juices. Cover the skillet immediately and cook for 5-7 minutes until the mussels turn opaque and plump. Avoid overcooking—they should remain tender, not rubbery. The mussels are done when they float slightly in the liquid.
Step 4: Finish with Butter and Herbs
Reduce heat to low and stir in 0.5 cup unsalted butter, one tablespoon at a time, swirling the pan until each addition melts completely. This emulsification creates a velvety sauce that clings to the mussels. The butter should never separate—maintain gentle heat and constant motion.
Remove from heat and stir in 0.25 cup chopped fresh flat-leaf parsley. The residual heat will wilt the parsley slightly while preserving its bright green color and fresh flavor. Taste and adjust seasoning if needed, though the mussels’ natural brininess typically balances the dish.
Step 5: Serve Immediately with Crusty Bread
Transfer the mussels and sauce to a deep serving bowl, ensuring each portion gets ample broth. The sauce should coat the mussels lightly without pooling excessively at the bottom. Serve with 1 whole crusty bread on the side for dipping—its crisp texture contrasts beautifully with the tender mussels.
For optimal flavor, serve immediately while the sauce remains emulsified and the mussels are at their peak tenderness. Each bite should deliver briny mussel, rich butter, aromatic garlic, and bright lemon notes in perfect harmony. Discard any unopened mussels, though properly thawed frozen mussels rarely present this issue.
Common Mistakes When Making Great frozen mussels without shell
Skipping the Thaw
I’ve seen cooks toss frozen mussels straight into the pan, but this is the fastest way to ruin your dish. The sudden temperature change causes the mussels to release excessive liquid, diluting your carefully built sauce. Always thaw them properly—either overnight in the fridge or sealed in a bag under cold running water for 30 minutes. Trust me, patience here prevents rubbery results. ❄️
Overcrowding the Pan
When cooking mussels, resist the urge to dump them all in at once. Overcrowding lowers the pan temperature, leading to uneven cooking and a watery sauce. I cook in batches if needed, using a 12-inch skillet for 2 lbs of mussels. This ensures each piece cooks evenly and the sauce reduces properly.
High Heat Mistake
Cranking the heat to rush the process is tempting, but mussels cook best with gentle, consistent heat. Too-high temperatures cause the proteins to seize up, making them tough. I maintain medium-high heat only during the initial sear, then reduce to medium-low once the mussels are added. This approach guarantees tender results every time. 🔥
Neglecting the Sauce
The garlic-butter sauce is what transforms this dish from simple to spectacular. Many cooks make the mistake of not emulsifying the butter properly, resulting in a greasy, separated mess. I add the 0.5 cup butter one tablespoon at a time, swirling constantly. This creates that luxurious, velvety texture that clings perfectly to each mussel.
Overcooking the Mussels
Mussels cook incredibly fast—just 5-7 minutes once they hit the pan. The moment they turn opaque and plump, they’re done. Leaving them longer makes them rubbery and shrinks them. I set a timer and check at the 5-minute mark, pulling them immediately when ready. Remember, they’ll continue cooking slightly from residual heat.
Skipping the Fresh Garnish
That final sprinkle of 0.25 cup chopped parsley isn’t just for looks—it adds a crucial fresh contrast to the rich sauce. I’ve seen cooks skip this step, but the dish loses its brightness without it. The parsley also helps balance the garlic’s intensity. Always add it at the very end to preserve its vibrant color and flavor. 🌿

Trained in classic French technique but raised on slow-cooked ribs and spicy rubs, she blends culinary skill with smoke and soul.
- Recipe for Boneless Pork Chops in Cast Iron Skillet: Sear and Baste to Juicy Perfection - October 3, 2026
- Recipe for Boneless Cross Rib Roast: Slow-Roasted Beef with Herb Crust - October 3, 2026
- Hamburgers in Sauce Recipe Crock Pot: Slow-Cooked Savory Delight - October 3, 2026