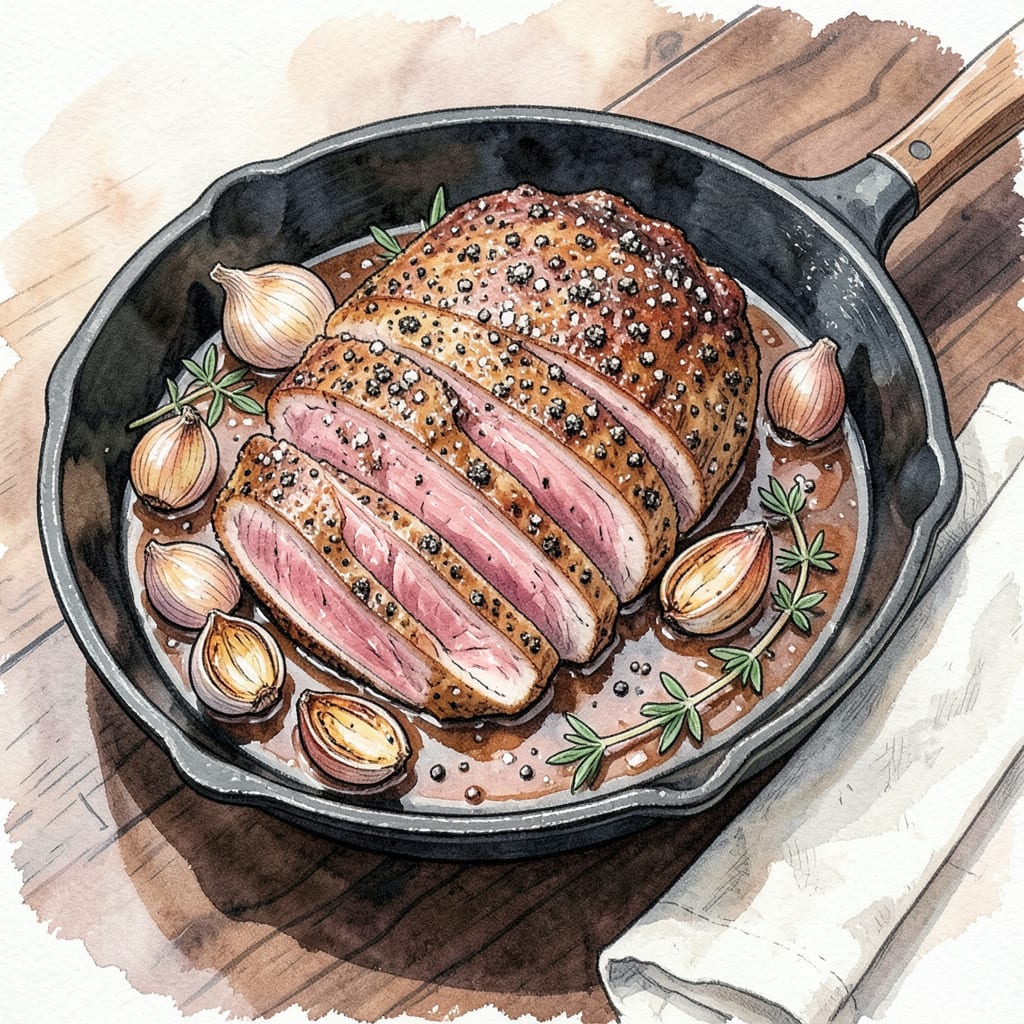
Achieving perfectly juicy and tender sirloin tip roast at home is simpler than most cooks realize. This lean yet flavorful cut demands precise technique—proper seasoning, controlled heat, and careful timing transform it from tough to succulent. After years of testing methods, I’ve refined an approach that delivers consistent results without complicated steps.
The foundation lies in a balanced dry rub and strategic cooking method. Whether you choose oven-roasting or reverse-searing, maintaining the right internal temperature is critical. This recipe ensures a restaurant-quality roast with a flavorful crust and rosy interior, making it ideal for Sunday suppers or special occasions. The technique works equally well for beginners and experienced cooks seeking reliable results.
Ingredients for Sirloin Tip Roast
These carefully selected ingredients create a restaurant-quality sirloin tip roast with minimal effort and maximum flavor development.
| Ingredient | Amount | Notes |
|---|---|---|
| Sirloin tip roast 🥩 | 3 lb | Trimmed of excess fat |
| Kosher salt 🧂 | 1 ½ tbsp | Diamond Crystal preferred |
| Coarsely ground black pepper 🌶️ | 1 tbsp | Freshly ground for optimal flavor |
| Garlic powder 🧄 | 1 tbsp | Not garlic salt substitute |
| Onion powder 🧅 | 1 tbsp | Freshly opened for potency |
| Smoked paprika 🌶️ | 1 tsp | Spanish variety preferred |
| Dried rosemary 🌿 | 1 tsp | Crushed between fingers |
| Extra-virgin olive oil 🫒 | 2 tbsp | High-quality for searing |
| Beef broth 💧 | ½ cup | Low-sodium preferred |
| Unsalted butter 🧈 | 2 tbsp | For basting finish |
| Fresh thyme sprigs 🌿 | 4 whole | For aromatic infusion |
| Fresh rosemary sprigs 🌿 | 2 whole | For aromatic infusion |
| Yellow onion 🧅 | 1 whole | Quartered for roasting |
| Carrots 🥕 | 2 whole | Cut into 2-inch pieces |
[recipe_ingredient_scaler]
The sirloin tip roast requires careful selection for optimal results. Optimal quality requires USDA Choice grade with visible marbling—avoid cuts labeled ‘lean’ as they lack sufficient fat for juiciness. Professional kitchens source from Costco or Whole Foods for consistent quality. The Diamond Crystal kosher salt specification is critical; its larger grain size and clean flavor profile ensure proper seasoning penetration without bitterness. Freshly ground black pepper and recently purchased spices (within 6 months) provide the necessary aromatic foundation for the dry rub’s flavor development.
Substitutions must maintain the recipe’s moisture balance and flavor profile. Garlic salt cannot replace garlic powder due to sodium content variations. For the smoked paprika, regular paprika plus 1/4 tsp liquid smoke approximates the flavor. Butter alternatives like ghee or plant-based butter may be used, though animal fat provides superior Maillard reaction results. The beef broth may be substituted with mushroom broth for vegetarian adaptations, though this alters the final flavor profile. Fresh herb substitutions should maintain the woody/herbaceous balance—sage or marjoram work for thyme, while oregano may replace rosemary at half the quantity.
Ingredient storage directly impacts final quality. The roast should be kept in its original packaging on the bottom fridge shelf for 3-5 days maximum before cooking. Fresh herbs maintain potency when wrapped in damp paper towels and stored in ventilated containers for up to 1 week. Spices retain optimal flavor when stored in airtight containers away from light and heat—expect 6-12 months shelf life under proper conditions. The olive oil and butter should be refrigerated after opening to prevent rancidity, with butter lasting 3 months and olive oil maintaining quality for 6 months.
Step-by-Step Instructions for Sirloin Tip Roast
Mastering this technique ensures perfectly tender, juicy results with minimal effort and maximum flavor.
Step 1: Prepare and Season the Roast
Begin by patting the 3 lb sirloin tip roast completely dry with paper towels. This crucial step removes surface moisture that would otherwise inhibit proper browning. Trim any remaining excess fat from the surface, leaving a thin layer to enhance flavor during cooking.
In a small bowl, combine the 1.5 tbsp kosher salt, 1 tbsp coarsely ground black pepper, 1 tbsp garlic powder, 1 tbsp onion powder, 1 tsp smoked paprika, and 1 tsp dried rosemary (crushed between your fingers to release its aromatic oils). Rub this mixture evenly over all surfaces of the roast, pressing gently to ensure adhesion. Let the seasoned roast rest at room temperature for 30 minutes before cooking—this allows the salt to penetrate the meat and the roast to cook more evenly.
Step 2: Sear for Maximum Flavor Development
Preheat your oven to 325°F. While the oven heats, place a large oven-safe skillet or Dutch oven over medium-high heat. Add the 2 tbsp extra-virgin olive oil and allow it to shimmer—this indicates it’s at the proper temperature for searing. Carefully place the roast in the pan and sear undisturbed for 3-4 minutes per side until a deep golden-brown crust forms.
The searing process creates the Maillard reaction, developing complex flavors and ensuring the final roast has a rich, caramelized exterior. You’ll know it’s ready to flip when the meat releases easily from the pan. After searing all sides, transfer the roast to a plate temporarily while you prepare the aromatic base.
Step 3: Build the Aromatic Foundation
In the same skillet, reduce heat to medium and add the quartered yellow onion and 2 whole carrots cut into 2-inch pieces. Cook for 5 minutes, stirring occasionally, until the vegetables begin to caramelize. Add the 4 whole fresh thyme sprigs and 2 whole fresh rosemary sprigs, stirring for 30 seconds until fragrant.
Pour in the 0.5 cup beef broth, using a wooden spoon to scrape up any browned bits from the bottom of the pan—these fond particles contain concentrated flavor. Return the seared roast to the pan, placing it on top of the aromatic vegetables. The liquid should come about one-third up the sides of the meat.
Step 4: Roast to Perfect Doneness
Transfer the skillet to the preheated 325°F oven. Roast uncovered for approximately 1 hour to 1 hour 15 minutes, or until an instant-read thermometer inserted into the thickest part registers 135°F for medium-rare. For accuracy, check the temperature in multiple locations, avoiding contact with bone or fat pockets.
About 30 minutes into the cooking time, begin basting the roast with the pan juices every 15 minutes. Add the 2 tbsp unsalted butter during the final basting—this enriches the sauce and promotes additional browning. The roast is done when the internal temperature reaches your desired doneness and the juices run slightly rosy when pierced with a knife.
Step 5: Rest and Serve for Optimal Texture
Transfer the roast to a cutting board, tent loosely with foil, and let rest for 15-20 minutes. This crucial resting period allows the muscle fibers to relax and the juices to redistribute throughout the meat. Slicing too soon would result in dry, less flavorful meat as the juices would escape onto the cutting board.
While the roast rests, strain the pan juices through a fine-mesh sieve into a small saucepan. Simmer for 3-5 minutes until slightly reduced, then pour into a gravy boat for serving. Carve the roast against the grain into ½-inch thick slices and arrange on a warmed platter. The properly cooked sirloin tip should be rosy pink in the center with a well-browned exterior, and the slices should glisten with natural juices when cut.
Troubleshooting This Recipe
Overcooked Roast
If your roast turns out tough and dry, it likely cooked past the ideal temperature. Remember, this lean cut continues cooking after removal from the oven. Always pull it at 130-135°F for medium-rare—the temperature will rise 5-10°F during resting. I keep a ThermoWorks Thermapen handy for instant, accurate readings. 🌡️
Uneven Doneness
Different thickness across the roast causes uneven cooking. Before seasoning, examine your 3 lb sirloin tip roast and tie any thinner sections with kitchen twine to create uniform thickness. This simple step ensures even heat distribution. I learned this trick from my butcher after years of struggling with inconsistent results.
Weak Flavor Development
Bland results often come from insufficient seasoning or searing. Don’t skimp on the 1.5 tbsp kosher salt—it’s crucial for flavor penetration. For deeper crust, sear until you see a rich, dark golden-brown color (about 4 minutes per side). The Maillard reaction needs time to develop those complex flavors.
Dry, Stringy Texture
This lean cut requires careful moisture management. Always baste with pan juices every 15 minutes during roasting, and add the 2 tbsp unsalted butter during the final baste. The butter’s milk solids create a flavorful crust while the fat keeps the meat moist. I’ve found this makes the difference between good and extraordinary.
Lackluster Crust
A pale exterior means the oven wasn’t hot enough for searing. Ensure your pan is ripping hot before adding the roast—the oil should shimmer visibly. For extra crispiness, broil for 2-3 minutes at the end, watching closely to avoid burning. My coastal rides always remind me how proper heat transforms everything. 🔥
Gravy Too Thin
After straining your pan juices, simmer them uncovered for 5-7 minutes to reduce. For extra body, mix 1 tsp cornstarch with cold water and whisk into the gravy. The natural gelatin from the roast will also thicken it as it cools slightly. Patience here rewards you with silky, flavorful results.
Nutrition Facts

Trained in classic French technique but raised on slow-cooked ribs and spicy rubs, she blends culinary skill with smoke and soul.
- Recipe for Boneless Pork Chops in Cast Iron Skillet: Sear and Baste to Juicy Perfection - October 3, 2026
- Recipe for Boneless Cross Rib Roast: Slow-Roasted Beef with Herb Crust - October 3, 2026
- Hamburgers in Sauce Recipe Crock Pot: Slow-Cooked Savory Delight - October 3, 2026