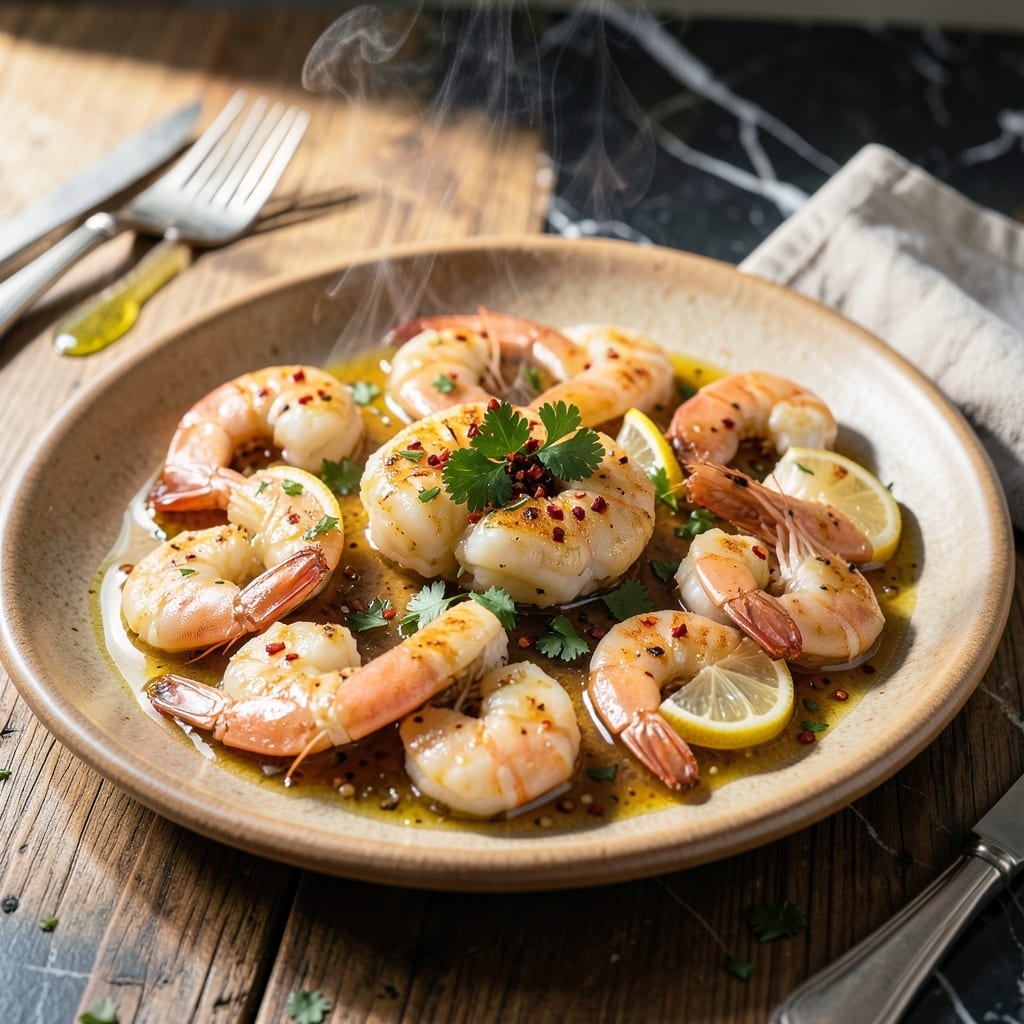
I developed this method after years of testing, perfecting a way to achieve succulent shrimp without relying on butter. The key lies in quality olive oil and proper garlic infusion.
This approach delivers restaurant-quality results at home with minimal ingredients. The olive oil base allows the garlic flavor to shine while keeping the shrimp tender and moist.
You’ll end up with perfectly cooked shrimp that absorb the aromatic garlic oil, creating a dish that’s both elegant and approachable. The technique works every time, even for weeknight dinners.
Serve immediately for best results. Here’s how to make it perfectly.
Ingredients for Garlic Shrimp Recipe No Butter
Quality olive oil, fresh garlic, and plump shrimp create this elegant dish with minimal effort.
| Ingredient | Amount | Notes |
|---|---|---|
| Large Shrimp 🦐 | 1 ½ lb | Peeled, deveined, tails on or off |
| Extra-Virgin Olive Oil 🫒 | ½ cup | High-quality, cold-pressed preferred |
| Garlic Cloves 🧄 | 8 cloves | Thinly sliced for even infusion |
| Fresh Lemon 🍋 | 1 whole | Zest and juice separated |
| Dry White Wine 🍷 | ½ cup | Sauvignon Blanc or Pinot Grigio |
| Red Pepper Flakes 🌶️ | ½ tsp | Adjust for heat preference |
| Kosher Salt 🧂 | 1 ½ tsp | Diamond Crystal preferred |
| Freshly Ground Black Pepper 🌶️ | 1 tsp | Coarse grind for texture |
| Fresh Parsley 🌿 | ¼ cup | Finely chopped for garnish |
| Shallot 🧅 | 1 whole | Minced for depth of flavor |
| Crushed Tomatoes 🍅 | ½ cup | San Marzano preferred |
[recipe_ingredient_scaler]
The shrimp quality is non-negotiable here. Wild-caught Gulf shrimp (16/20 count) offer the best texture and flavor. Whole Foods or local seafood markets are ideal sources—avoid pre-thawed frozen unless it’s a trusted brand like Wild Fork. The olive oil should be cold-pressed extra-virgin; California Olive Ranch or Bertolli deliver consistent quality for infusion.
No white wine? Substitute with chicken stock plus a splash of lemon juice. Shallots can be replaced with yellow onion at half the quantity. For a deeper umami, add 1 tsp anchovy paste (pescatarian-friendly). Fresh parsley is preferred, but dried at one-third the amount works in a pinch. The tomatoes can be omitted, but they add a subtle acidity that balances the richness.
Shrimp cook in minutes—buy them the day of cooking for peak freshness. The finished dish holds well for 1-2 hours at room temperature (don’t refrigerate, as it dulls the garlic oil). Leftovers? Rare, but they’ll keep for 1 day in the fridge. Reheat gently in a skillet.
Why You’ll Love This Recipe
- 20-Minute Meal: I can have this on the table faster than takeout arrives. Just shrimp, olive oil, and garlic in one pan—no fuss.
- Garlic-Lemon Magic: The combo of fresh garlic and lemon with white wine creates a sauce so good, I sop it up with bread every time.
- Date Night Ready: It feels fancy enough for a special dinner but honestly takes less effort than ordering in.
- Budget Stretcher: A pound of shrimp and pantry staples feed four without breaking the bank. Leftovers? Even better the next day.
Step-by-Step Instructions for Olive Oil-Infused Garlic Shrimp
Master the technique for perfectly cooked shrimp with vibrant garlic and wine-infused sauce.
Step 1: Prepare and Season the Shrimp
Pat the 1.5 lb large shrimp completely dry with paper towels to ensure proper searing. I always leave the tails on for presentation, but you can remove them if preferred. Season the shrimp generously with 1.5 tsp kosher salt and 1 tsp freshly ground black pepper on both sides.
This drying step is crucial—excess moisture prevents the shrimp from developing that beautiful golden crust. The seasoning should be visible on the surface, as shrimp requires assertive seasoning to stand up to the bold flavors in this dish.
Step 2: Infuse the Olive Oil with Aromatics
Heat 0.5 cup extra-virgin olive oil in a large skillet over medium heat. Add 1 minced shallot and cook for 2 minutes until softened and translucent. Then add the 8 thinly sliced garlic cloves and 0.5 tsp red pepper flakes, cooking for an additional 1-2 minutes until the garlic turns light golden.
Watch carefully to prevent the garlic from burning—it should just begin to color at the edges. The oil will become fragrant and take on a rich, golden hue as the aromatics infuse. Remove the skillet from heat if the garlic starts to brown too quickly.
Step 3: Sear the Shrimp to Perfection
Increase the heat to medium-high and add the seasoned shrimp to the skillet in a single layer, without crowding. Cook undisturbed for 2-3 minutes per side until the shrimp turn opaque and pink with golden edges. The shrimp are done when they curl into a loose “C” shape.
Don’t overcrowd the pan—if necessary, cook the shrimp in batches to maintain the oil temperature. Overcrowding causes the shrimp to steam rather than sear, resulting in a less flavorful dish. Transfer the cooked shrimp to a plate and set aside.
Step 4: Create the Wine and Tomato Sauce
Pour 0.5 cup dry white wine into the skillet and deglaze, scraping up any browned bits from the bottom with a wooden spoon. Let the wine simmer for 2-3 minutes until it reduces by half. Stir in the 0.5 cup crushed tomatoes and the zest of 1 fresh lemon, then simmer for another 2 minutes.
The sauce should thicken slightly and develop a glossy sheen. The acidity from the wine and lemon balances the richness of the olive oil, while the tomatoes add depth and a subtle sweetness to the dish.
Step 5: Finish and Serve
Return the shrimp to the skillet along with any accumulated juices. Stir in the juice of 1 fresh lemon and 0.25 cup finely chopped fresh parsley, tossing everything to coat evenly. Cook for an additional 30 seconds to heat through and meld the flavors.
Serve immediately, garnished with extra parsley and lemon wedges if desired. The shrimp should be tender and succulent, with a sauce that clings lightly to each piece. The sauce will have a vibrant, garlicky aroma with a bright, tangy finish.
Pro Tips For Making Garlic Shrimp Recipe No Butter
- Pat Shrimp Dry: I learned this the hard way—wet shrimp steams instead of searing. Press them between paper towels for 2 minutes before cooking to guarantee that golden crust.
- Slice Garlic Thin: After burning three batches, I finally figured out thick garlic slices scorch before they flavor the oil. Thin slices cook evenly in 30 seconds without bitterness.
- Deglaze Immediately: Once the shrimp come out, pour in that white wine right away to lift all those browned garlic bits—this is where the flavor hides.
- Zest Before Juicing: Sounds weird, but it works: grate the lemon zest directly into the pan before squeezing. You’ll get twice the citrus punch with half the effort.
Essential Equipment for Great garlic shrimp recipe no butter
Skillet Selection
I always reach for my 12-inch stainless steel skillet—it distributes heat evenly and gives the shrimp room to sear properly. A heavy-bottomed pan prevents hot spots that can burn the garlic. All-Clad or Cuisinart make reliable options for home cooks. 💡
Wooden Spoon
A wooden spoon is essential for deglazing and stirring without scratching your skillet. I prefer one with a flat edge to scrape up all those flavorful browned bits from the bottom. It also won’t conduct heat like metal, keeping your hands comfortable during cooking.
Tongs for Shrimp
Use 12-inch locking tongs to flip the shrimp easily without piercing them. I like OXO’s stainless steel tongs—they’re sturdy and have a good grip. This lets you control the shrimp precisely while maintaining that beautiful sear.
Garlic Press Alternative
For the garlic, I actually prefer thinly slicing by hand rather than pressing. A sharp chef’s knife gives you more control over the texture. A Wüsthof 8-inch is my go-to. The slices infuse the oil more gently than minced garlic.
Measuring Tools
Accurate measurements matter here. I use stainless steel measuring spoons for the salt, pepper, and red pepper flakes. For the wine and oil, a 1-cup liquid measure with clear markings ensures you get the quantities right every time. 🌡️
Serving Dish
A warm serving platter keeps the shrimp hot while you finish the sauce. I heat mine in the oven at 200°F while cooking. A shallow dish works best, allowing the sauce to pool slightly around the shrimp for easy dipping.
Nutrition Facts
Frequently Asked Questions
What oil works best for this dish?
Use high-quality extra-virgin olive oil for rich flavor. Avoid refined oils as they lack depth. Cold-pressed varieties like California Olive Ranch work perfectly for infusing with garlic.
How do I prevent the garlic from burning?
Cook garlic over medium heat and watch closely. Remove the pan from heat if it starts browning too fast. Light golden is ideal for maximum flavor without bitterness.
Can I make this ahead of time?
The dish is best served immediately when the sauce is vibrant. However, it holds well at room temperature for 1-2 hours. Avoid refrigerating, as it dulls the garlic oil.
What can I substitute for white wine?
Use chicken stock plus 1 tablespoon lemon juice for similar acidity. The substitution maintains the balance without overpowering the garlic.

Trained in classic French technique but raised on slow-cooked ribs and spicy rubs, she blends culinary skill with smoke and soul.
- Recipe for Boneless Pork Chops in Cast Iron Skillet: Sear and Baste to Juicy Perfection - October 3, 2026
- Recipe for Boneless Cross Rib Roast: Slow-Roasted Beef with Herb Crust - October 3, 2026
- Hamburgers in Sauce Recipe Crock Pot: Slow-Cooked Savory Delight - October 3, 2026