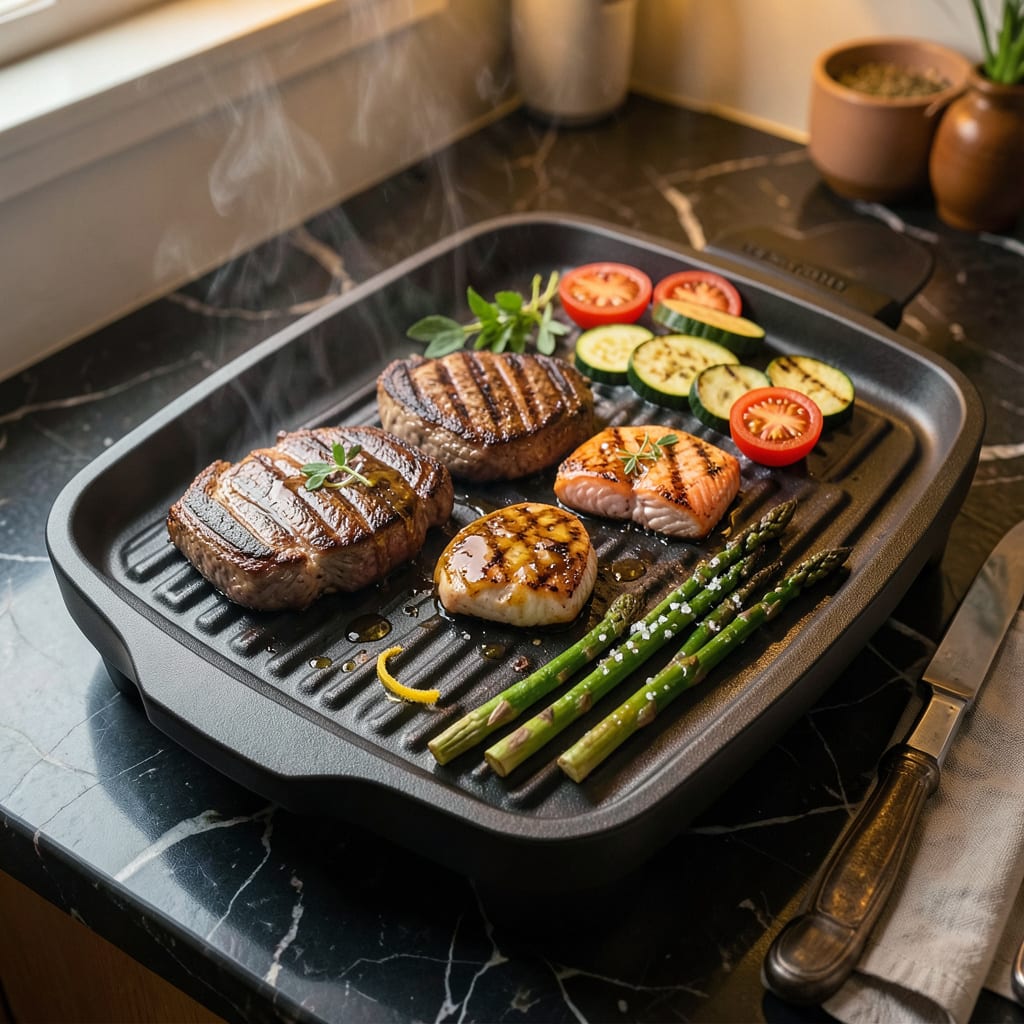
Most George Foreman grills don’t have adjustable temperature controls—they typically cook at a fixed 400°F. Some newer models offer variable settings (300°F–450°F) for different foods like steak, chicken, or veggies.
This fixed-heat design actually works to your advantage for consistent results. 🔥 The 400°F standard was chosen because it’s the sweet spot for searing meats while preventing dryness—ideal for burgers, pork chops, and even delicate fish fillets. I’ve found that the slope of the grill plates helps drain fat efficiently, which means less flare-up risk compared to traditional grills.
Newer models with adjustable dials give you more flexibility, especially for foods that need gentler heat. For example, 300°F works beautifully for slow-cooked veggies or delicate seafood, while cranking it to 450°F gets that perfect char on thicker steaks. The key is knowing your model’s capabilities—always check the manual for hidden features! ✨
💡 In This Article
- How George Foreman Grill Heat Settings Actually Work
- Optimal Cooking Times and Temps for Popular Foods
How George Foreman Grill Heat Settings Actually Work
The fixed 400°F temperature in classic models isn’t arbitrary—it’s engineered for optimal contact grilling. The heating elements run through both the top and bottom plates, creating a “heat sandwich” that cooks food from both sides simultaneously.
This design eliminates the need for flipping and ensures even doneness, whether you’re searing a 1-inch steak or toasting a panini. The consistent heat also prevents cold spots that plague many traditional grills. 🔥
Newer models with adjustable dials (typically 300°F–450°F) use variable wattage control to modify heat intensity. At 300°F, the grill cycles power on/off to maintain lower temperatures—ideal for delicate foods like asparagus or salmon fillets. Crank it to 450°F, and the elements run continuously for maximum searing power.
The temperature range mirrors professional flat-top grills but in a compact countertop format. ✨
Here’s what most people miss: the grill’s sloped design isn’t just for fat drainage—it creates micro-temperature zones. The lower front edge runs about 25°F cooler than the back, giving you built-in temperature variation. I use this to my advantage by starting proteins at the back for initial searing, then sliding them forward to finish gently.
This technique mimics restaurant-quality temperature staging. 💫
The fixed 400°F standard emerged from extensive testing showing it’s the Goldilocks zone for most foods. It’s hot enough to develop Maillard browning (that delicious crust on meats) within 4-6 minutes, yet low enough to prevent burning before food cooks through. The exception?
Thick cuts over 1.5 inches—these benefit from the adjustable models where you can start high then reduce heat. 🌟
Pro tip: All models benefit from a 5-minute preheat to stabilize plate temperatures. I verify doneness with an instant-read thermometer—145°F for pork, 165°F for chicken—since the fixed heat means timing varies by food thickness.
The grill’s design compensates for not having a built-in thermometer by providing visual cues: proper sear lines appear at about 3-4 minutes for most proteins. ⚡
For those with adjustable models, think beyond the dial numbers. The 300-350°F range excels for melting cheese without burning bread (perfect for grilled cheese), while 400-450°F mimics cast-iron searing. I’ve found the middle settings (375°F) work wonders for vegetables, caramelizing their natural sugars without charring.
The key is matching the temperature to the food’s moisture content and desired texture. 💛
Remember that ambient temperature affects performance too. In my coastal kitchen, I notice the grill takes about 10% longer to reach temperature on humid days compared to dry ones. This is because moisture in the air competes with the heating elements. The solution? Add 1-2 extra minutes of preheating when humidity exceeds 70%.
It’s these small adjustments that transform good results into great ones. 🌟

Trained in classic French technique but raised on slow-cooked ribs and spicy rubs, she blends culinary skill with smoke and soul.
- Recipe for Boneless Pork Chops in Cast Iron Skillet: Sear and Baste to Juicy Perfection - October 3, 2026
- Recipe for Boneless Cross Rib Roast: Slow-Roasted Beef with Herb Crust - October 3, 2026
- Hamburgers in Sauce Recipe Crock Pot: Slow-Cooked Savory Delight - October 3, 2026