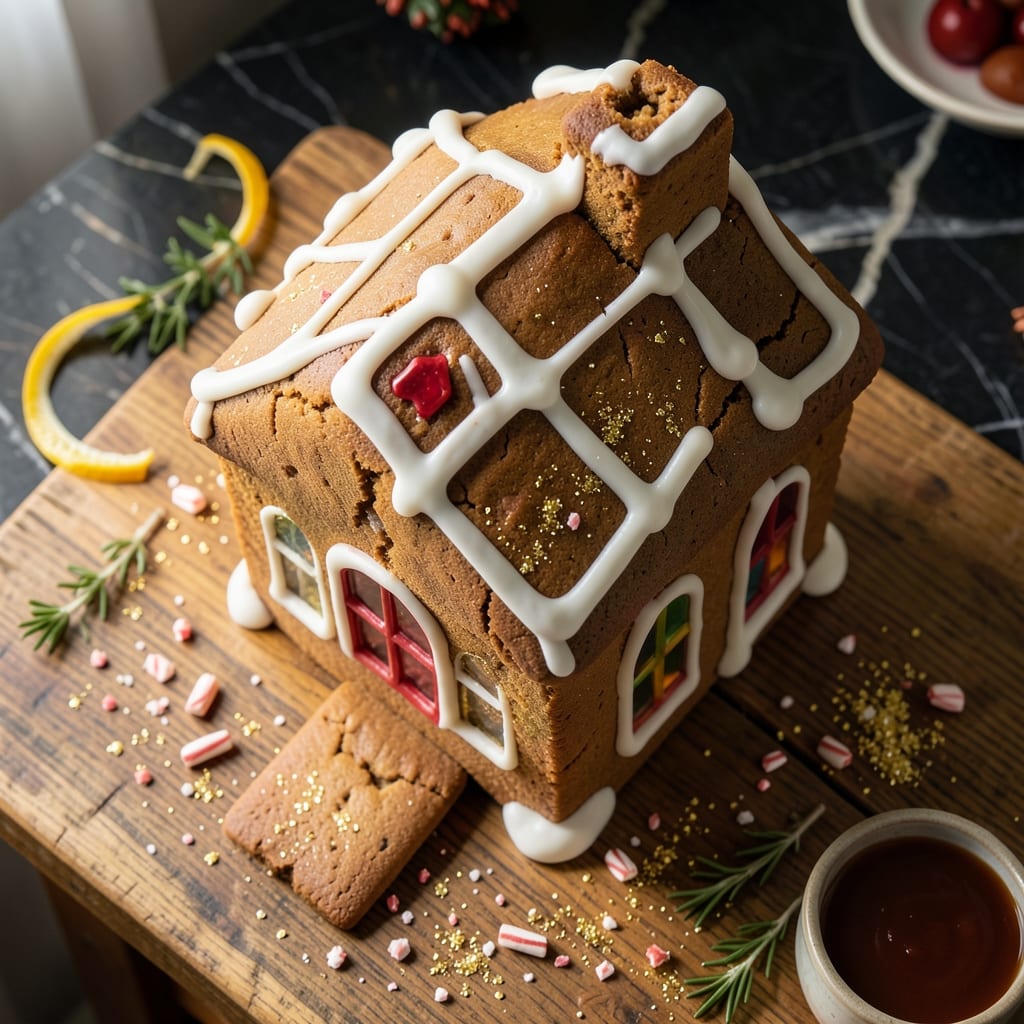
Building a gingerbread house without molasses is not only possible but creates a lighter, more delicate structure. This honey-sweetened version delivers the same festive charm with a subtly different flavor profile.
The secret lies in the right balance of warm spices and proper dough consistency for sturdy walls and roofs. Honey brings natural sweetness while maintaining the structural integrity needed for your holiday centerpiece.
You’ll achieve a golden-brown house with crisp edges that holds its shape beautifully. The aroma of cinnamon, ginger, and cloves will fill your kitchen as it bakes, setting the perfect holiday mood.
Perfect for family projects or edible gifts, this version proves you don’t need molasses for authentic gingerbread magic. Here’s how to create this festive holiday tradition.
Ingredients for Gingerbread House Recipe No Molasses
Pantry staples plus warm spices create this festive holiday structure with ease.
| Ingredient | Amount | Notes |
|---|---|---|
| All-Purpose Flour 🌾 | 4 cups | Sifted for even texture |
| Honey 🍯 | ¾ cup | Raw or pure for best flavor |
| Unsalted Butter 🧈 | ½ cup | Cold, cubed for dough |
| Ground Ginger 🌿 | 2 tsp | Freshly ground preferred |
| Ground Cinnamon 🌶️ | 2 tsp | Ceylon or Cassia variety |
| Ground Cloves 🍃 | ½ tsp | Strong, use sparingly |
| Baking Soda 🧂 | 1 tsp | Ensures proper rise |
| Salt 🧂 | ½ tsp | Fine grain preferred |
| Large Eggs 🥚 | 2 whole | Room temperature for binding |
| Granulated Sugar 🍚 | ½ cup | Balances honey sweetness |
| Vanilla Extract 🌿 | 1 tsp | Pure extract for depth |
| Whole Milk 🥛 | 2 tbsp | Adjusts dough consistency |
[recipe_ingredient_scaler]
The honey is doing double duty here—sweetness and structure. Local raw honey from farmers markets has the best flavor, but any pure honey works. The spices need to be fresh; Penzeys or bulk bins at natural food stores are ideal. For the flour, all-purpose is perfect, but if you’re gluten-free, a 1:1 blend works in a pinch (just add 1 extra tsp xanthan gum for stability).
No honey? Maple syrup or agave can substitute 1:1, but the flavor shifts slightly. Missing a spice? Pumpkin pie spice covers all three warm spices in one go. The butter must be unsalted—salted throws off the balance. For a vegan version, coconut oil works but chills the dough faster, so roll it quickly.
Dough keeps in the fridge for 3 days wrapped tightly. Baked pieces stay fresh for 1 week in an airtight container. Freeze undecorated houses for up to 1 month—just thaw before assembling (worth the extra minute).
Why You’ll Love This Recipe
- No Molasses Needed: I love that honey replaces molasses—no last-minute grocery runs for that one stubborn ingredient.
- Warm Spice Magic: The ginger and cinnamon with honey butter create this cozy, almost caramel-like depth that’s just right.
- Kid-Friendly Project: My kids actually stay engaged building these, and the dough holds up to their enthusiastic decorating.
- Budget Baker’s Win: Flour, honey, butter—things I always have on hand, so it’s a project that doesn’t break the bank.
Step-by-Step Instructions for Honey-Sweetened Gingerbread House
Here’s the method I use for sturdy, aromatic gingerbread perfect for building holiday structures.
Step 1: Mix Dry Ingredients for Even Distribution
In a medium bowl, whisk together the 4 cups all-purpose flour, 2 tsp ground ginger, 2 tsp ground cinnamon, 0.5 tsp ground cloves, 1 tsp baking soda, and 0.5 tsp salt. Sifting isn’t strictly necessary here since we’re whisking, but make sure you break up any lumps in the flour.
This step ensures your spices are evenly distributed throughout the dough. I always taste a pinch of the mixture at this stage to check the spice balance – the ginger should be prominent but not overpowering, with cinnamon and cloves providing warm background notes.
Step 2: Cream Butter and Sweeteners
In a large bowl, beat the 0.5 cup unsalted butter with the 0.5 cup granulated sugar until light and fluffy. This should take about 2-3 minutes with an electric mixer. The mixture will turn pale yellow and increase in volume.
Add the 0.75 cup honey and 1 tsp vanilla extract, then beat for another 1-2 minutes until fully combined. The honey might make the mixture look slightly curdled at first, but it will smooth out as you continue mixing. This creates the perfect sweet base for your gingerbread.
Step 3: Incorporate Eggs and Alternate with Dry Ingredients
Add the 2 whole large eggs one at a time, beating well after each addition. Scrape down the sides of the bowl as needed. The eggs should be fully incorporated before you add the next one.
With the mixer on low, add about one-third of the dry ingredients, mixing just until combined. Pour in the 2 tbsp whole milk, then add another third of the dry ingredients. Finish with the remaining dry ingredients. The dough will be thick and slightly sticky – this consistency is ideal for rolling out and cutting shapes.
Step 4: Chill the Dough for Easier Handling
Divide the dough into two equal portions, flatten each into a disc, and wrap tightly in plastic wrap. Refrigerate for at least 2 hours or up to 24 hours. Chilling makes the dough much easier to roll out and prevents spreading during baking.
I’ve found that 2 hours is the minimum for this dough to firm up properly. When ready to use, let the dough sit at room temperature for 10-15 minutes before rolling to prevent cracking. This resting period also allows the flavors to develop further.
Step 5: Roll, Cut, and Bake to Sturdy Perfection
Preheat your oven to 350°F. On a lightly floured surface, roll out one disc of dough to about ¼-inch thickness. Use your gingerbread house templates to cut out the shapes, leaving at least ½ inch between pieces for even baking.
Bake on parchment-lined sheets for 10-12 minutes until the edges are just beginning to darken. The pieces should be firm to the touch but not hard. Let cool completely on the baking sheet – this prevents warping. The gingerbread will continue to firm up as it cools, becoming sturdy enough for construction.
Pro Tips For Making Gingerbread House Recipe No Molasses
- Chill the Dough: After mixing, wrap the dough and refrigerate for at least 2 hours—this prevents the butter from melting too fast and keeps the house walls sturdy.
- Warm the Honey: Microwave the honey for 15-20 seconds before adding it to the mix; it blends smoother with the butter and avoids clumping.
- Skip Overmixing: I learned this the hard way—mix just until the flour disappears, or your gingerbread will turn tough and crack when you try to build.
- Roll Evenly: Use rolling pin guides or cut two ¼-inch wooden dowels to keep the dough thickness consistent—uneven pieces are a nightmare to assemble.
Troubleshooting This Recipe
Dough Too Sticky
If your dough is too tacky to handle, add 1-2 tbsp more flour and knead briefly. Chill for an additional 30 minutes before rolling. I find this often happens in humid kitchens.
Dough Too Dry
When the mixture crumbles, add 1 tsp milk at a time until it holds together. Don’t overdo it—this dough should be firm but pliable. The honey’s moisture content varies by brand.
Spreading While Baking
Chill your cut shapes on the baking sheet for 15-20 minutes before baking. This prevents butter from melting too quickly. Also ensure your oven is fully preheated to 350°F. 💡
Pieces Breaking When Cool
Let pieces cool completely on the baking sheet. Moving them too soon causes cracks. If they do break, use royal icing as “glue” during assembly—it dries hard and holds well.
Uneven Baking
Rotate your baking sheets halfway through the 10-12 minute bake time. For consistent thickness, roll dough between two sheets of parchment. This creates an even surface.
Weak Structure
If walls feel flimsy, bake for 1-2 extra minutes next time. Thicker pieces (up to ⅜ inch) also hold up better. I’ve had best results with ¼ inch thickness for balance of sturdy and edible. 🔥
Nutrition Facts
Frequently Asked Questions
Can I use maple syrup instead of honey?
Yes, you can substitute maple syrup 1:1 for honey. The flavor will be slightly different but still delicious. The structure may be a touch softer, so chill the dough for an extra 30 minutes before rolling.
Why do I need to chill the dough?
Chilling firms the butter and allows the flour to hydrate fully. This prevents spreading during baking and makes the dough easier to handle. Skip this step and your walls might collapse!
How thick should I roll the dough?
Aim for ¼-inch thickness for the best balance of sturdiness and edibility. Any thinner and pieces may break; thicker pieces can be too heavy for the structure. Use rolling pin guides for consistency.
Can I make this ahead of time?
Bake and cool pieces, then store in an airtight container for up to 1 week. For longer storage, freeze undecorated pieces for up to 1 month.

Trained in classic French technique but raised on slow-cooked ribs and spicy rubs, she blends culinary skill with smoke and soul.
- Recipe for Boneless Pork Chops in Cast Iron Skillet: Sear and Baste to Juicy Perfection - October 3, 2026
- Recipe for Boneless Cross Rib Roast: Slow-Roasted Beef with Herb Crust - October 3, 2026
- Hamburgers in Sauce Recipe Crock Pot: Slow-Cooked Savory Delight - October 3, 2026