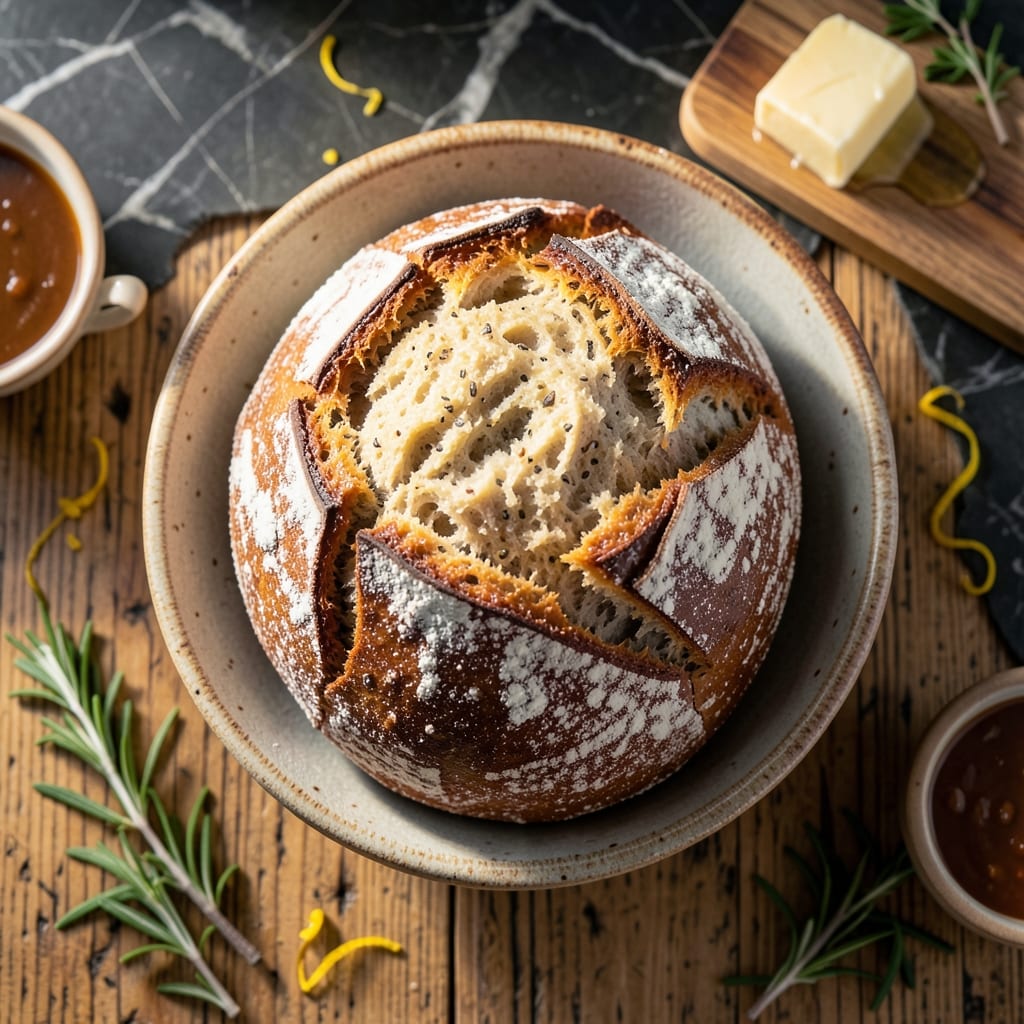
This gluten-free bread recipe transforms rice flour into a soft and light loaf that rivals traditional wheat bread. The secret lies in the precise balance of ingredients and a carefully controlled baking process.
With simple pantry staples and no special equipment, you can achieve a bread that’s perfect for sandwiches or toast. The texture stays tender for days, making it a reliable choice for gluten-free baking.
Ingredients for Gluten Free Bread Recipe Using Rice Flour
Simple pantry staples create a loaf that’s soft, light, and entirely gluten-free.
| Ingredient | Amount | Notes |
|---|---|---|
| White Rice Flour 🌾 | 2 ½ cups | Fine, super-fine preferred |
| Tapioca Starch 🌾 | ¾ cup | Also called tapioca flour |
| Potato Starch 🥔 | ½ cup | Not potato flour |
| Xanthan Gum 🧪 | 1 tsp | Essential for structure |
| Instant Yeast 🍞 | 2 tsp | Or active dry yeast |
| Sugar 🍚 | 2 tbsp | Organic cane or granulated |
| Salt 🧂 | 1 tsp | Fine sea salt preferred |
| Unsweetened Almond Milk 🥛 | 1 ¼ cups | Warm to 110°F |
| Extra-Virgin Olive Oil 🫒 | ¼ cup | Or melted coconut oil |
| Apple Cider Vinegar 🍏 | 1 tbsp | Balances flavor profile |
| Flaxseed Meal 🌿 | 2 tbsp | Mixed with 6 tbsp water |
| Water 💧 | ½ cup | For flaxseed mixture |
[recipe_ingredient_scaler]
The rice flour is non-negotiable here. Bob’s Red Mill or Anthony’s Goods offer consistent quality with fine grinds. Tapioca and potato starches (found in the baking aisle at Whole Foods or Kroger) provide the stretch and chew missing in gluten-free baking. Xanthan gum is the magic binder—skip it and your loaf will crumble. Always check expiration dates on these; old starches lose their power.
No almond milk? Any plant-based milk works at a 1:1 ratio. Coconut oil stands in for olive oil if you prefer a neutral flavor. For the flax eggs (essential for binding), chia seeds work too, but grind them first. If you can’t find potato starch, cornstarch at half the amount is a decent sub. The vinegar might seem odd, but it reactivates the yeast—don’t omit it (white vinegar works in a pinch).
Store dry ingredients in airtight containers to prevent clumping—6-12 months in a cool, dark place. The baked loaf stays fresh wrapped tightly for 3-4 days at room temperature. For longer storage, slice and freeze for up to 3 months (toast straight from frozen).
Why You’ll Love This Recipe
- One Bowl Wonder: I just dump the rice flour, tapioca starch, and yeast in a single bowl—no fancy equipment, no mess.
- Warm, Toasty Perfection: The combo of white rice flour and xanthan gum gives it that soft, bakery-style texture I’ve missed since going gluten-free.
- Sandwich Savior: Honestly, it holds up to peanut butter, jam, or even a hearty turkey melt without crumbling apart.
- Budget Stretch: A bag of rice flour and a little xanthan gum make two loaves, so I save a fortune compared to store-bought gluten-free bread.
Step-by-Step Instructions for Gluten Free Bread Using Rice Flour
Master these techniques to create a light, airy loaf that rivals traditional bread.
Step 1: Activate the Flaxseed and Yeast
Combine the 2 tbsp Flaxseed Meal with 0.5 cup Water in a small bowl. Stir well and let it sit for 5 minutes until it thickens to a gel-like consistency. This flax “egg” provides structure and moisture to your gluten-free loaf.
In a separate small bowl, whisk together the 1.25 cups Unsweetened Almond Milk (warmed to 110°F), 2 tbsp Sugar, and 2 tsp Instant Yeast. Let it sit for 5-7 minutes until foamy—this confirms your yeast is active and ready to leaven the dough.
Step 2: Mix the Dry Ingredients
In a large mixing bowl, whisk together the 2.5 cups White Rice Flour, 0.75 cup Tapioca Starch, 0.5 cup Potato Starch, 1 tsp Xanthan Gum, and 1 tsp Salt. The xanthan gum is non-negotiable here—it mimics gluten’s elasticity, giving your bread proper texture.
Make a well in the center of your dry ingredients. This creates the perfect space to incorporate your wet ingredients evenly without creating lumps in your batter.
Step 3: Combine Wet and Dry Ingredients
Pour the yeast mixture, flaxseed gel, 0.25 cup Extra-Virgin Olive Oil, and 1 tbsp Apple Cider Vinegar into the well of your dry ingredients. The vinegar helps balance the flavor and improves the crumb structure.
Using a sturdy spoon or stand mixer with paddle attachment, mix on medium speed for 2-3 minutes until the batter is smooth and elastic. It will be thicker than traditional bread dough but should still be pourable. Scrape down the sides of the bowl as needed to ensure even mixing.
Step 4: Proof and Bake the Bread
Transfer the batter to a greased 9×5-inch loaf pan. Smooth the top with a wet spatula—this prevents cracking during baking. Cover with a damp towel and let it rise in a warm place for 45-60 minutes or until it domes about 1 inch above the pan.
Preheat your oven to 375°F. Bake the loaf for 45-50 minutes until the top is golden brown and the internal temperature reaches 205°F. If the top browns too quickly, tent with aluminum foil.
Step 5: Cool Completely Before Slicing
Remove the bread from the oven and let it cool in the pan for 10 minutes. Then transfer it to a wire rack to cool completely for at least 1 hour. This cooling period is crucial—it allows the structure to set and prevents a gummy texture.
Once cooled, slice with a serrated knife. The bread should have a tender, slightly springy crumb with a thin, crisp crust. Store leftovers in an airtight container at room temperature for up to 3 days, or freeze for longer storage.
Pro Tips For Making Gluten Free Bread Recipe Using Rice Flour
- Warm Your Flours: Take 5 minutes to spread your white rice flour and starches on a baking sheet in a 110°F oven—cold ingredients kill yeast activity, and I learned this the hard way after too many dense loaves.
- Measure Xanthan Precisely: Use a digital scale for the xanthan gum: 1 teaspoon per cup of flour blend, no more. Too much turns your bread gummy, and too little means it crumbles.
- Skip Dry Yeast Swaps: Stick with instant yeast—active dry needs proofing, and with gluten-free doughs, that extra step actually changes the outcome for the worse.
- Rest the Dough: After mixing, let the dough sit covered for 20 minutes before shaping—this gives the starches time to hydrate fully, and the texture improves every time.
Common Mistakes When Making This Recipe
Overmixing the Batter
Gluten-free bread batter needs just 2-3 minutes of mixing to combine ingredients. Overmixing develops too much air, causing the loaf to rise too quickly then collapse. I use a stand mixer on medium speed and stop as soon as it’s smooth. 💡
Skipping the Proofing Step
Rushing the rise leads to dense, gummy bread. Your batter must dome 1 inch above the pan during its 45-60 minute proof. I place mine near a warm oven with the light on to speed it up slightly.
Incorrect Liquid Temperature
Yeast dies at 120°F and won’t activate below 100°F. I always use a thermometer to confirm my almond milk is exactly 110°F before adding yeast. Too hot or cold, and your loaf won’t rise properly.
Using Wrong Pan Size
A 9×5-inch loaf pan is ideal for proper height and cooking. Larger pans create flat loaves, while smaller ones cause overflow. I grease mine thoroughly with olive oil to prevent sticking.
Slicing Too Soon
Cutting before complete cooling causes crumbling. I wait the full 1 hour after baking, then another 10 minutes in the pan. This patience ensures clean slices with that perfect tender crumb. ⚡
Substituting Starches
Swapping potato starch for cornstarch changes the texture entirely. I learned this the hard way—my first attempt with cornstarch was crumbly. Stick to the recipe’s tapioca and potato starch blend for best results.
Nutrition Facts
Frequently Asked Questions
Can I use brown rice flour instead of white?
Yes, but it will create a denser, nuttier loaf. For best results, use fine white rice flour as specified.
Why is xanthan gum necessary?
It replaces gluten’s elasticity, preventing crumbling. Without it, your bread won’t hold its shape.
How do I know when it’s done baking?
Check for a golden brown top and 205°F internal temperature. If browning too fast, tent with foil.
Can I make this without a stand mixer?
Yes! Mix by hand with a sturdy spoon for 3-4 minutes until smooth.

Trained in classic French technique but raised on slow-cooked ribs and spicy rubs, she blends culinary skill with smoke and soul.
- Recipe for Boneless Pork Chops in Cast Iron Skillet: Sear and Baste to Juicy Perfection - October 3, 2026
- Recipe for Boneless Cross Rib Roast: Slow-Roasted Beef with Herb Crust - October 3, 2026
- Hamburgers in Sauce Recipe Crock Pot: Slow-Cooked Savory Delight - October 3, 2026