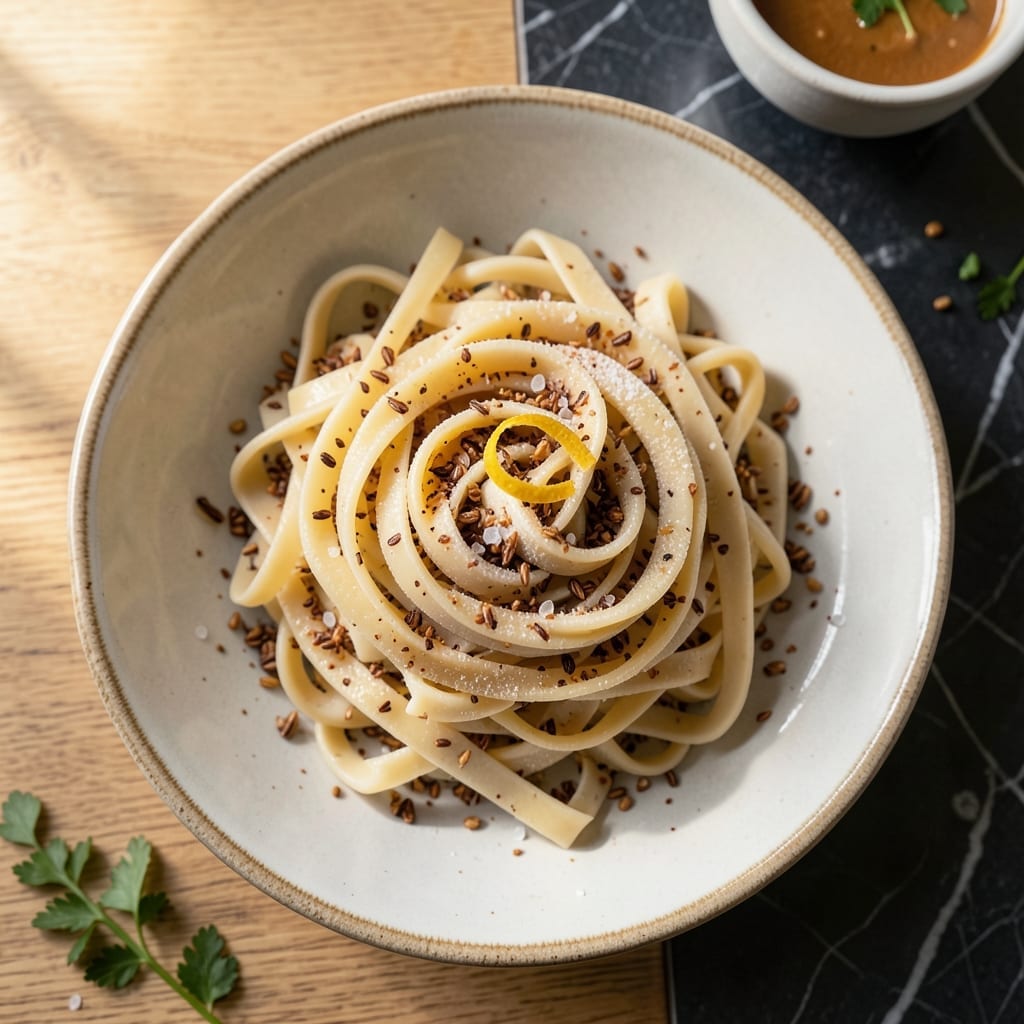
Making fresh gluten free pasta at home is easier than you think with the right tools. My KitchenAid mixer with pasta attachments turns simple ingredients into perfect noodles every time.
This recipe uses a blend of gluten free flours for the ideal texture—no gummy or crumbly results. The dough comes together quickly and rolls out smoothly through the machine.
You’ll have fresh cut noodles ready in under 30 minutes, with that satisfying bite that store-bought can’t match. The pasta holds its shape beautifully when cooked.
Serve with your favorite sauce for a meal that feels special. The process is straightforward once you know the technique.
Ingredients for Gluten Free Pasta Recipe Kitchenaid
A simple blend of gluten-free flours and binders creates perfect pasta every time with your KitchenAid.
| Ingredient | Amount | Notes |
|---|---|---|
| White Rice Flour 🌾 | 1 ½ cups | Finely milled for smooth texture |
| Brown Rice Flour 🌾 | 1 cup | Adds nuttiness and structure |
| Tapioca Starch 🌾 | ½ cup | For elasticity and chew |
| Potato Starch 🥔 | ¼ cup | Lightens the dough texture |
| Xanthan Gum 🧪 | ½ tsp | Binds the gluten-free flours |
| Sea Salt 🧂 | 1 tsp | Fine grain preferred |
| Extra-Virgin Olive Oil 🫒 | 2 tbsp | High quality for flavor |
| Warm Water 💧 | ¾ cup | Adjust as needed for dough |
| Flaxseed Meal 🌿 | 1 tbsp | For binding, vegan egg substitute |
| Water 💧 | 3 tbsp | Mixed with flaxseed meal |
[recipe_ingredient_scaler]
The flour blend is everything here. Bob’s Red Mill is my go-to for consistent quality—white rice flour for smoothness, brown rice for nuttiness, and tapioca starch for that essential chew. Xanthan gum is non-negotiable; it mimics gluten’s elasticity. Skip it and your dough will crumble. I grab mine in bulk at Whole Foods (the good stuff, not the pre-mixed GF blends).
No xanthan gum? Guar gum at the same ratio works in a pinch. Short on brown rice flour? Swap it for sorghum flour (similar texture). The olive oil can be any neutral oil, but extra-virgin adds a nice depth. For the flax egg, chia seeds work too—same ratio. The water amount is flexible—add slowly until the dough comes together.
Store flours in airtight containers in a cool, dark place—they’ll last 6-12 months. The dough can rest in the fridge for up to 24 hours if you need to pause mid-process. Fresh pasta cooks fast, so prep your sauce while the dough rests (worth the extra minute).
Why You’ll Love This Recipe
- KitchenAid Magic: I just dump the flours and starches in the mixer, let it do the kneading, and boom—homemade pasta without the elbow grease.
- Nutty, Light Bite: The brown rice flour adds this subtle toasty note that makes the pasta taste way more interesting than store-bought gluten-free.
- Freezer Friend: I make a double batch, freeze half, and pull it out for those nights when I need dinner in 10 minutes flat.
- Pantry Staples: Between us, these flours and starches last forever in my cupboard, so I’m never stuck without pasta dough.
Step-by-Step Instructions for Gluten Free Pasta Kitchenaid
Here’s the method I use to create fresh gluten-free pasta with my stand mixer every time.
Step 1: Create the Flax Egg Binder
In a small bowl, whisk together the 1 tablespoon Flaxseed Meal and 3 tablespoons Water until fully combined. I find this vegan substitute works better than traditional eggs in gluten-free dough, providing excellent binding without altering the flavor profile.
Let the mixture sit for 5 minutes to thicken into a gel-like consistency. This resting period is crucial—it allows the flax to absorb the water completely and develop its binding properties. You’ll notice the mixture becomes slightly viscous, similar to a lightly beaten egg.
Step 2: Combine Dry Ingredients for the Base
In the bowl of your stand mixer fitted with the paddle attachment, add the 1.5 cups White Rice Flour, 1 cup Brown Rice Flour, 0.5 cup Tapioca Starch, 0.25 cup Potato Starch, 0.5 tsp Xanthan Gum, and 1 tsp Sea Salt.
Mix on low speed for 30 seconds until all the dry ingredients are evenly distributed. The xanthan gum is particularly important in this blend as it mimics the elasticity that gluten would normally provide. I always sift my flours first to prevent any lumps in the final dough.
Step 3: Incorporate Wet Ingredients and Form Dough
With the mixer still running on low speed, slowly pour in the 2 tbsp Extra-Virgin Olive Oil, the prepared flax egg mixture, and the 0.75 cup Warm Water. Add the water gradually—this gives you better control over the dough consistency.
Increase the speed to medium and mix for 2-3 minutes until the dough comes together into a cohesive ball. You’re looking for a dough that’s smooth and slightly tacky but not sticky. If it feels too dry, add warm water 1 tablespoon at a time until it reaches the right consistency.
Step 4: Knead and Rest the Dough
Switch to the dough hook attachment and knead the dough on medium speed for 4-5 minutes. The dough should become smooth and elastic. Gluten-free pasta dough requires more kneading time than traditional pasta dough to develop proper structure.
Remove the dough from the mixer, shape it into a ball, and wrap it tightly in plastic wrap. Let it rest at room temperature for 30 minutes. This resting period allows the flours to fully hydrate and the dough to relax, making it much easier to roll out later.
Step 5: Roll and Cut the Pasta
Divide the rested dough into 4 equal portions and keep the unused portions covered with plastic wrap to prevent drying. Flatten one portion into a rough rectangle and set your pasta roller to the widest setting.
Feed the dough through the roller, folding it in half between each pass for the first 3 passes. Then, reduce the thickness setting by one notch and roll the dough through without folding. Continue this process, reducing the thickness each time, until you reach your desired pasta thickness. For most pasta shapes, I stop at setting 5 or 6.
Cut the rolled pasta sheets into your preferred shape using the appropriate attachment. Dust the cut pasta lightly with white rice flour to prevent sticking. Cook immediately or let dry on a floured surface for up to 1 hour before cooking.
Pro Tips For Making Gluten Free Pasta Recipe Kitchenaid
- Weigh Your Flours: Rice flours and starches pack differently—I learned this the hard way after three dense, gummy batches. Use a kitchen scale for the 1:1:1 ratio of white rice flour, brown rice flour, and starch blend.
- Rest the Dough: After mixing, let the dough sit wrapped in plastic for 20 minutes. Xanthan gum needs time to hydrate fully, or your pasta will crack when rolling.
- Roll Thin, Not Once: Skip the urge to rush. Run the dough through the Kitchenaid roller on setting 1, then fold and repeat twice before thinning—this builds structure gluten-free pasta lacks.
- Dry Before Cutting: After rolling, let the sheets air-dry for 5-10 minutes before cutting. Fresh GF pasta sticks together otherwise, and you’ll spend forever untangling strands.
Regional Styles of This gluten free pasta recipe kitchenaid
Italian Tradition
In Northern Italy, they use buckwheat flour for hearty pizzoccheri. I adapt this by replacing ½ cup white rice flour with buckwheat in my blend. The earthy flavor pairs beautifully with sage and butter. The texture remains tender yet substantial.
Asian Rice Noodles
For a Southeast Asian twist, I increase tapioca starch to ¾ cup and add 1 tsp turmeric for color. These noodles mimic rice stick noodles perfectly. They hold up wonderfully in stir-fries and soups. The KitchenAid handles the sticky dough beautifully.
American South Style
Down South, they love their corn. I swap brown rice flour for 1 cup fine cornmeal. The result is slightly gritty, perfect for hearty ragùs. The dough needs extra 2 tbsp water to compensate for the cornmeal’s dryness. 🌟
French Provencal
In Provence, they incorporate herbs. I knead in 1 tbsp dried herbes de Provence with the dry ingredients. The lavender and thyme infuse the pasta subtly. It’s divine with a simple olive oil and tomato sauce. The herbs don’t affect the dough’s texture.
Mexican Corn Flour
For a masa-inspired version, replace white rice flour with 1 cup masa harina. The dough becomes more pliable. I find it works best for thick-cut noodles. Serve with mole or salsa verde for an authentic taste. The flavor is unmistakably corn.
Mediterranean Chickpea
I sometimes add ½ cup chickpea flour for extra protein. The pasta takes on a slightly nutty taste. It’s particularly good with garlic and olive oil. The chickpea flour makes the dough slightly denser, so I roll it thinner. 💛
Nutrition Facts
Frequently Asked Questions
Do I need special attachments for my KitchenAid?
Yes, you’ll need the pasta roller and cutter attachments. The roller flattens the dough, while cutters shape it into fettuccine, spaghetti, or other styles. These attach directly to your mixer’s power hub.
Why is xanthan gum necessary?
It replaces gluten’s binding properties, preventing crumbly dough. Without it, the pasta may fall apart during rolling or cooking. Use exactly ½ tsp for this recipe to avoid gumminess.
Can I make this without a stand mixer?
Yes, but it’s more labor-intensive. Knead by hand for 8-10 minutes until smooth. A pasta machine (manual or electric) is still recommended for even rolling.
How long does fresh pasta keep?
Cook immediately for best texture, or refrigerate wrapped for 24 hours. For longer storage, freeze in a single layer on a tray, then transfer to a bag. Cook from frozen, adding 1-2 minutes to boiling time.

Trained in classic French technique but raised on slow-cooked ribs and spicy rubs, she blends culinary skill with smoke and soul.
- Recipe for Boneless Pork Chops in Cast Iron Skillet: Sear and Baste to Juicy Perfection - October 3, 2026
- Recipe for Boneless Cross Rib Roast: Slow-Roasted Beef with Herb Crust - October 3, 2026
- Hamburgers in Sauce Recipe Crock Pot: Slow-Cooked Savory Delight - October 3, 2026