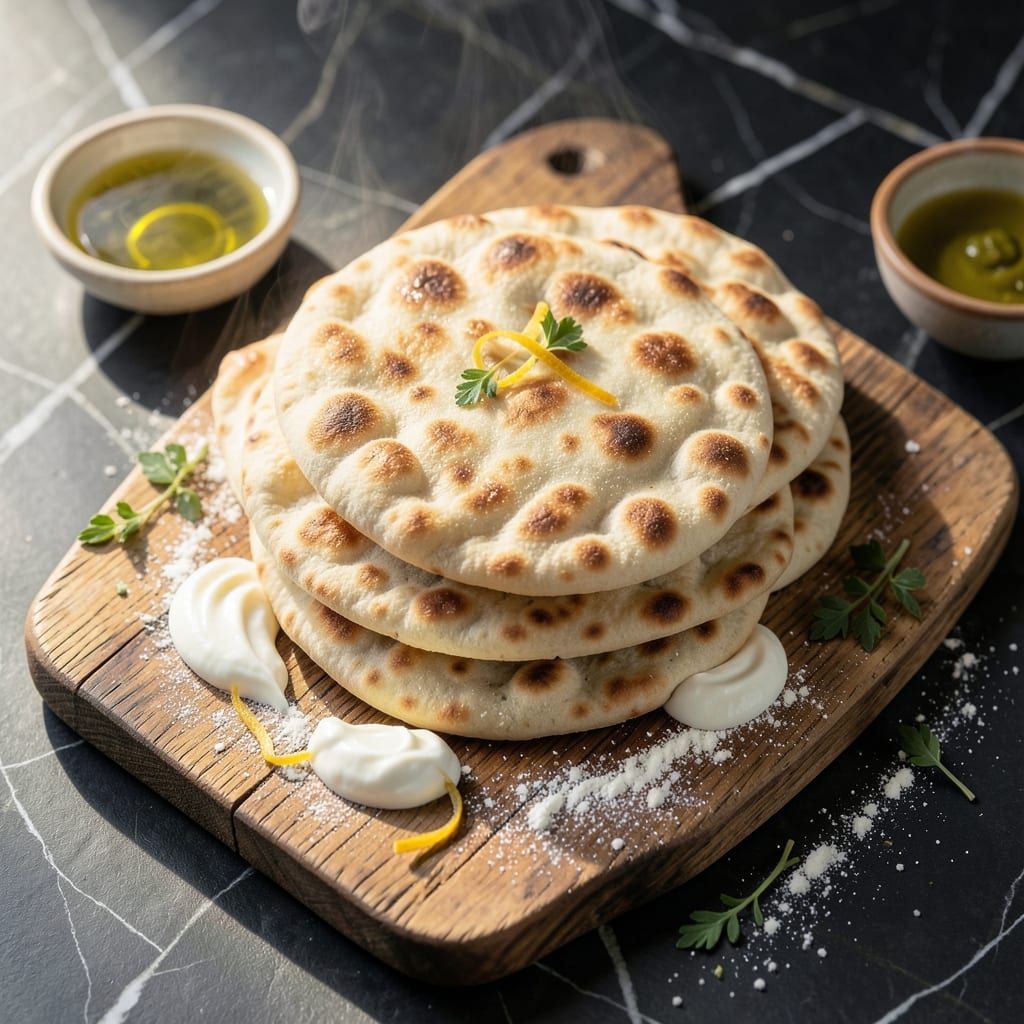
Mastering gluten-free pita bread has been a game-changer in my kitchen, especially when craving those soft, pillowy pockets without the wheat. The addition of yogurt creates a tender, flexible dough that’s surprisingly easy to work with.
This method combines simple ingredients to produce bread that puffs beautifully and stays soft for days. The yogurt adds moisture and a subtle tang, balancing the earthier notes of gluten-free flours.
What you’ll get are warm, pliable pitas perfect for stuffing with your favorite fillings. They hold up just like traditional versions, with a texture that’s both sturdy and light.
David, my taste-tester, gave these his highest rating—proof this recipe delivers on both flavor and texture.
Ingredients for Gluten Free Pita Bread Recipe with Yogurt
A few pantry staples and yogurt create these soft, pliable gluten-free pitas everyone loves.
| Ingredient | Amount | Notes |
|---|---|---|
| Gluten-Free All-Purpose Flour Blend 🌾 | 2 ½ cups | Plus extra for dusting |
| Plain Greek Yogurt 🥛 | ¾ cup | Full-fat for best texture |
| Warm Water 💧 | ½ cup | Approximately 110°F |
| Olive Oil 🫒 | 2 tbsp | Extra-virgin preferred |
| Granulated Sugar 🍚 | 1 tsp | Activates the yeast |
| Active Dry Yeast 🍞 | 2 ¼ tsp | One packet, instant works too |
| Salt 🧂 | 1 tsp | Fine sea salt preferred |
| Xanthan Gum 🧪 | 1 tsp | Omit if blend includes it |
| Large Egg 🥚 | 1 whole | Room temperature preferred |
| Psyllium Husk Powder 🌿 | 1 tbsp | Key for pliable texture |
| Apple Cider Vinegar 🍏 | 1 tsp | Enhances dough elasticity |
[recipe_ingredient_scaler]
The gluten-free flour blend is non-negotiable here. King Arthur Measure for Measure or Bob’s Red Mill 1-to-1 work best—avoid single-flour options like just almond or coconut. Psyllium husk powder (found at Whole Foods or online) is the secret to that stretchy, bendable texture. Check the expiration on your yeast; old packets won’t give you the rise you need for those perfect pockets (worth the extra minute to verify).
No psyllium husk? Ground flaxseed at double the amount works in a pinch, though the texture won’t be quite as supple. Swap Greek yogurt for plain dairy yogurt—just make sure it’s unsweetened. Out of xanthan gum? Your flour blend might already include it (most do), but if not, skip it rather than risking gummy pitas. The vinegar isn’t just for tang—it’s helping the dough hold together, so don’t omit it.
Dough can rest in the fridge overnight for deeper flavor. Baked pitas stay fresh for 2 days in an airtight container, or freeze for 1 month. Reheat in a dry skillet (30 seconds per side) to restore that just-baked softness (or whatever you’ve got).
Why You’ll Love This Recipe
- No Fuss Dough: The yogurt does the heavy lifting—just mix, rest, and roll. No yeast, no waiting hours for proofing.
- Tangy & Tender: Greek yogurt gives these that slightly sour note and a soft, pillowy texture that’s way better than store-bought.
- Meal Prep Hero: I make a batch Sunday, then stuff them with falafel or hummus all week. Honestly, they reheat like a dream.
- Pantry Friendly: Five ingredients I always have on hand, and it costs pennies compared to those sad gluten-free packs at the store.
Step-by-Step Instructions for Gluten Free Pita Bread with Yogurt
Here’s the method I use to create light, airy pockets that rival traditional pita bread.
Step 1: Activate the Yeast and Mix WetIngredients
In a small bowl, combine the warm water, granulated sugar, and active dry yeast. Let it sit for 5-10 minutes until the mixture becomes foamy and bubbly—this confirms your yeast is active and ready to work.
In a large mixing bowl, whisk together the plain Greek yogurt, olive oil, large egg, apple cider vinegar, and the activated yeast mixture. The vinegar might seem unusual, but it enhances the dough’s elasticity, which is crucial for gluten-free baking.
Step 2: Combine Dry Ingredients and Form the Dough
In a separate bowl, whisk together the gluten-free all-purpose flour blend, salt, xanthan gum, and psyllium husk powder. The psyllium husk is your secret weapon here—it mimics gluten’s binding properties for a pliable dough.
Gradually add the dry ingredients to the wet mixture, stirring until a soft dough forms. It will be stickier than traditional bread dough, but that’s normal. Let the dough rest for 10 minutes—this hydration period allows the flours to absorb the liquids fully.
Step 3: Shape and Proof the Pitas
Divide the dough into 4 equal portions (about 120 grams each) and roll each into a smooth ball. Place the balls on a parchment-lined surface, cover with a damp towel, and let rise in a warm place for 1-1.5 hours or until nearly doubled in size.
The dough won’t rise as dramatically as gluten-containing doughs, but you should see noticeable puffiness. This proofing step develops flavor and improves texture, so don’t rush it.
Step 4: Roll and Cook the Pitas
Preheat a large skillet over medium-high heat (no oil needed). On a surface lightly dusted with extra gluten-free flour blend, roll each dough ball into a ¼-inch thick circle, about 6 inches in diameter. Work quickly—the dough can be a bit sticky.
Carefully transfer a rolled pita to the hot skillet. Cook for 1-2 minutes per side until the bread puffs dramatically and develops light golden brown spots. The puffing happens when steam gets trapped inside—this creates that classic pocket. Transfer to a clean towel to cool slightly before serving.
Step 5: Serve Warm for Best Results
These pitas are best enjoyed fresh and warm, when they’re most pliable. If you need to store them, let cool completely before placing in an airtight container. To revive, wrap in a damp towel and warm in a 350°F oven for 5-10 minutes.
The interior should be soft and slightly chewy with a perfect pocket for stuffing. I like to split them open gently with a knife to create that classic pita opening for fillings.
Pro Tips For Making Gluten Free Pita Bread Recipe With Yogurt
- Preheat Your Pan: Get your skillet screaming hot before adding the dough—I learned this the hard way after my first three pitas came out pale and sad. A properly heated pan guarantees that telltale puff.
- Use Thick Yogurt: Drain your Greek yogurt in a fine mesh strainer for 10 minutes if it looks watery. Sounds tedious, but it keeps the dough from turning into a sticky mess that won’t hold its shape.
- Skip the Overmixing: Mix the dough just until it comes together—gluten-free flours get gummy fast. After overworking my first batch, I finally figured out that 30 seconds of mixing is all it needs.
- Roll Evenly Thin: Aim for ¼-inch thickness when rolling the dough, no thinner. I was skeptical until I tried it, but anything thinner tears, and anything thicker won’t puff properly.
Storing and Reheating This gluten free pita bread recipe with yogurt
Refrigerator Storage
Let your pitas cool completely before storing—this prevents condensation that can make them soggy. I use glass containers with tight lids from my Austin farmers market hauls. They’ll stay fresh for 2-3 days at room temperature or up to 5 days refrigerated. 💡
Freezer Method
For longer storage, wrap each pita individually in parchment paper, then place in a freezer bag. They’ll keep for 1 month without losing texture. David swears by this method for his lunch prep—he takes one out the night before to thaw in the fridge.
Skillet Reheating
My go-to for restoring that just-baked feel: heat a dry skillet over medium heat and warm each pita for 30 seconds per side. The steam revives the pliability beautifully. Works like a charm every time.
Oven Revival
Preheat your oven to 350°F, wrap pitas in aluminum foil, and warm for 5-10 minutes. Spritz with a little water before wrapping for extra moisture. This brings back that soft, pillowy texture.
Microwave Quick Fix
For a fast option, place a pita on a microwave-safe plate with a damp paper towel on top. Heat on high for 20-30 seconds. It won’t be as perfect as skillet reheating, but it works in a pinch. ❄️
Pro Storage Tip
If stacking pitas, separate each with parchment paper to prevent sticking. This trick from my diner days keeps them ready to grab and go—Emma and Jack love having these on hand for quick snacks.
Nutrition Facts
Frequently Asked Questions
Why use yogurt in the dough?
Yogurt adds moisture and a subtle tang while making the dough more pliable. It also helps mimic gluten’s elasticity for better texture.
Can I use dairy-free yogurt?
Yes! Unsweetened coconut or almond yogurt works well. Just ensure it’s thick and unsweetened to maintain the dough consistency.
What if my pitas don’t puff?
Check your yeast freshness and proofing time. Also, roll the dough thin (¼-inch) and cook on medium-high heat for best puffing.
How do I store leftovers?
Keep in an airtight container for 2-3 days at room temperature or freeze for 1 month. Reheat in a dry skillet for best results.

Trained in classic French technique but raised on slow-cooked ribs and spicy rubs, she blends culinary skill with smoke and soul.
- Recipe for Boneless Leg of Lamb Roast in the Oven: Herb-Crusted and Rosy Pink Inside - October 3, 2026
- Meat Loaf Recipe With Beef And Pork: Homestyle Blend With Rich Gravy - October 3, 2026
- Hamburger Patty Recipe No Egg: Juicy Bind With Breadcrumbs and Milk - October 3, 2026