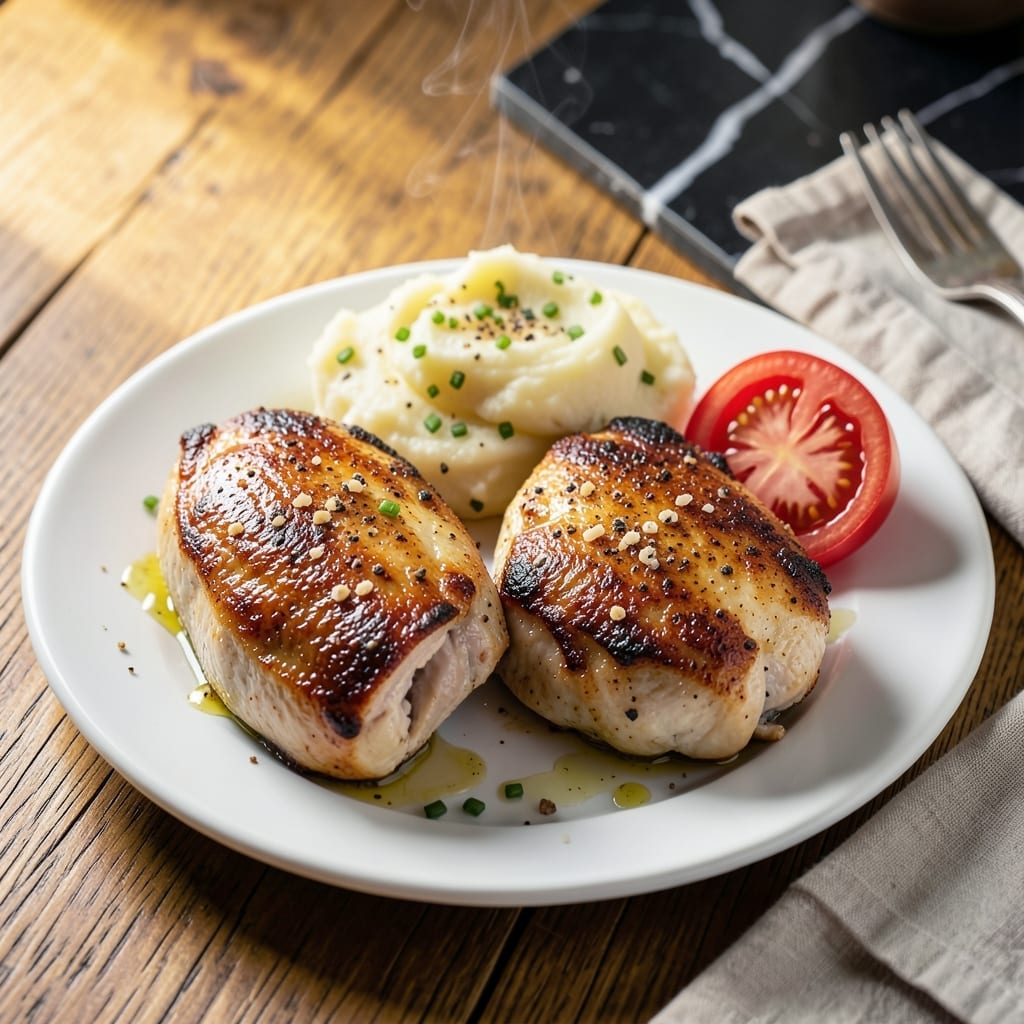
This golden chicken delivers a buttery crust with a golden brown finish that looks as impressive as it tastes. I developed this method after burning one too many batches, learning that patience and proper heat make all the difference.
What sets this apart is the simple technique: a hot pan, careful timing, and a touch of butter at the end for that signature glaze. The result is juicy meat inside with a crisp, golden exterior that stays that way until serving.
No fancy equipment or hard-to-find ingredients—just a foolproof approach that works every time. The crust forms a perfect seal, locking in moisture while creating that coveted golden color.
Serve it straight from the pan for maximum impact. This is home cooking at its most rewarding.
Ingredients for Golden Chicken Recipe Real Simple
Simple ingredients for a stunning golden chicken with buttery crust and finish.
| Ingredient | Amount | Notes |
|---|---|---|
| Chicken Breasts 🍗 | 1 ½ lb | Boneless, skinless, pounded even |
| All-Purpose Flour 🌾 | ½ cup | For dredging chicken |
| Kosher Salt 🧂 | 1 tsp | Diamond Crystal preferred |
| Black Pepper 🌶️ | ½ tsp | Freshly ground |
| Garlic Powder 🧄 | 1 tsp | Not garlic salt |
| Paprika 🌶️ | 1 tsp | Sweet or smoked variety |
| Unsalted Butter 🧈 | 6 tbsp | For crust and glaze |
| Olive Oil 🫒 | 2 tbsp | For pan frying |
| Fresh Thyme 🌿 | 2 tsp | Chopped, optional garnish |
| Lemon 🍋 | 1 whole | Juiced, for brightness |
[recipe_ingredient_scaler]
The chicken quality matters most here. Boneless, skinless breasts from Whole Foods or Costco work best—look for even thickness to prevent burning. Pounding them to ½-inch thickness ensures even cooking. The butter should be unsalted European-style for richer flavor, though any unsalted butter will do. Diamond Crystal kosher salt is standard in professional kitchens for its clean taste.
No fresh thyme? Dried thyme at one-third the amount works fine. Swap paprika for cayenne if you want heat. The flour can be all-purpose or gluten-free 1:1 baking blend. If you’re out of garlic powder, fresh minced garlic at double the amount (2 cloves) is a great substitute. Short on butter? Ghee or light olive oil can supplement.
Store raw chicken in the coldest part of your fridge—use within 2 days or freeze for 9 months. Butter keeps in the freezer for 6-12 months. Leftovers stay crisp for 3 days in the fridge if you reheat in a dry pan.
Why You’ll Love This Recipe
- One Pan Meal: I love that I only need a skillet and a bowl—no complicated tools or cleanup.
- Garlic Crisp Perfection: The garlic powder in the flour gives every bite that irresistible golden, savory crunch.
- Weeknight Rescue: Honestly, it’s my go-to when I need dinner on the table fast without sacrificing flavor.
- Budget Stretcher: Chicken breasts and pantry staples keep costs low, and leftovers taste just as good the next day.
Step-by-Step Instructions for Golden Chicken
Here’s the method. Straightforward, tested, works every time.
Step 1: Prepare and Season the Chicken
Start by pounding the 1.5 lb Chicken Breasts to an even ½-inch thickness between plastic wrap. This ensures even cooking and prevents dry spots. Pat them completely dry with paper towels—moisture is the enemy of a golden crust.
Combine the 0.5 cup All-Purpose Flour, 1 tsp Kosher Salt, 0.5 tsp Black Pepper, 1 tsp Garlic Powder, and 1 tsp Paprika in a shallow dish. Dredge each breast thoroughly, pressing the mixture into the meat so it adheres well. Shake off any excess flour.
Step 2: Sear the Chicken to Golden Perfection
Heat the 2 tbsp Olive Oil in a large skillet over medium-high heat until shimmering. Add 2 tbsp Unsalted Butter and let it melt completely. The foam should subside before adding the chicken—this prevents burning.
Carefully place the dredged chicken in the skillet. Cook undisturbed for 4-5 minutes per side until the crust is deep golden brown and releases easily from the pan. The internal temperature should reach 160°F when tested with an instant-read thermometer.
Step 3: Create the Buttery Glaze
Reduce heat to medium-low and add the remaining 4 tbsp Unsalted Butter to the skillet. Tilt the pan slightly and baste the chicken with the melted butter continuously for 1-2 minutes. This step builds layers of flavor and ensures every bite has that rich, buttery finish.
Add the juice from the 1 whole Lemon and the 2 tsp Fresh Thyme. The lemon juice will sizzle and create a fragrant steam that infuses the chicken. Spoon this mixture over the chicken as it cooks, coating every surface.
Step 4: Rest and Serve
Transfer the chicken to a wire rack set over a plate. Let it rest for 5 minutes before serving—this allows the juices to redistribute, ensuring moist, tender meat. The crust should remain crisp during this time if you avoid covering it.
Pour any remaining pan juices over the chicken just before serving. The result should be a beautiful golden brown crust with a buttery, citrus-infused finish. Each piece should be cooked through with no pink remaining, and the exterior should have an audible crunch when cut.
Pro Tips For Making Golden Chicken Recipe Real Simple
- Pound the Chicken: I learned this the hard way—pound the breasts to an even ½-inch thickness so they cook through without burning the crust.
- Heat the Oil: Get the oil shimmering hot before adding the chicken, about 350°F, or the coating will absorb grease instead of crisping.
- Season the Flour: Mix the kosher salt, black pepper, and garlic powder right into the flour—this guarantees every bite is evenly seasoned.
- Rest Before Serving: Give it a solid 5 minutes on a wire rack after frying so the crust stays crisp instead of turning soggy.
Common Mistakes When Making This Recipe
Uneven Thickness
Pounding the 1.5 lb Chicken Breasts to an even ½-inch thickness is non-negotiable. Skip this and you’ll have dry, overcooked edges while the thicker parts stay raw inside. I learned this the hard way after ruining 3 batches before my grandmother’s notes saved me. 💡
Skipping the Dredge
The 0.5 cup All-Purpose Flour coating isn’t just for show—it creates the golden crust. Press the chicken firmly into the flour so it adheres well. Shake off excess, but don’t be shy with the initial coating.
Overcrowding the Pan
Cook in batches if needed. Crowding lowers the pan temperature, causing the chicken to steam instead of sear. Use a large skillet and give each piece 2 inches of space. This ensures that perfect golden brown finish every time.
Moving Too Soon
Resist the urge to peek or flip early. The chicken needs 4-5 minutes per side undisturbed to develop a proper crust. If it sticks when you try to flip, it’s not ready yet. Patience is key for that buttery crust.
Neglecting the Butter
Don’t let the 6 tbsp Unsalted Butter burn. Swirl the pan occasionally and baste the chicken with the foamy butter. This adds flavor and helps achieve that signature glaze. I use European-style butter for extra richness.
Skipping the Rest
Always let the chicken rest for 5 minutes before serving. This allows the juices to redistribute, keeping the meat moist. Cutting too soon means all those delicious juices end up on your cutting board instead of in your chicken. 🍗
Nutrition Facts
Frequently Asked Questions
Why pound the chicken to ½-inch thickness?
Even thickness ensures the chicken cooks uniformly. Without pounding, thicker parts stay raw while thin edges dry out. This step takes 2 minutes and prevents the most common cooking mistake.
Can I use chicken thighs instead?
Thighs stay juicier but need 1-2 minutes longer per side. Pat them extra dry first, as they release more moisture. The golden crust works perfectly on thighs too.
What if my crust isn’t golden?
Check your heat—it should sizzle when chicken hits the pan. If it’s steaming instead of searing, increase to medium-high. Also ensure chicken is completely dry before dredging.
Can I make this gluten-free?
Swap the 0.5 cup All-Purpose Flour for a gluten-free 1:1 blend. The technique remains identical, and the crust still turns beautifully golden. Just verify your blend contains xanthan gum.

Trained in classic French technique but raised on slow-cooked ribs and spicy rubs, she blends culinary skill with smoke and soul.
- Best Smoked Oxtail Recipe: Deep-Rich Flavor After Low-and-Slow Cooking - October 14, 2026
- Pit Boss Smoked Prime Rib Roast Recipe: Bark-to-Bone Crispness in 4 Hours - October 14, 2026
- Smoked Tuna Steak Recipe: Seared Crust Meets Silky Centers - October 14, 2026