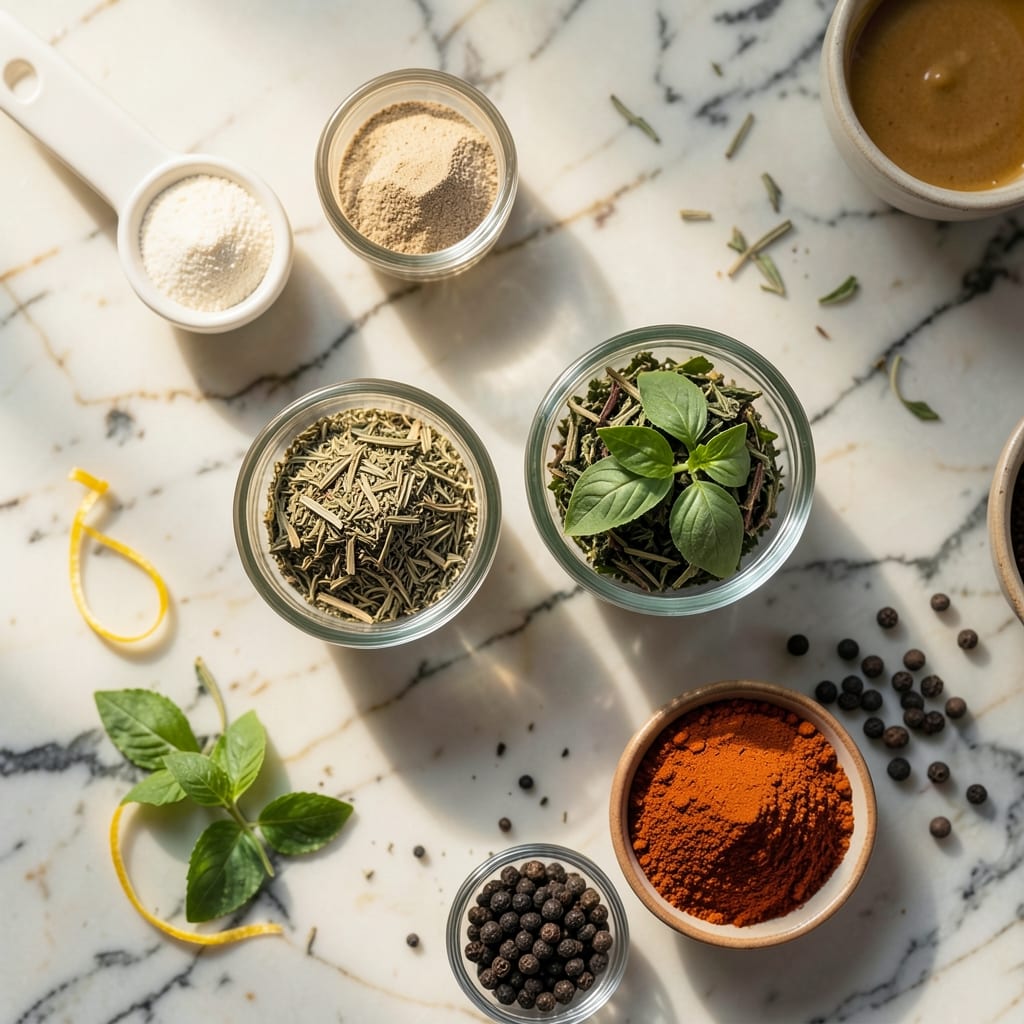
Achieving buttery tenderness with smoky char on chuck roast requires precision and patience. This method transforms a tough cut into a melt-in-your-mouth masterpiece with deep flavor.
Low and slow heat works magic here, breaking down connective tissue while creating a perfect crust. The result is a dish that rivals any steakhouse, with rich, beefy notes enhanced by the grill.
Ingredients for Grilled Chuck Roast
Transform tough chuck roast into a smoky, buttery masterpiece with these essential ingredients.
| Ingredient | Amount | Notes |
|---|---|---|
| Chuck Roast 🥩 | 2 ½ lb | Well-marbled, trimmed of excess fat |
| Kosher Salt 🧂 | 2 tbsp | Diamond Crystal preferred for even seasoning |
| Coarse Black Pepper 🌶️ | 1 tbsp | Freshly ground for optimal flavor |
| Garlic Powder 🧄 | 1 tbsp | Not garlic salt substitute |
| Onion Powder 🧅 | 1 tbsp | Enhances depth of seasoning |
| Smoked Paprika 🌶️ | 1 tsp | Adds authentic smoky notes |
| Dried Thyme 🌿 | 1 tsp | Crushed between fingers to release oils |
| Dried Rosemary 🍃 | 1 tsp | Crushed to intensify aroma |
| Olive Oil 🫒 | ¼ cup | For binding dry rub to meat |
| Beef Broth 💧 | 1 cup | Low-sodium for controlled seasoning |
| Unsalted Butter 🧈 | 4 tbsp | For basting during grilling |
| Fresh Rosemary Sprigs 🍃 | 4 whole | For aromatic smoke on grill |
[recipe_ingredient_scaler]
The chuck roast is non-negotiable here—look for USDA Choice or Prime grade with abundant marbling. Costco and Whole Foods typically carry high-quality cuts. Avoid leaner selections like round or sirloin, as they lack the fat content needed for that melt-in-your-mouth texture. The fat cap should be about 1/4-inch thick; trim anything excessive but leave enough for flavor and moisture.
No smoked paprika? Regular paprika plus a pinch of cayenne can approximate the smokiness. Substitute fresh garlic for powder at a 1:3 ratio (1 clove = 1 tsp powder). For the broth, homemade stock adds depth, but store-bought Better Than Bouillon works in a pinch. If using salted butter, reduce the kosher salt by half to avoid over-seasoning.
Store the raw chuck roast in its original packaging on a tray in the fridge for up to 3 days. For longer storage, vacuum-seal and freeze for 6-12 months. Bring to room temperature before grilling for even cooking. Leftover cooked roast keeps 4-5 days refrigerated or 3 months frozen.
Why You’ll Love This Recipe
- Five Ingredients Only: I love that this needs just chuck roast, salt, pepper, garlic powder, and onion powder—no shopping stress.
- Crispy Charred Edges: The high heat turns the seasoning into a crust that cracks with every bite.
- Feeds My Crew Twice: One roast gives us dinner tonight and sandwiches for lunch tomorrow, no extra effort.
- Backyard Showstopper: I grill it while the kids play outside and still get that “how’d you make this?” reaction.
Step-by-Step Instructions for Grilled Chuck Roast
Master the technique for transforming this tough cut into melt-in-your-mouth perfection.
Step 1: Create a Flavorful Dry Rub
In a small bowl, combine the 2 tbsp Kosher Salt, 1 tbsp Coarse Black Pepper, 1 tbsp Garlic Powder, 1 tbsp Onion Powder, 1 tsp Smoked Paprika, 1 tsp Dried Thyme, and 1 tsp Dried Rosemary. Crush the dried herbs between your fingers as you add them to release their essential oils.
This blend creates a robust crust that penetrates the 2.5 lb Chuck Roast while it cooks. I always make sure to crush the dried rosemary and thyme—this simple step significantly boosts the aroma and flavor impact of the rub.
Step 2: Season and Sear the Roast
Pat the chuck roast dry with paper towels to ensure the rub adheres properly. Rub the 0.25 cup Olive Oil evenly over all surfaces of the meat, then apply the dry rub mixture, pressing it firmly into the meat so it forms a thick, even coating.
Preheat your grill to medium-high heat. Sear the chuck roast on all sides for 3-4 minutes per side until you achieve a deep, dark brown crust. This initial sear develops the Maillard reaction, creating complex flavors that define great grilled meat.
Step 3: Slow Cook with Aromatics
Once seared, move the chuck roast to the cooler side of the grill or reduce heat to medium-low. Place the 4 whole Fresh Rosemary Sprigs directly on the grill grates near the meat—they’ll release aromatic smoke as they heat.
Pour the 1 cup Beef Broth into a disposable aluminum pan and place it under the roast to catch drippings and maintain moisture. This creates a self-basting environment that keeps the meat juicy during the long cook.
Step 4: Baste and Finish
Cook the chuck roast with the lid closed for 2 to 2.5 hours, turning and basting with the 4 tbsp Unsalted Butter every 30 minutes. The butter should melt into the beef broth, creating a rich basting liquid that enhances flavor and tenderness.
You’ll know it’s done when the internal temperature reaches 195-203°F and a meat thermometer slides in like butter. The chuck roast should be fork-tender, with the connective tissue fully broken down into gelatin.
Step 5: Rest and Serve
Transfer the grilled chuck roast to a cutting board and tent loosely with foil. Let it rest for 15-20 minutes before slicing or shredding. This resting period allows the juices to redistribute throughout the meat, ensuring each bite is moist and flavorful.
Slice against the grain for serving, or shred with forks for pulled beef. The result should be incredibly tender with a smoky char from the grill and a rich, buttery finish that belies its tough-cut origins.
Pro Tips For Making Grilled Chuck Roast
- Dry the Meat: Pat the chuck roast completely dry with paper towels before seasoning—this guarantees a better sear and crispier crust on the grill.
- Season Generously: Don’t be shy with the kosher salt, garlic, and onion powder; chuck roast can handle bold seasoning, especially with its rich flavor.
- Use Two-Zone Heat: Start over direct high heat to get a good char, then move to indirect heat to finish cooking without burning the outside.
- Let It Rest: After grilling, tent the roast with foil and rest for at least 10 minutes so the juices redistribute before slicing.
Troubleshooting This Recipe
Uneven Cooking
If you notice one side of the chuck roast cooking faster, rotate it 90 degrees every 30 minutes and move it to a cooler spot on the grill. I learned this the hard way at my first local BBQ competition—uneven heat means uneven tenderness. 🔥
Dry Roast Issue
When the meat seems dry, check your basting liquid. The beef broth should never fully evaporate—top it up with ½ cup hot water if needed. Also, ensure you’re basting with that butter-broth mixture every 30 minutes without fail.
Tough Meat Problem
Tough results usually mean it didn’t reach the right internal temperature. Chuck roast needs 195-203°F to break down collagen. If it’s still tough at 190°F, keep cooking—patience is key with this cut. I’ve waited an extra 30-45 minutes before.
Weak Smoke Flavor
For more pronounced smokiness, add 2-3 wood chunks (hickory or oak) to your charcoal or use a smoker box on a gas grill. I also toss the fresh rosemary sprigs directly on the coals for an herbaceous smoke boost.
Stalling Temperature
If the internal temp stalls around 160-170°F, wrap the roast in heavy-duty foil with ¼ cup beef broth and continue cooking. This “Texas crutch” method helps push through the stall phase faster. 💡
Over-Salting
If your rub tastes too salty, balance it by increasing the olive oil in your binder to ⅓ cup—this dilutes the salt concentration on the surface. Also, use low-sodium beef broth to control the overall saltiness of your dish.
Nutrition Facts

Trained in classic French technique but raised on slow-cooked ribs and spicy rubs, she blends culinary skill with smoke and soul.
- Recipe for Boneless Pork Chops in Cast Iron Skillet: Sear and Baste to Juicy Perfection - October 3, 2026
- Recipe for Boneless Cross Rib Roast: Slow-Roasted Beef with Herb Crust - October 3, 2026
- Hamburgers in Sauce Recipe Crock Pot: Slow-Cooked Savory Delight - October 3, 2026