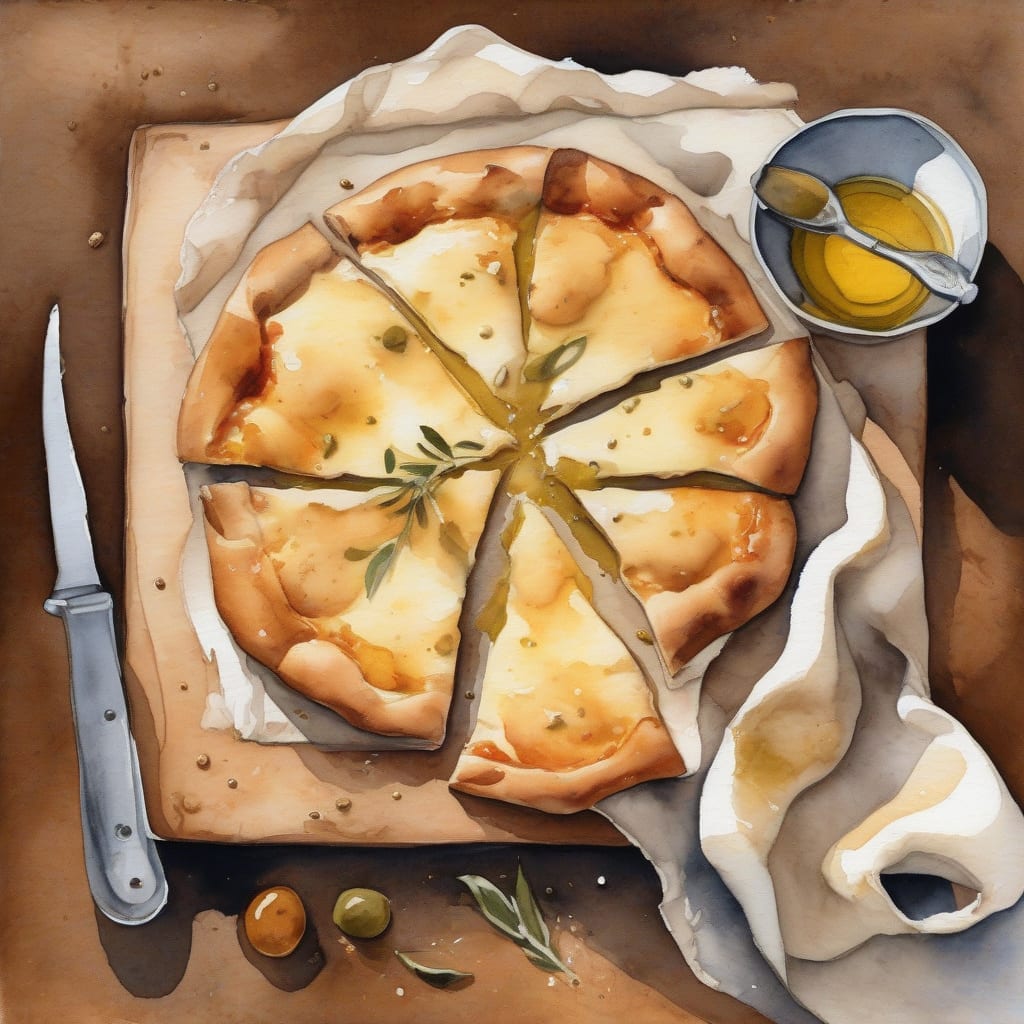
Grimaldi’s Pizza Dough Recipe: Authentic Neapolitan Crust Made Easy
Making authentic Neapolitan pizza dough at home is easier than you think. I’ve perfected Grimaldi’s famous recipe, and I’m sharing it with you. With simple ingredients and a straightforward process, you’ll achieve that signature crust.
The key to Grimaldi’s dough is a long, slow rise that develops complex flavors and creates a tender, airy texture. We’ll walk through mixing, resting, and shaping the dough to achieve that perfect Neapolitan crust.
With this recipe, you’ll be able to create delicious, authentic Neapolitan-style pizza at home. Let’s get started!
Ingredients for grimaldi’s pizza dough
Here’s everything you need to create authentic Grimaldi’s pizza dough at home easily.
| Ingredient | Amount | Notes |
|---|---|---|
| Bread Flour 🌾 | 1 ½ lb | High-protein flour preferred |
| Active Dry Yeast 🍞 | 1 tsp | Instant yeast works too |
| Salt 🧂 | 1 tbsp | Kosher or sea salt |
| Extra-Virgin Olive Oil 🫒 | 2 tbsp | For dough moisture |
| Warm Water 💧 | 1 ¼ cups | Around 100°F |
| Sugar 🍮 | 1 tsp | Optional, for yeast |
[recipe_ingredient_scaler]
You can find high-quality bread flour at specialty stores or online. Caputo or All-Purpose flour from King Arthur works well. Look for yeast with a recent expiration date and store it in the fridge to maintain potency. Use kosher salt for better flavor control.
If you don't have bread flour, you can substitute with all-purpose flour, though the texture may be slightly different. For yeast, you can use instant yeast in the same amount. If you prefer a more developed flavor, you can let the dough rise for up to 24 hours. Use a pizza stone or steel for the best crust.
Store the dough in an airtight container in the refrigerator for up to 3 days. Allow it to come to room temperature before shaping. You can also freeze the dough for up to 3 months; thaw it in the fridge overnight before using.
Step-by-Step Instructions for Grimaldi’s Pizza Dough
Let’s create an authentic Neapolitan crust with these detailed steps.
🔥 Step 1: Activate the Yeast and Combine Dry Ingredients
In a small bowl, combine the 1 tsp sugar and 1.25 cups warm water (around 100°F). Sprinkle the 1 tsp Active Dry Yeast over the water and let it sit for 5-10 minutes until it becomes frothy and bubbly. This step is crucial as it ensures your yeast is active and will help your dough rise properly.
Meanwhile, in a large mixing bowl, whisk together the 1.5 lb Bread Flour and 1 tbsp Salt. I like to use a high-protein bread flour for this recipe as it provides the necessary structure for a chewy Neapolitan crust.
👨🍳 Step 2: Mix the Dough
Once the yeast mixture is frothy, add it to the dry ingredients along with 2 tbsp Extra-Virgin Olive Oil. Using a stand mixer fitted with a dough hook attachment, mix on low speed for 5-7 minutes until the dough comes together in a shaggy mass. If mixing by hand, use a wooden spoon and expect to spend about 10 minutes stirring until the dough forms.
The dough will be quite sticky at this stage, which is normal. Avoid the temptation to add too much extra flour – the stickiness will reduce as you knead.
🥘 Step 3: Knead and Proof the Dough
Transfer the dough to a lightly floured surface and knead for 10 minutes until it becomes smooth and elastic. You can also use the dough hook attachment on your stand mixer for this step. The dough is ready when it passes the “windowpane test” – when stretched thinly, it should allow light to pass through without tearing.
Place the dough in a lightly oiled bowl, cover it with plastic wrap or a damp towel, and let it rise in a warm, draft-free place for 1-2 hours until it has doubled in size. This slow rise helps develop the complex flavors characteristic of Neapolitan pizza dough.
⏰ Step 4: Shape and Final Proof
Once risen, gently deflate the dough and divide it into 4 equal portions for individual pizzas. Shape each portion into a ball by tucking the edges underneath and rotating the dough on a clean surface. Place the dough balls on a lightly floured surface, cover with plastic wrap, and let rest for 30-60 minutes before shaping into pizzas.
Your dough is now ready to be topped and baked. For an authentic Grimaldi’s experience, shape the dough into a thin circle, top with your favorite ingredients, and bake in a very hot oven or pizza stone at 500-550°F for 10-12 minutes until the crust is golden and the toppings are cooked through.
So, you’re ready to make Grimaldi’s famous pizza dough at home? 🎉 It’s easier than you think! The secret lies in using the right ingredients and following a simple process. Let’s dive into the details.
Ingredients You’ll Need 🍞
- 2 cups of warm water
- 2 teaspoons of active dry yeast
- 1 tablespoon of sugar
- 3 1/2 cups of all-purpose flour
- 1 teaspoon of salt
- 2 tablespoons of extra-virgin olive oil
The type of flour you use is crucial. Grimaldi’s uses a special blend, but you can achieve similar results with high-quality all-purpose flour. Make sure it’s unbleached and unbromated for the best flavor.
Mixing and Kneading the Dough 🌾
Combine the warm water, yeast, and sugar in a large mixing bowl. Let it sit for 5-10 minutes until the yeast is activated and foamy. Then, add the flour, salt, and olive oil. Mix until a shaggy dough forms.
Turn the dough out onto a floured surface and knead for 5-7 minutes until it becomes smooth and elastic. You can also use a stand mixer with a dough hook attachment to make the process easier.
Tips for the Perfect Crust 💡
- Use a pizza stone in the oven to achieve a crispy crust.
- Pre-bake the crust for 2-3 minutes before adding toppings.
- Keep your toppings simple to avoid overloading the crust.
With these tips and a bit of practice, you’ll be making Grimaldi’s-style pizza dough like a pro! 🔥 The key is to keep it simple and let the ingredients shine.
Tips & Tricks for Perfect Grimaldi’s Pizza Dough
These expert tips will help you achieve an authentic Neapolitan crust that’s both delicious and easy to make at home.
Temperature Control: For the best results, make sure your warm water is around 100°F when activating the yeast. This temperature creates an ideal environment for the yeast to become frothy and bubbly. If the water is too hot, it can kill the yeast, while water that’s too cold can slow down the activation process.
Kneading Technique: During the kneading process, avoid adding too much extra flour, even if the dough feels sticky. The stickiness will reduce as you knead for the full 10 minutes. Proper kneading develops the gluten, giving your crust that characteristic chewy texture. You can check if you’ve kneaded enough by performing the “windowpane test” – the dough should stretch thinly without tearing.
Proofing Environment: For the first rise, find a warm, draft-free spot in your kitchen. The ideal temperature for proofing is between 75-80°F. If your kitchen is cooler, you might need to extend the 1-2 hour rising time. A slow rise actually improves the flavor of your dough, so don’t rush it!
Shaping Tips: When shaping your dough balls, gently tuck the edges underneath and rotate on a clean surface to create tension. This technique helps maintain the dough’s structure during the final 30-60 minute rest. Handle the dough gently to avoid developing too much tension, which can lead to a dense crust.
Nutrition Facts
420kcal
[recipe_ingredient_scaler]

Trained in classic French technique but raised on slow-cooked ribs and spicy rubs, she blends culinary skill with smoke and soul.
- Recipe for Boneless Pork Chops in Cast Iron Skillet: Sear and Baste to Juicy Perfection - October 3, 2026
- Recipe for Boneless Cross Rib Roast: Slow-Roasted Beef with Herb Crust - October 3, 2026
- Hamburgers in Sauce Recipe Crock Pot: Slow-Cooked Savory Delight - October 3, 2026