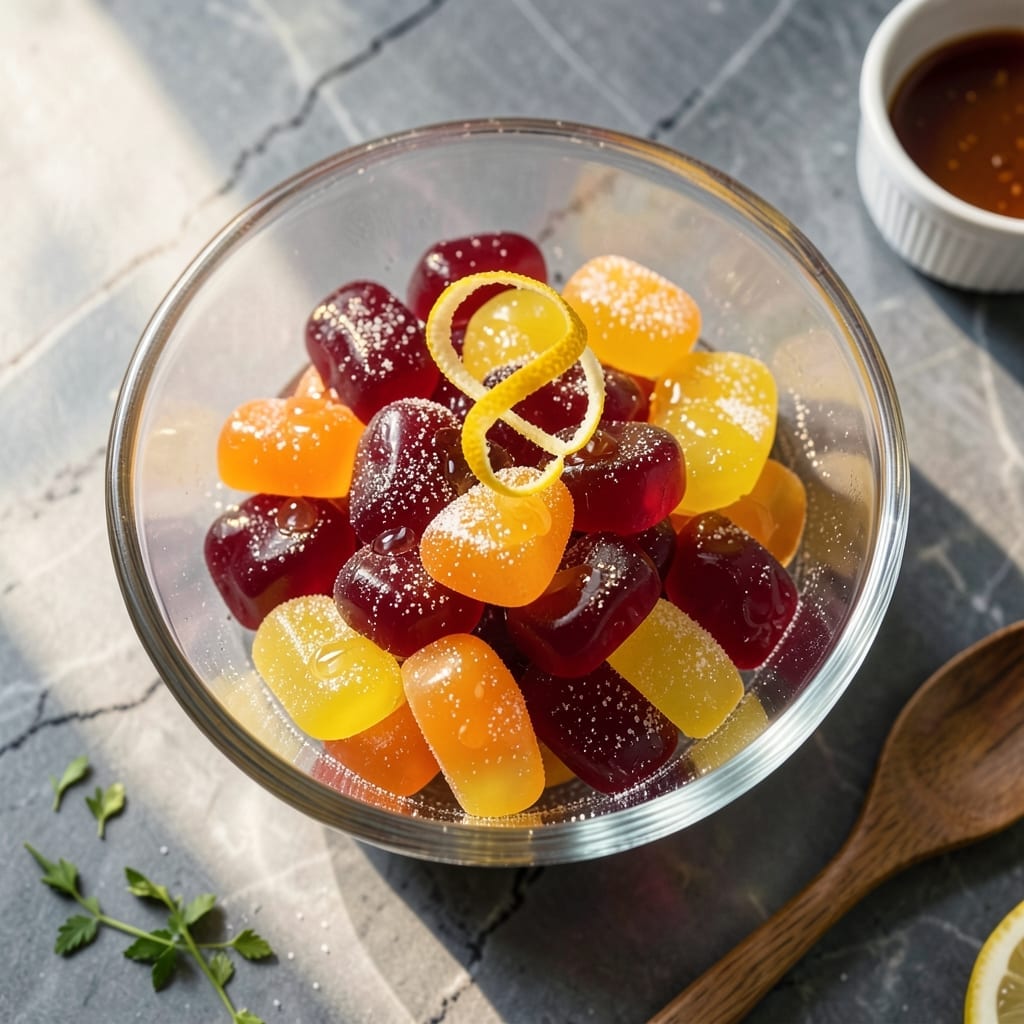
Making homemade gummies with unflavored gelatin delivers a perfectly chewy texture while keeping the flavor profile completely customizable. This method puts you in full control of sweetness, sourness, and fruit intensity without any artificial additives.
The process is surprisingly simple: bloom the gelatin, combine with your chosen juice or puree, then set in molds. Unlike commercial versions, you determine exactly what goes into each bite. The result is a consistently smooth candy with that signature gummy bounce.
What sets this approach apart is the precision—measuring gelatin and liquid ratios accurately ensures the ideal texture every time. No guesswork, just reliable results that rival store-bought gummies in both taste and mouthfeel.
Whether you prefer classic fruit flavors or more adventurous combinations, this technique provides a blank canvas for your candy creations.
Ingredients for Gummy Recipe with Unflavored Gelatin
A handful of pantry staples plus your favorite juice makes these chewy candies shine.
| Ingredient | Amount | Notes |
|---|---|---|
| Unflavored Gelatin 🍬 | ¼ cup | Bloomed in cold liquid first |
| Fruit Juice 🍊 | 1 ½ cups | 100% pure, no added sugar |
| Granulated Sugar 🍚 | ½ cup | Adjust for sweetness preference |
| Light Corn Syrup 🫙 | ¼ cup | For chewy texture consistency |
| Citric Acid 🍋 | ½ tsp | For tartness balance |
| Cold Water 💧 | ¼ cup | For blooming gelatin |
| Vanilla Extract 🌿 | ½ tsp | Optional for depth of flavor |
| Food Coloring 🎨 | 1 tsp | Gel-based for vibrant hues |
| Coconut Oil 🥥 | ½ tsp | For greasing molds |
| Silicone Gummy Molds 🧁 | 1 piece | Assorted fun shapes |
| Fine-Mesh Strainer 🔍 | 1 piece | For smooth juice texture |
[recipe_ingredient_scaler]
The gelatin is non-negotiable here—Knox unflavored gelatin is the gold standard for that perfect bounce. Most grocery stores stock it near the baking aisle, but Amazon has bulk options if you’re planning to make gummies often. Look for the silver packets (not the flavored kind). For the juice, 100% pure is key—no added sugar or preservatives that can mess with the texture.
No corn syrup? Honey or agave can work but may yield a slightly different chew. Want to skip the sugar? Monk fruit sweetener at a 1:1 ratio gets you close. Citric acid is often sold in the canning section or with baking supplies—Ball or Mrs. Wages are reliable brands. For molds, silicone is best (Amazon has great sets) but ice cube trays work in a pinch.
Store gummies in an airtight container at room temp for up to 1 week, or refrigerate for 2 weeks. They’ll get stickier over time. For longer storage, freeze for up to 3 months—thaw at room temp before serving. Always grease molds well to prevent sticking.
Why You’ll Love This Recipe
- No-Fuss Mixing: I just bloom the gelatin in juice, heat it up, and pour—no fancy equipment needed.
- Tart & Sweet: The citric acid gives that perfect sour kick while the sugar balances it into pure candy-shop flavor.
- Snack Stash: Honestly, I make a double batch on Sunday and we’re set for lunchboxes all week.
- Pantry Hero: Between us, a box of gelatin and some juice costs pennies compared to store-bought gummies.
Step-by-Step Instructions for Gummy Recipe With Unflavored Gelatin
This method ensures perfect texture and vibrant color every time you make these homemade treats.
Step 1: Bloom the Gelatin for Smooth Texture
Measure the 0.25 cup Unflavored Gelatin and sprinkle it evenly over the 0.25 cup Cold Water in a small bowl. I’ve found this ratio works perfectly for achieving that ideal chewy consistency without any graininess. Let it sit undisturbed for 5-7 minutes.
You’ll know it’s ready when the mixture resembles thick applesauce and the gelatin has fully absorbed the water. Don’t stir during this blooming process—this prevents the gelatin from clumping and ensures a smooth final texture. The surface should look slightly wrinkled when properly bloomed.
Step 2: Prepare and Combine the Wet Ingredients
Strain the 1.5 cups Fruit Juice through the Fine-Mesh Strainer into a medium saucepan to remove any pulp. This step guarantees a silky-smooth gummy with no fibrous bits. Add the 0.5 cup Granulated Sugar, 0.25 cup Light Corn Syrup, and 0.5 tsp Citric Acid to the saucepan.
Heat over medium heat until the sugar fully dissolves, stirring occasionally. Watch for the mixture to become clear and slightly syrupy—this typically takes 3-5 minutes. Remove from heat just before it reaches a boil to prevent sugar crystallization.
Step 3: Incorporate Gelatin and Final Additions
Add the bloomed gelatin mixture to the warm juice solution and stir until completely dissolved. I use a whisk for this to break up any remaining gelatin strands. The mixture should be smooth with no visible gelatin particles.
Now stir in the 0.5 tsp Vanilla Extract and 1 tsp Food Coloring. The color will appear vibrant at this stage, but remember it will lighten slightly as the gummies set. Taste and adjust sweetness if needed, though the Light Corn Syrup already adds that characteristic chewiness.
Step 4: Pour and Set in Molds
Lightly grease the Silicone Gummy Molds with the 0.5 tsp Coconut Oil using a pastry brush or paper towel. This prevents sticking while maintaining the gummies’ glossy finish. Pour the mixture carefully into each mold cavity, filling them to the brim.
Tap the molds gently on the counter to remove any air bubbles. The surface should be smooth and level with no visible imperfections. Refrigerate for 2-3 hours or until completely set—you’ll know they’re ready when they bounce back slightly when pressed.
Step 5: Unmold and Store Properly
Gently pop the gummies out of the Silicone Gummy Molds by pressing on the back of each cavity. If they resist, run the back of the mold under warm water for 5-10 seconds to loosen them. They should release cleanly with their shapes perfectly intact.
Store in an airtight container at room temperature for up to 5 days, or refrigerate for up to 2 weeks. The surface should remain slightly tacky but not sticky, with a consistent chew throughout. This method consistently produces professional-quality gummies with that satisfying bounce.
Pro Tips For Making Gummy Recipe With Unflavored Gelatin
- Bloom the Gelatin: Sprinkle unflavored gelatin evenly over cold fruit juice and let it sit for 10 minutes—this prevents clumping and guarantees smooth gummies every time.
- Heat Gently: Warm the gelatin mixture on low heat, stirring constantly, until just dissolved. High heat destroys gelatin’s setting power, leaving you with a runny mess.
- Use Fresh Juice: Skip the bottled stuff—fresh fruit juice has brighter flavor and natural acids that help the gummies set properly.
- Add Citric Acid Last: Stir in citric acid after removing from heat to prevent it from breaking down the gelatin. I learned this the hard way after making a batch that never firmed up.
Serving Suggestions for This Recipe
Plating for Parties
Arrange your gummies on a white platter with parchment paper underneath to prevent sticking. I like to create color gradients by grouping similar hues together. A light dusting of edible glitter adds sparkle for special occasions.
Gift Presentation
Fill clear cellophane bags with assorted shapes and tie with colorful ribbons. For a personal touch, include a small card with the flavor names. These make thoughtful homemade gifts that always impress. 💛
Dessert Board Style
Combine with fresh fruit, cheese cubes, and nuts for a fun dessert charcuterie. The gummies’ bright colors pop against neutral backdrops like slate boards or white marble. This setup works great for both kids and adults.
Individual Servings
Use mini cupcake liners to create single-serve portions perfect for lunchboxes. I pack 5-6 gummies per liner—just enough for a sweet treat without overindulgence. The liners also make for easy cleanup.
Themed Displays
For holidays, arrange gummies in seasonal shapes like hearts for Valentine’s Day or ghosts for Halloween. I use cookie cutters to create uniform shapes when making larger batches. These displays always get rave reviews at gatherings.
Storage Display
Keep a glass jar on your counter filled with layered gummies for a candy-store vibe. Make sure the jar has an airtight seal to maintain freshness. This also lets guests serve themselves throughout the day. ✨
Nutrition Facts
Frequently Asked Questions
Can I use flavored gelatin instead?
Not recommended. Flavored gelatin contains sugar and additives that alter texture and taste. Stick to unflavored gelatin to control sweetness and achieve the perfect chew.
Why did my gummies turn out too hard?
This usually means too much gelatin was used. For the ideal texture, maintain the 0.25 cup gelatin to 1.5 cups liquid ratio exactly. Overheating can also cause hardness.
How long do homemade gummies last?
Stored in an airtight container at room temperature, they stay fresh for 5 days. Refrigerated, they keep for up to 2 weeks. For longer storage, freeze for 3 months.
Can I skip the corn syrup?
You can, but expect a firmer texture. Honey or agave work as substitutes, but may yield a slightly different chew. The syrup helps create that classic gummy consistency.

Trained in classic French technique but raised on slow-cooked ribs and spicy rubs, she blends culinary skill with smoke and soul.
- Recipe for Boneless Pork Chops in Cast Iron Skillet: Sear and Baste to Juicy Perfection - October 3, 2026
- Recipe for Boneless Cross Rib Roast: Slow-Roasted Beef with Herb Crust - October 3, 2026
- Hamburgers in Sauce Recipe Crock Pot: Slow-Cooked Savory Delight - October 3, 2026