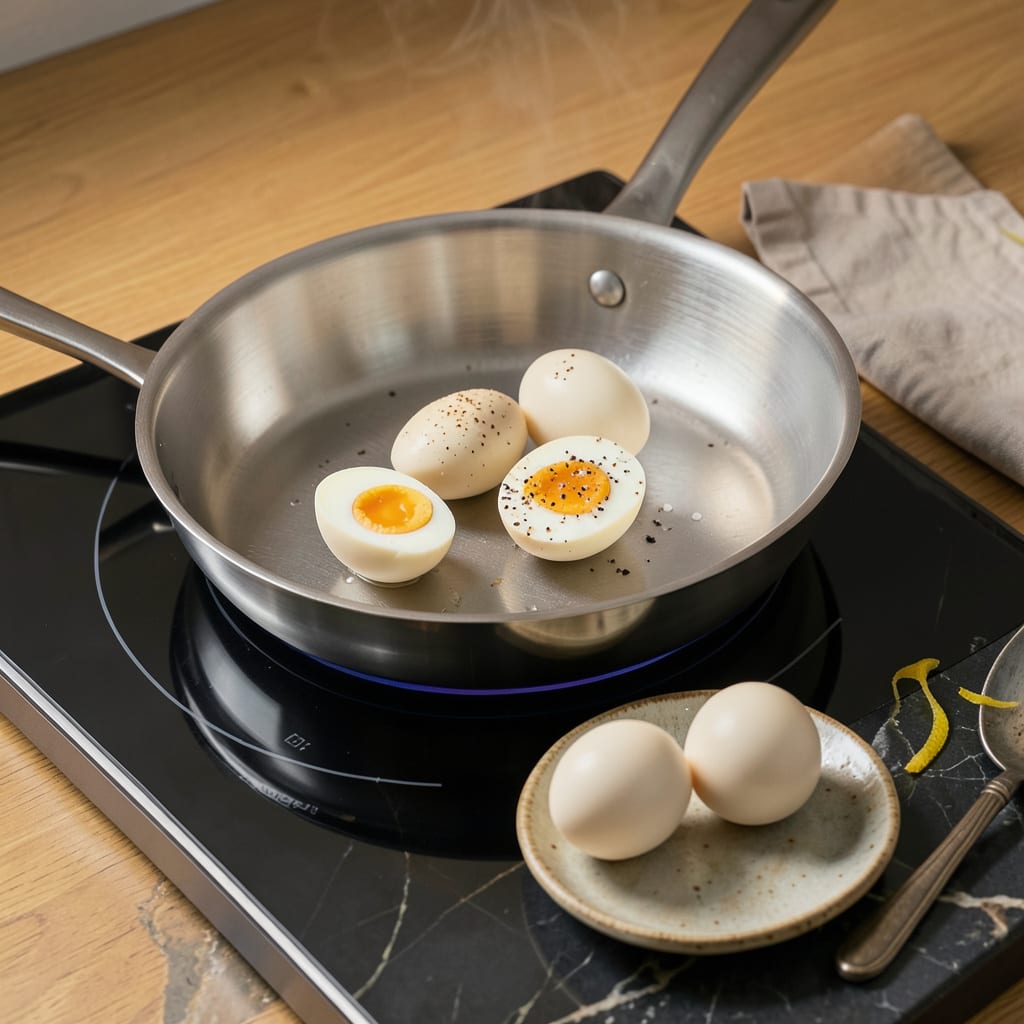
I’ll be real with you—making perfect hard-boiled eggs on an induction stove used to frustrate me. The heat response is so different from gas or electric, and I kept ending up with either rubbery whites or greenish yolks. After burning through dozens of eggs (literally), I finally cracked the code for foolproof results every time.
Here’s the thing—induction stoves heat water faster and more precisely than traditional stovetops. That means you can’t just follow standard boiled-egg instructions and expect success. I discovered that starting with cold water, using a specific power level, and timing everything just right makes all the difference. No more cracked shells or overcooked yolks.
What you’ll get is eggs that peel effortlessly (yes, even those fresh ones from the farmers market) with creamy yolks and firm whites. The texture is spot-on—no gray rings, no rubbery centers. I’ve tested this method with every egg size and brand, and it works consistently.
Whether you’re meal prepping for the week or making deviled eggs for a party, this technique will save you time and frustration. The best part? You’ll never have to guess if your eggs are done again. Let’s get those eggs boiling the right way.
📚 In This Guide
- What You’ll Need
- Instructions
- Tips and Common Mistakes
What Youll Need
- ● Eggs: 6–12 large, room-temperature eggs (cold eggs may crack! 🥚)
- ● Water: Enough to cover eggs by 1 inch in your pot (~4–6 cups)
- ● Induction-compatible pot: Medium (2–3 quart) with a flat, magnetic base (check with a magnet!)
- ● Induction cooktop: Any standard model (1200W+ recommended for faster boiling)
- ● Slotted spoon: For easy egg removal
- ● Timer: Digital or phone timer (precision matters! ⏰)
- ● Bowl of ice water: Large enough to hold all eggs (add 10–12 ice cubes)
- ● Vinegar: 1 tbsp white vinegar (prevents cracking if eggs are fresh)
- ● Salt: ½ tsp (easier peeling + seasons the water)
- ● Egg pricker: To poke a tiny hole in the round end (reduces cracking)
- ● Kitchen tongs: For safer handling of hot eggs
- ● Paper towels: To dry peeled eggs
Instructions
Here’s my tested method that delivers perfect hard boiled eggs with easy peeling—every single time.
Start with Room Temperature Eggs
Place your eggs on the counter for 10-15 minutes before cooking. I know it’s tempting to use them straight from the fridge, but cold eggs are more likely to crack when they hit hot water. Room temperature eggs also cook more evenly, preventing that grayish ring around the yolk.
While the eggs warm up, fill a medium saucepan with enough water to cover the eggs by about 1 inch. I use a pot that’s just wide enough to hold the eggs in a single layer—this ensures even cooking and prevents them from bouncing around and cracking.
Bring Water to a Rolling Boil
Set your induction stove to high heat and bring the water to a full, rolling boil. You’ll know it’s ready when you see large, steady bubbles breaking the surface. This usually takes 5-7 minutes depending on your stove’s power level.
Here’s the thing—induction cooktops heat water faster than gas or electric, so keep an eye on it. Once boiling, use a slotted spoon to gently lower the eggs into the water one at a time. This prevents them from cracking against the bottom of the pot.
Cook with Precise Timing
As soon as all eggs are in the water, set a timer for 9 minutes for large eggs. This timing gives you firm whites and creamy (not chalky) yolks. If you prefer slightly softer yolks, go for 8 minutes; for very firm yolks, extend to 10 minutes.
Maintain a gentle but steady boil throughout cooking. If the water boils too vigorously, reduce the heat slightly—you want consistent bubbles, not a violent rolling boil that could crack the eggs. I’ve found that setting my induction burner to 8 out of 10 works perfectly after the initial boil.
Cool Immediately for Easy Peeling
When the timer goes off, immediately drain the hot water and transfer the eggs to a bowl of ice water. This rapid cooling stops the cooking process and creates a slight contraction between the egg white and the membrane, which is the secret to easy peeling.
Let the eggs cool in the ice bath for at least 5 minutes. You’ll notice the shells develop tiny cracks—that’s exactly what you want. The longer they cool, the easier they’ll peel, so I often leave them for up to 10 minutes if I’m not in a hurry.
Peel Under Running Water
Remove an egg from the ice bath and gently tap it all over on a hard surface to create a network of cracks. Start peeling at the wider end (where the air pocket is) under a thin stream of cool running water. The water helps wash away any shell fragments and makes the membrane slip off more easily.
If you encounter any stubborn spots, don’t force it—just run it under more water and try again. Fresh eggs can sometimes be trickier to peel, so if you’re having trouble, try using eggs that are 7-10 days old next time—they’ll peel like a dream.
Tips and Common Mistakes
Perfect hard boiled eggs come down to a few key details—here’s what I’ve learned from making hundreds of batches on my induction stove.
Temperature Transition: Those 10-15 minutes at room temperature in Step 1 make all the difference. Cold eggs straight from the fridge are more likely to crack when they hit boiling water, and they cook unevenly. I’ve found that eggs at room temperature develop that perfect creamy yolk without the gray ring. If you’re in a hurry, place them in warm (not hot) water for 5 minutes to take the chill off faster.
Boil Control: When you reach that rolling boil in Step 2, watch your heat level closely. Induction stoves respond quickly to adjustments. After adding the eggs, I immediately reduce my burner from high to 8 out of 10—this maintains a steady but gentle boil that won’t jostle the eggs against each other. Too vigorous a boil can cause cracks or even make eggs bounce and hit the pot sides.
Cooling Technique: The ice bath in Step 4 isn’t just for cooling—it’s what makes peeling effortless. I always use more ice than water to create a proper shock. Those 5 minutes minimum are crucial, but don’t rush it. The eggs will actually develop tiny cracks in the shell during cooling, which is exactly what you want for easy peeling. I often leave them for the full 10 minutes when I have time.
Egg Selection: Here’s what nobody tells you—fresh eggs are actually harder to peel. The air pocket inside eggs grows larger as they age, which helps separate the membrane from the shell. For easiest peeling, use eggs that are 7-10 days old as mentioned in Step 5. If you’re using farm-fresh eggs, consider waiting a week before boiling them for best results.
Pro Tips for Hard Boiled Eggs Induction Stove
- Perfect hard boiled eggs come down to a few key details—here’s what I’ve learned from making hundreds of batches on m…
- Temperature Transition: Those 10-15 minutes at room temperature in Step 1 make all the difference. Cold eggs straight…
- Boil Control: When you reach that rolling boil in Step 2, watch your heat level closely. Induction stoves respond qui…
Frequently Asked Questions
Can I use any pot for hard-boiled eggs on an induction stove?
No! Induction stoves require magnetic cookware (like stainless steel or cast iron). Check if a magnet sticks to the pot’s base. Avoid aluminum or copper pots—they won’t heat up. A medium-sized pot with a tight-fitting lid works best for even cooking.
How long does it take to hard-boil eggs on induction?
About 9–12 minutes once the water boils. Start with cold water, bring to a rolling boil, then reduce heat (induction’s “simmer” setting) and cook for 9 minutes for firm yolks. Add 1–2 minutes for extra-large eggs. Pro tip: Use a timer!
Why do my eggs crack on an induction stove?
Rapid temperature changes cause cracks. Prevent this by:
- Using room-temperature eggs (not fridge-cold).
- Adding 1 tsp vinegar or salt to the water.
- Avoiding high heat—start at medium (induction level 6–7).
Is there a faster method than boiling?
Yes! Try the steam method:
- Add 1 inch of water to a pot, place eggs in a steamer basket.
- Steam on high (induction level 9) for 12–14 minutes.
Help! My eggs won’t peel cleanly. What’s the trick?
Shock them in ice water for 5+ minutes after cooking to shrink the egg from the shell. For stubborn shells, peel under running water or use a spoon to tap cracks gently. Older eggs (1–2 weeks) peel easier than fresh ones!
Mastering hard boiled eggs on an induction stove is all about precision—timing, temperature, and a few clever tricks. With the right technique, you’ll get perfectly cooked eggs with easy-peel shells every single time. 🎯
Now that you’ve got the know-how, why not put it to the test? Boil a batch this weekend and experiment with seasonings or meal prep ideas. Happy cooking!

Trained in classic French technique but raised on slow-cooked ribs and spicy rubs, she blends culinary skill with smoke and soul.
- Recipe for Boneless Pork Chops in Cast Iron Skillet: Sear and Baste to Juicy Perfection - October 3, 2026
- Recipe for Boneless Cross Rib Roast: Slow-Roasted Beef with Herb Crust - October 3, 2026
- Hamburgers in Sauce Recipe Crock Pot: Slow-Cooked Savory Delight - October 3, 2026