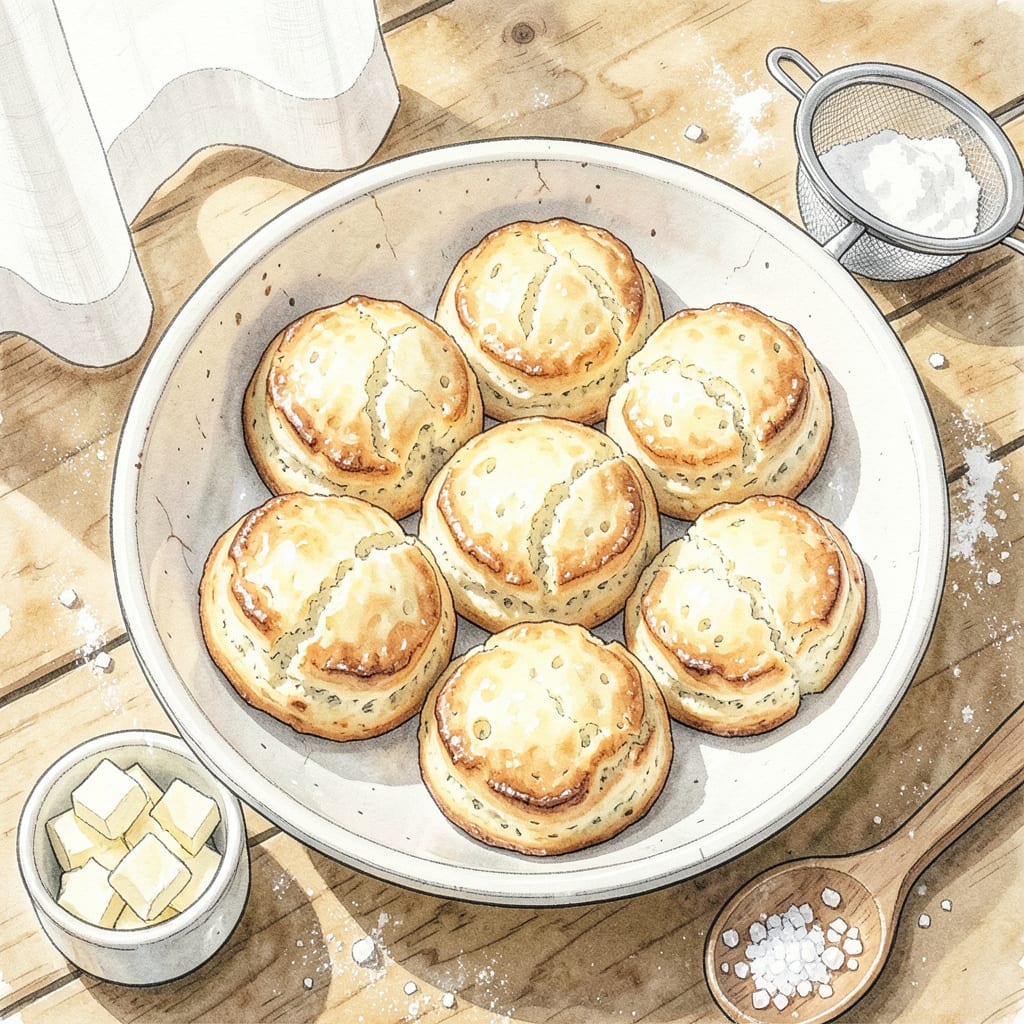
Few things rival the satisfaction of biting into a warm, flaky biscuit with that signature buttery crumb—just like the ones from Hardee’s. After years of testing ratios and techniques, I’ve perfected a method that delivers that fast-food favorite’s tender layers at home. The secret lies in cold butter and a specific folding process that creates those coveted flakes.
This recipe requires no special equipment, just precise technique and about 20 minutes from mixing to baking. The result is golden, towering biscuits with crisp edges and a soft, layered interior that pulls apart effortlessly. Whether you’re craving a breakfast sandwich or a simple buttered biscuit, this delivers that drive-thru quality without leaving your kitchen.
Ingredients for Hardee’s Biscuit
Cold butter, buttermilk, and a few pantry staples—this is how you get those towering, flaky layers at home.
| Ingredient | Amount | Notes |
|---|---|---|
| All-Purpose Flour 🌾 | 2 ½ cups | Plus extra for dusting |
| Baking Powder 🧂 | 1 tbsp | Aluminum-free preferred |
| Baking Soda 🧂 | ½ tsp | Ensures proper rise |
| Granulated Sugar 🍚 | 1 tsp | Balances saltiness |
| Kosher Salt 🧂 | 1 ½ tsp | Diamond Crystal preferred |
| Unsalted Butter 🧈 | 10 tbsp | Must be ice-cold |
| Buttermilk 🥛 | 1 cup | Full-fat for richness |
| Heavy Cream 🥛 | ¼ cup | For brushing tops |
| Shortening 🧈 | 2 tbsp | Cold, for extra flakiness |
| Honey 🍯 | 1 tsp | Optional, for golden color |
[recipe_ingredient_scaler]
The butter is everything here. Land O’Lakes unsalted is my go-to—it’s got that perfect fat content for flakiness. Don’t even think about using warm butter; it needs to be ice-cold, straight from the fridge. I buy mine in bulk at Costco and keep extra in the freezer just for biscuits. The buttermilk? Full-fat only, none of that low-fat nonsense. Southern brands like White Lily make a difference if you can find them, but any good buttermilk will work. And yes, the shortening matters—Crisco is what gives that fast-food texture (don’t skip it).
No buttermilk? Stir 1 tbsp lemon juice or vinegar into regular milk and let it sit 5 minutes. Out of heavy cream for brushing? Melted butter works too (though the color won’t be as golden). If you’re worried about the honey, skip it—it’s just for that signature Hardee’s sheen. The baking powder must be fresh (test it by dropping some in hot water—if it fizzes, it’s good). And if you’re at high altitude, reduce baking soda to 1/4 tsp to avoid bitterness.
Biscuit dough hates warmth. Keep everything cold until it hits the oven. The dough can be made ahead and refrigerated overnight—just shape and bake when ready. Leftovers? Wrap in foil and reheat at 350°F for 10 minutes to revive that just-baked texture. Freeze unbaked biscuits on a tray, then transfer to bags—they’ll keep for 3 months (bake straight from frozen, adding 2-3 minutes).
Step-by-Step Instructions for Flaky Biscuits
Here’s how to get those tall, flaky layers that make these biscuits legendary.
Step 1: Combine Dry Ingredients with Precision
In a large mixing bowl, whisk together the 2.5 cups All-Purpose Flour, 1 tbsp Baking Powder, 0.5 tsp Baking Soda, 1 tsp Granulated Sugar, and 1.5 tsp Kosher Salt. I like to whisk for a full 30 seconds to ensure everything is evenly distributed and there are no clumps of baking powder hiding in the flour.
This step might seem simple, but it’s crucial for even rising. The baking powder and baking soda work together to create those signature air pockets, while the sugar balances the saltiness. Don’t skip the whisking—it makes a noticeable difference in the final texture.
Step 2: Cut in the Cold Fats for Maximum Flakiness
Add the 10 tbsp Unsalted Butter (straight from the fridge) and 2 tbsp Shortening to the dry ingredients. Using a pastry cutter or your fingers, work the fats into the flour until you have pea-sized crumbs with some larger pieces remaining. I aim for about 10-12 strokes with the pastry cutter—you want visible fat pieces for those flaky layers.
The key here is keeping everything cold. If the butter starts to soften, pop the bowl in the fridge for 10 minutes before continuing. Those distinct fat pieces will melt during baking, creating steam pockets that separate the dough into beautiful layers. This is what gives you that drive-thru flakiness.
Step 3: Add Liquid Ingredients and Gently Combine
Make a well in the center of your flour mixture and pour in the 1 cup Buttermilk. Using a wooden spoon or silicone spatula, gently fold the mixture until it just comes together. You’ll still see some dry spots—that’s perfect. Overmixing develops gluten, which makes biscuits tough instead of tender.
Turn the shaggy dough onto a lightly floured surface and pat it into a 1-inch thick rectangle. Fold the dough in thirds like a letter, then rotate 90 degrees and pat out again. Repeat this fold-and-pat process 2 more times. This creates those signature layers without overworking the dough.
Step 4: Shape, Cut, and Bake to Golden Perfection
Pat the dough into a ¾-inch thick rectangle. Using a 2.5-inch biscuit cutter, press straight down without twisting to cut out biscuits. Twisting seals the edges and prevents proper rising. Place the biscuits on a parchment-lined baking sheet with sides just touching—this helps them rise upward instead of outward.
Brush the tops with the 0.25 cup Heavy Cream mixed with 1 tsp Honey for that golden-brown finish. Bake at 425°F for 15-18 minutes until the tops are deep golden brown and the layers are clearly visible. The honey in the wash gives that signature Hardee’s sheen.
Essential Equipment for hardees biscuit
Biscuit Cutter
A 2.5-inch fluted biscuit cutter is non-negotiable for that classic Hardee’s look. I use one from OXO—the sharp edges cut cleanly without compressing the dough. Press straight down without twisting (that seals edges and ruins rise). If you don’t have one, a clean tuna can works in a pinch, but the fluted edges make a difference. 💡
Pastry Blender
For cutting butter into flour, a stainless steel pastry blender gives you perfect pea-sized crumbs. My favorite is the Norpro model—it’s got a comfortable grip and doesn’t bend. If you’re using your fingers, work quickly to keep the butter cold. The goal is uneven crumbs with some larger butter pieces for maximum flakiness.
Digital Thermometer
While not essential, a ThermoWorks Dot helps ensure your oven is truly at 425°F. Many home ovens run 25-50°F off—this little gadget takes the guesswork out. I check mine before every biscuit batch because precise heat means perfect rise and golden tops every time.
Parchment Paper
Line your baking sheet with pre-cut parchment (I buy Reynolds brand in bulk). It prevents sticking and makes cleanup effortless. The biscuits release perfectly, and you can slide the whole sheet off to cool. No more scraping burnt bits off your pan—just toss the paper when done.
Bench Scraper
A stainless steel bench scraper is my secret weapon for handling sticky dough. I use the Dexter-Russell 4-inch model to divide dough and clean my work surface. It helps maintain that ¾-inch thickness when patting out the dough for even baking. The straight edge also helps with folding layers neatly.
Pastry Brush
For that golden wash, a silicone pastry brush applies the heavy cream mixture evenly. I prefer Cuisipro’s angled brush—it gets into corners without dripping. The silicone won’t shed bristles like natural hair brushes, and it’s dishwasher-safe. A light, even coat ensures that signature Hardee’s sheen. ✨
Nutrition Facts

Trained in classic French technique but raised on slow-cooked ribs and spicy rubs, she blends culinary skill with smoke and soul.
- Recipe for Boneless Pork Chops in Cast Iron Skillet: Sear and Baste to Juicy Perfection - October 3, 2026
- Recipe for Boneless Cross Rib Roast: Slow-Roasted Beef with Herb Crust - October 3, 2026
- Hamburgers in Sauce Recipe Crock Pot: Slow-Cooked Savory Delight - October 3, 2026