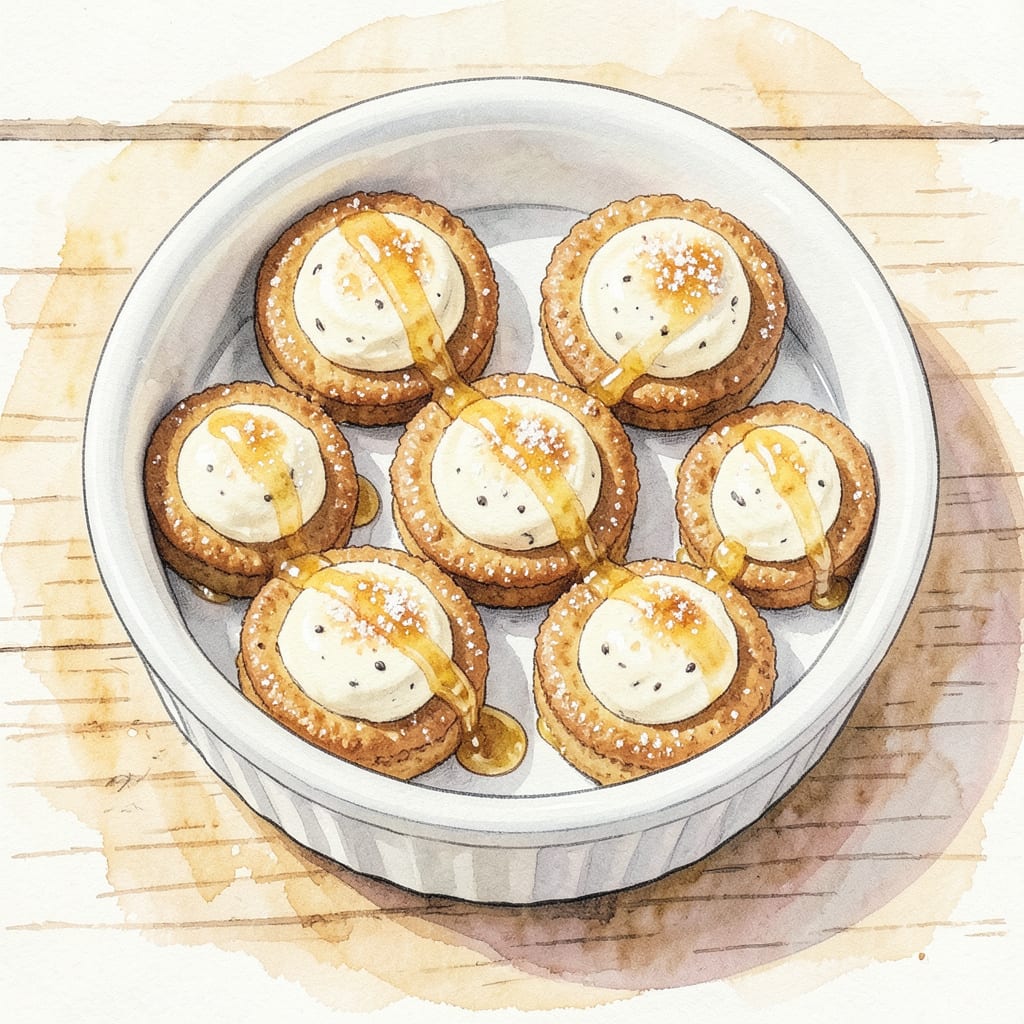
These mini cheesecake bites solve the age-old problem of portion control while delivering the rich, creamy texture you expect from a full-sized dessert. Perfect for parties, gift boxes, or satisfying individual cravings, cake pucks combine the convenience of single servings with the indulgence of classic cheesecake. The secret lies in precise baking times and a carefully balanced ratio of cream cheese to sugar.
What sets this recipe apart is its versatility—bake them plain for a clean canvas or customize with fruit compotes, chocolate drizzles, or crushed nuts. The graham cracker crust base provides just enough crunch to contrast the velvety filling, while the compact size ensures each bite delivers the ideal cheesecake experience. No water bath required, making this surprisingly foolproof for home bakers.
Ingredients for Cake Puck
These carefully selected ingredients create the ideal balance of creamy filling and crisp graham cracker crust for perfect mini cheesecake pucks.
| Ingredient | Amount | Notes |
|---|---|---|
| Graham Cracker Crumbs 🍪 | 1 ½ cups | Finely ground for even texture |
| Unsalted Butter 🧈 | 6 tbsp | Melted for crust binding |
| Granulated Sugar 🍚 | ½ cup | Divided for crust and filling |
| Full-Fat Cream Cheese 🧀 | 16 oz | Room temperature for smooth texture |
| Large Eggs 🥚 | 2 whole | Room temperature for even mixing |
| Vanilla Extract 🌿 | 1 tsp | Pure extract for best flavor |
| Sour Cream 🥛 | ½ cup | Full-fat for creamy consistency |
| All-Purpose Flour 🌾 | 1 tbsp | For structural stability |
| Lemon Zest 🍋 | 1 tsp | Freshly grated for brightness |
| Salt 🧂 | ¼ tsp | Fine sea salt preferred |
| Optional Toppings 🍫 | 1 cup | Fruit compote, chocolate, or nuts |
[recipe_ingredient_scaler]
The **cream cheese** and **sour cream** are critical for achieving the signature velvety texture. Opt for **Philadelphia brand** for consistent results, and ensure both are at room temperature before mixing. The **graham cracker crumbs** should be finely processed—**Honey Maid** or store-brand work equally well, but avoid cinnamon-flavored varieties as they compete with the filling. For the butter, **unsalted European-style** (like **Plugrá**) provides superior richness, though standard unsalted butter performs adequately. The **eggs** must be large (50g+ each) for proper structure; organic or free-range are ideal but not mandatory.
Substitutions require careful consideration to maintain the delicate balance. **Digestive biscuits** can replace graham crackers at a 1:1 ratio, though the flavor profile will shift slightly. For a gluten-free version, use **almond flour** (1:1) plus 1 tbsp melted coconut oil for the crust. **Neufchâtel cheese** (lower-fat cream cheese) alters the texture but works in a pinch. The **sour cream** can be replaced with full-fat Greek yogurt, though the tang may be more pronounced. Avoid low-fat dairy products—they compromise the filling’s luxurious mouthfeel. **Lemon juice** (1 tsp) can substitute for zest if necessary, but fresh zest provides superior aroma.
Store the **cream cheese** and **sour cream** in their original packaging until ready to use, transferring to the fridge door for gradual warming. The **graham cracker crumbs** keep in an airtight container for **up to 2 weeks**, while the assembled pucks (without toppings) freeze beautifully for **3 months**. Thaw overnight in the refrigerator before serving. For optimal freshness, add toppings like fruit compotes or chocolate drizzles **just before serving** to prevent sogginess. The baked pucks maintain perfect texture for **5 days** when refrigerated in a sealed container.
Step-by-Step Instructions for Cake Pucks
This method ensures consistent results with perfectly portioned mini cheesecake bites every time.
Step 1: Prepare the Graham Cracker Crust Base
Combine the 1.5 cups Graham Cracker Crumbs with 2 tablespoons of the Granulated Sugar in a medium bowl. I’ve found that finely ground crumbs create a more cohesive crust that holds together better during baking and serving.
Pour in the 6 tbsp Unsalted Butter (ensure it’s fully melted but not hot) and stir until the mixture resembles wet sand. The crumbs should hold together when pressed between your fingers. Divide this mixture evenly among your prepared muffin tin cups, pressing firmly with the bottom of a glass to create compact, even layers. This creates the foundation for your cake pucks.
Step 2: Create the Cream Cheese Filling
In a stand mixer fitted with the paddle attachment, beat the 16 oz Full-Fat Cream Cheese on medium speed until completely smooth, about 2 minutes. The cream cheese must be at room temperature to prevent lumps in your final filling. Add the remaining Granulated Sugar and continue mixing for another 1 minute until fully incorporated.
Add the 2 whole Large Eggs one at a time, mixing just until each is fully incorporated. Then add the 1 tsp Vanilla Extract, 0.5 cup Sour Cream, 1 tbsp All-Purpose Flour, 1 tsp Lemon Zest, and 0.25 tsp Salt. Mix on low speed for 30 seconds until just combined. Be careful not to overmix, as this can incorporate too much air and cause cracking during baking.
Step 3: Assemble and Bake the Cake Pucks
Divide the filling evenly among the prepared crusts, filling each cup about ¾ full. I use a cookie scoop for precise portioning, which ensures all cake pucks bake evenly. Gently tap the pan on the counter to remove any air bubbles and create a smooth surface.
Bake in a preheated 325°F oven for 18-22 minutes until the edges are set but the centers still have a slight wobble when gently shaken. This visual cue is crucial—overbaking leads to dry, dense cake pucks. The centers will continue to set as they cool. Remove from oven and let cool in the pan for 10 minutes before transferring to a wire rack.
Step 4: Cool and Add Optional Toppings
Allow the cake pucks to cool completely to room temperature, about 1 hour. This cooling period is essential for the texture to set properly. Once cooled, you can add the 1 cup Optional Toppings if desired. For fruit compotes, spoon a small amount over each cake puck. For chocolate toppings, drizzle melted chocolate in a zigzag pattern.
For best results, refrigerate the cake pucks for at least 2 hours before serving. This chilling time allows the flavors to meld and the texture to become perfectly creamy yet firm enough to hold its shape. The contrast between the buttery crust and smooth filling will be most pronounced after proper chilling.
Essential Equipment for Great cake puck
Mini Muffin Tin
The backbone of perfect cake pucks is a quality mini muffin tin with 12 cups. I swear by my USA Pan Bakeware tin—its nonstick coating and sturdy construction prevent sticking while ensuring even baking. The 1.5-inch diameter creates the ideal single-bite portion. Pro tip: Spray with Baker’s Joy before adding liners for double insurance against sticking. 🔥
Stand Mixer
A stand mixer with paddle attachment is non-negotiable for achieving that ultra-smooth filling. My KitchenAid 5-Quart handles the 16 oz cream cheese effortlessly without overheating. If you’re using a hand mixer, opt for a Cuisinart Smart Stick with at least 250 watts—anything weaker struggles with the dense mixture.
Cookie Scoop
Precision matters with these mini treats. A medium cookie scoop (about 1.5 tablespoons) ensures uniform portions that bake evenly. I use the OXO Good Grips model—its trigger release makes filling the cups mess-free. This tool also helps prevent overfilling, which can cause the pucks to dome instead of staying flat.
Fine Mesh Sieve
For the smoothest possible filling, I always press the cream cheese through a fine mesh sieve before mixing. This eliminates any potential lumps that could ruin the texture. A 8-inch diameter sieve works perfectly. It’s an extra step, but the velvety result is worth it—especially when serving these at gatherings where presentation counts.
Offset Spatula
An offset spatula is my secret weapon for creating perfectly smooth tops. The 6-inch Ateco model lets me level the filling precisely in each cup. After baking, I use the same tool to gently loosen the edges before removing the pucks. This prevents the crust from breaking—a common frustration with mini cheesecakes.
Oven Thermometer
Never trust your oven’s built-in thermometer for delicate baked goods like these. I keep an oven-safe digital thermometer (like the ThermoWorks Dot) on the middle rack to monitor the actual temperature. These pucks bake best at a true 325°F—even small fluctuations can cause overbaking or uneven setting. ✨
Nutrition Facts

Trained in classic French technique but raised on slow-cooked ribs and spicy rubs, she blends culinary skill with smoke and soul.
- Recipe for Boneless Pork Chops in Cast Iron Skillet: Sear and Baste to Juicy Perfection - October 3, 2026
- Recipe for Boneless Cross Rib Roast: Slow-Roasted Beef with Herb Crust - October 3, 2026
- Hamburgers in Sauce Recipe Crock Pot: Slow-Cooked Savory Delight - October 3, 2026