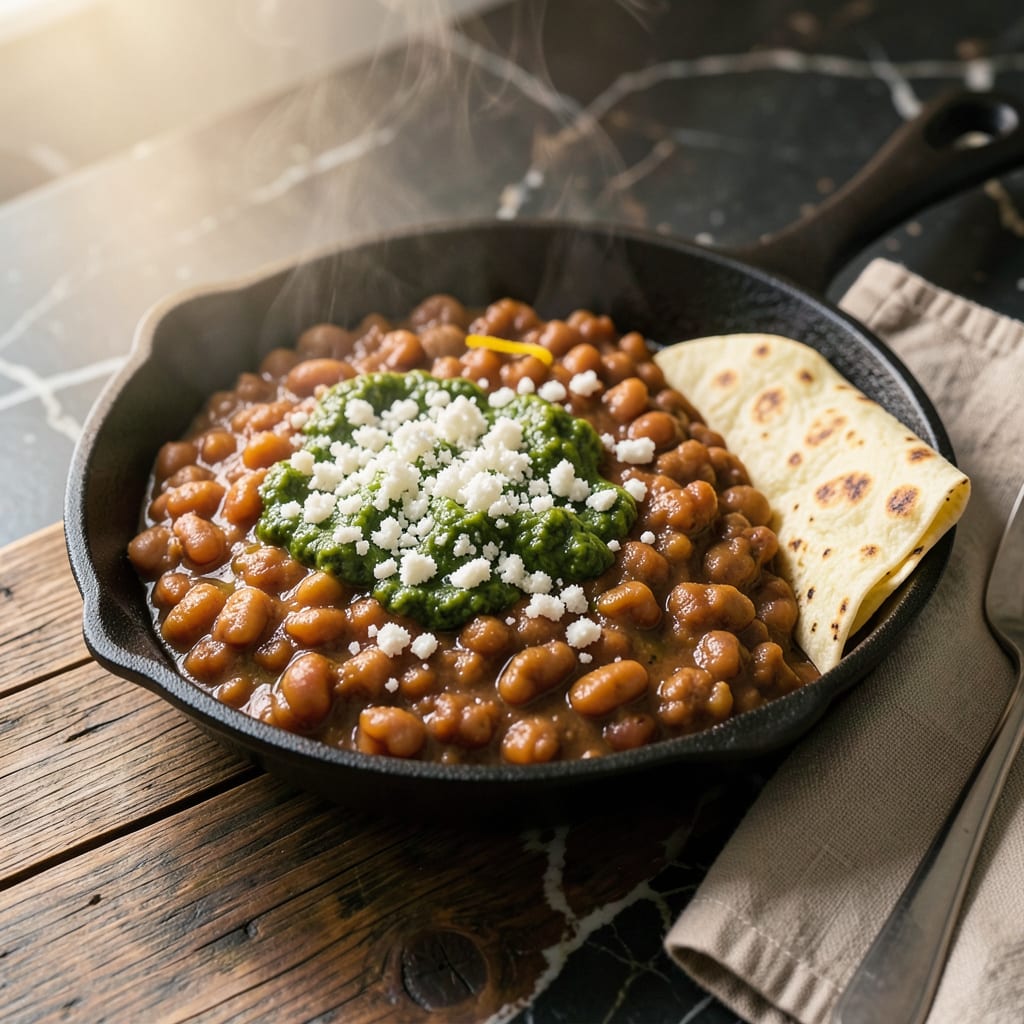
I’ll be real with you—most reheated refried beans end up dry and sad, nothing like the creamy restaurant versions we crave. But after years of experimenting (and a few disappointing taco nights), I finally cracked the code for bringing them back to life perfectly every time.
Here’s the thing—whether you’re using canned beans or homemade, the secret lies in adding moisture and heat gradually. A splash of broth or water, some oil in the pan, and gentle heat transform those dense, cold beans into something rich and velvety. No fancy techniques required, just a few minutes of attention.
What you’ll get is beans so smooth and flavorful, you’ll swear they came straight from your favorite Mexican joint. The texture stays restaurant-style—spreadable but not runny—with that deep, toasted flavor that makes them irresistible. And the best part? This works for any method: stovetop, microwave, or even oven.
Serve them with warm tortillas, melted cheese, or as a base for nachos. Once you try this method, you’ll never settle for sad, dried-out beans again. Let’s get those beans perfect!
📚 In This Guide
- What You’ll Need
- Instructions
- Tips and Common Mistakes
What Youll Need
- ● 1 can (16 oz) refried beans – Traditional or fat-free, drained if needed 🌯
- ● 1–2 tbsp liquid – Water, broth, or milk (for creamier texture) 💧
- ○ 1 tbsp cooking oil or butter – Optional, for stovetop heating (adds richness) 🧈
- ● ½ tsp salt – Adjust to taste (skip if beans are pre-seasoned) ⚖️
- ○ ¼ tsp cumin or garlic powder – Optional, for extra flavor boost 🌶️
- ○ Shredded cheese or sour cream – Optional topping for serving 🧀
- ● Medium saucepan – For stovetop heating (non-stick preferred) 🍳
- ● Microwave-safe bowl – If microwaving (with lid or damp paper towel) 🍲
- ● Wooden spoon or spatula – For stirring and mashing 🥄
- ● Can opener – Unless your can has a pull-tab! 🔗
- ○ Measuring spoons – For precise seasoning (optional but helpful) 📏
Instructions
Here’s how to transform canned or homemade refried beans into creamy, restaurant-quality perfection in just minutes.
Choose Your Cooking Method
You can heat refried beans on the stovetop, in the microwave, or even in the oven—each method gives slightly different results. For stovetop, use a heavy-bottomed skillet or saucepan. The microwave works best for small portions, while the oven is ideal when reheating larger batches.
I prefer the stovetop method because it lets you control the texture perfectly. You’ll need about 1 minute per cup of beans on medium heat. If using the microwave, plan for 2-3 minutes total with stirring breaks. The oven method takes 15-20 minutes at 350°F.
Add Liquid for Creaminess
This is the secret to restaurant-style beans: add liquid before heating. For canned beans, stir in 2-3 tablespoons of water, broth, or milk per cup. Homemade beans often need less—start with 1 tablespoon and adjust. The liquid prevents drying out and helps create that velvety texture.
Watch for the beans to loosen and become glossy as they warm. If they seem too thick, add more liquid 1 teaspoon at a time. I like using chicken broth for extra flavor, but water works fine. Stir constantly to prevent sticking—you’ll see the mixture transform from stiff to creamy right before your eyes.
Heat Gently While Stirring
Cook over medium-low heat, stirring constantly with a wooden spoon or silicone spatula. You’re looking for two things: even heating and smooth texture. The beans should bubble gently at the edges but never boil vigorously. This gentle heat prevents scorching and keeps the texture creamy.
After about 3-4 minutes, you’ll notice the beans become more fluid and develop a slight sheen. That’s your cue they’re nearly ready. Taste and adjust seasoning—most canned beans need a pinch of salt and cumin to taste. If using the microwave, stir every 30 seconds for even heating.
Finish with Fat for Richness
Here’s where you take them from good to restaurant-quality: stir in 1-2 tablespoons of fat per cup. I use either butter, lard, or olive oil—each gives a different richness. The fat melts into the beans, creating that luxurious mouthfeel you get at Mexican restaurants.
Watch as the beans become glossier and more cohesive. Cook for another 1-2 minutes after adding fat to let the flavors meld. The finished beans should mound slightly when spooned but still spread easily. If they’re too thin, let them sit off heat for 2 minutes—they’ll thicken as they cool slightly.
Serve Immediately for Best Texture
Refried beans are best served right away while still warm and creamy. They’ll thicken as they cool, so if you need to hold them, place the pan over a bowl of warm water. For meal prep, store in an airtight container—they’ll keep for 3-4 days in the fridge.
To reheat leftovers, add 1 tablespoon of liquid per cup and warm gently. I like to garnish with crumbled queso fresco or a drizzle of crema for serving. The perfect beans should be smooth but still hold their shape on a spoon, with a rich, velvety texture that makes every bite satisfying.
Tips and Common Mistakes
Getting refried beans to that perfect creamy texture is all about technique. Here’s what I’ve learned from years of making them.
Liquid Timing: In Step 2, when you add the 2-3 tablespoons of liquid per cup, don’t just dump it all in at once. Start with 1 tablespoon, stir well, and let it absorb for about 30 seconds before adding more. This gradual approach prevents that watery texture that happens when you overdo it. I learned this the hard way after making beans that were more like soup!
Heat Control: The medium-low heat mentioned in Step 3 is absolutely critical. If your beans start bubbling aggressively, they’ll scorch on the bottom before the middle gets warm. I like to test the heat by holding my hand about 3 inches above the pan – it should feel warm but not uncomfortable. This gentle heat is what gives you that velvety texture without burning.
Fat Finishing: When you add that 1-2 tablespoons of fat per cup in Step 4, here’s what nobody tells you – let the beans cool for about 1 minute after removing from heat before serving. This brief rest lets the fat fully incorporate, creating that restaurant-quality richness. I stir in the fat, then let the beans sit off heat for exactly 2 minutes as mentioned in the instructions – it makes all the difference.
Reheating Trick: For leftovers, when you add that 1 tablespoon of liquid per cup before reheating, use the same liquid you used originally. If you used broth the first time, use broth again. This consistency maintains the flavor balance you worked so hard to create. I’ve found that reheated beans actually taste better when you match the liquids exactly.
Pro Tips for Heat Up Refried Beans
- Getting refried beans to that perfect creamy texture is all about technique. Here’s what I’ve learned from years of m…
- Liquid Timing: In Step 2, when you add the 2-3 tablespoons of liquid per cup, don’t just dump it all in at once. Star…
- Heat Control: The medium-low heat mentioned in Step 3 is absolutely critical. If your beans start bubbling aggressive…
Frequently Asked Questions
How long does it take to heat up refried beans?
Heating canned or homemade refried beans takes 5–10 minutes on the stovetop (medium-low heat) or 2–3 minutes in the microwave (stirring halfway). For crispy edges, extend stovetop time to 12–15 minutes with occasional stirring.
Can I heat refried beans without a stove?
Use the microwave (covered, 30-second intervals) or a slow cooker (1–2 hours on low with broth). For camping, try a portable grill in a heat-safe dish—just add oil to prevent sticking.
Why are my refried beans watery after heating?
Over-stirring or excess liquid (like canned juice) causes this. Fix it by simmering uncovered to evaporate moisture, or mash in 1 tbsp of masa harina or cornstarch. For prevention, drain canned beans well before heating.
What’s the best way to reheat refried beans for a crowd?
Use a slow cooker (2–3 hours on low with broth or cheese) or a chafing dish (keep warm at 160°F). Stir occasionally and add splashes of water if they thicken too much. Pro tip: Sprinkle cheese on top 10 minutes before serving!
Can I freeze refried beans after heating them?
Yes, but cool completely first to avoid ice crystals. Store in airtight containers for up to 3 months. Reheat from frozen in the microwave (5–6 minutes, stirring often) or thaw overnight in the fridge before stovetop warming.
Now you’ve got the secrets to perfectly warmed refried beans—creamy, flavorful, and just like your favorite Mexican restaurant! 🌯 Whether you’re reheating on the stovetop, in the microwave, or even in the oven, the key is low heat and a splash of liquid to keep them smooth and delicious.
Ready to take your beans to the next level? Try pairing them with ★★★★★4.8(9 reviews)
