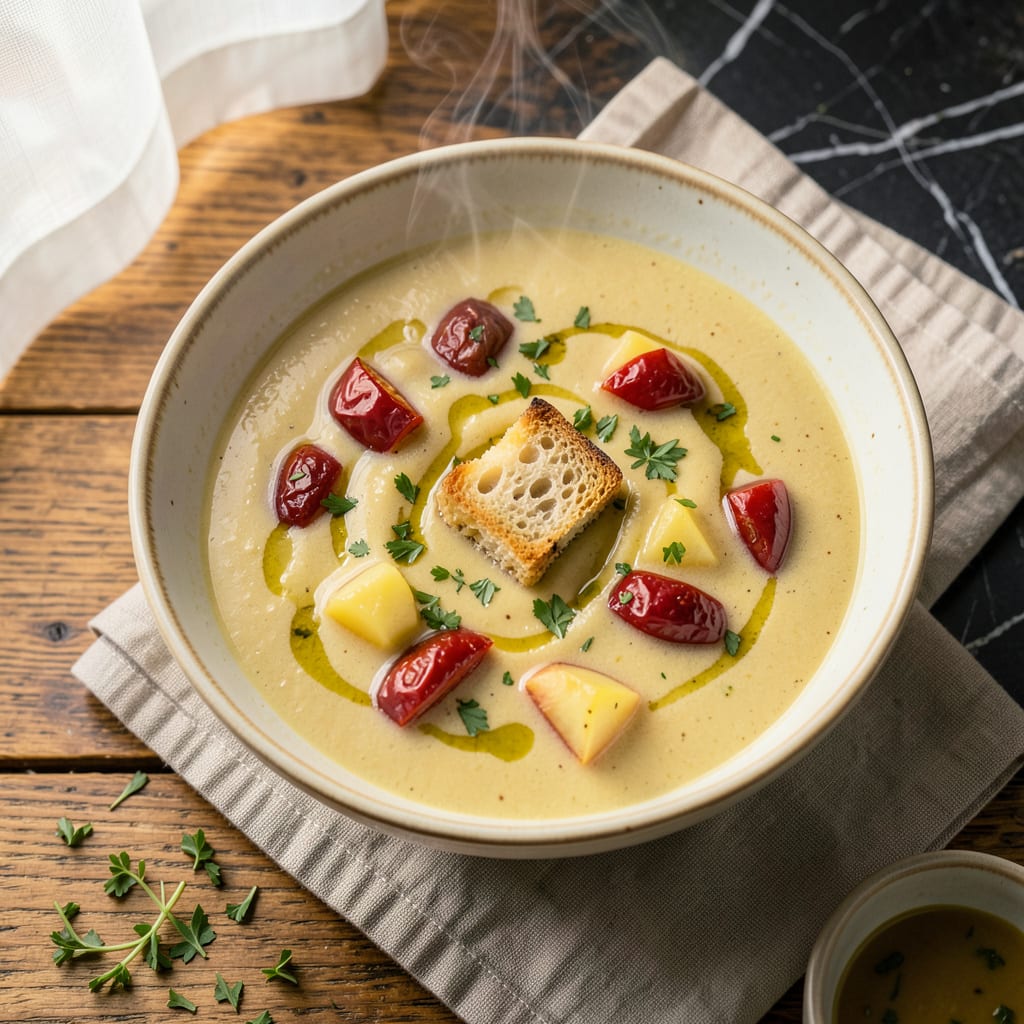
I’ll be real with you: reheating frozen soup shouldn’t be an afterthought. That block of ice in your freezer can turn into a velvety, flavor-packed bowl—or a separated, watery mess. The difference comes down to technique, not luck. After ruining more batches than I’d like to admit (including my grandma’s famous chicken noodle), I finally cracked the code for silky smooth results every time.
Here’s the thing—most people just microwave frozen soup until it’s hot, but that’s where things go wrong. The key is controlled thawing and gentle heat, whether you’re using the stovetop, microwave, or slow cooker. I’ve tested all three methods extensively, and each has its place depending on your time and texture goals. No more curdled broth or rubbery vegetables.
What you’ll end up with is soup that tastes freshly made, not reheated. The flavors stay bright, the texture remains consistent, and you won’t lose half your lunch to the microwave walls. I always keep a few tricks up my sleeve for reviving frozen soup—simple additions that bring back that just-cooked taste and prevent separation.
Whether you’re dealing with creamy chowders, broth-based soups, or chunky stews, these methods work across the board. No fancy equipment needed, just a little patience and the right approach. Let’s get that soup from freezer to table the proper way.
📚 In This Guide
- What You’ll Need
- Instructions
- Tips and Common Mistakes
What Youll Need
- ● Frozen soup – 1 container (16–32 oz, depending on serving size) 🥘
- ● Microwave-safe bowl – 1 (preferably deep, 4–6 cup capacity) or
- ● Saucepan – 1 (2–3 quart, with lid for stovetop heating)
- ● Spoon or whisk – 1 (for stirring and breaking up ice crystals)
- ● Microwave or stovetop (with medium-low heat setting)
- ● Measuring cup – ½ cup (for adding liquid if needed)
- ○ Water, broth, or milk – 2–4 tbsp (optional, for thinning)
- ● Oven mitts – 1 pair (for handling hot containers) 🧤
- ● Lid or microwave-safe plate – 1 (to cover and trap steam)
- ○ Butter or oil – ½ tsp (optional, for stovetop reheating)
- ○ Fresh herbs or spices – pinch (optional, for garnish or flavor boost)
- ○ Thermometer – 1 (optional, to check internal temp reaches 165°F) 🌡️
Instructions
Here’s the foolproof method I use to reheat frozen soup while keeping the texture perfect and avoiding spills.
Thaw the Soup Safely
Remove your frozen soup from the freezer and place it in the refrigerator to thaw overnight. This gradual thawing preserves the soup’s texture and prevents separation. If you’re short on time, you can use the defrost setting on your microwave, but check it every 30 seconds to prevent any edges from starting to cook.
Never thaw soup at room temperature—this creates an unsafe temperature zone where bacteria can multiply. The refrigerator method is safest, though it requires planning ahead. For a 1-quart container, expect about 12 hours of thawing time in the fridge.
Transfer to a Suitable Cooking Vessel
Once thawed, transfer the soup to a heavy-bottomed pot or saucepan. Choose a vessel that’s at least twice the volume of your soup—this prevents boil-overs when reheating. I prefer enameled cast iron for even heat distribution, but any heavy pot will work well.
If your soup was frozen in individual portions, you can reheat them directly in microwave-safe bowls. For stovetop reheating, consolidate all portions into one pot for even heating. Stir gently to break up any remaining ice crystals, but don’t overmix—you want to preserve the soup’s original consistency.
Reheat Gently Over Medium-Low Heat
Place the pot on the stove over medium-low heat and warm the soup slowly. This gradual heating prevents the proteins in dairy-based soups from separating and maintains the integrity of vegetable pieces. Stir occasionally with a wooden spoon, scraping the bottom to prevent sticking.
Watch for the first signs of steam rising from the surface—this indicates the soup is warming through. For cream soups, heat until you see tiny bubbles forming at the edges, but don’t let it reach a full boil. Clear broths can be heated until you see a gentle simmer throughout.
Check Temperature and Adjust Consistency
Use an instant-read thermometer to verify the soup has reached 165°F throughout. This ensures it’s safe to eat while preserving the original flavors. If you don’t have a thermometer, look for steady steam and small bubbles breaking the surface.
If the soup appears too thick after reheating, thin it with small amounts of water or broth—about 1 tablespoon at a time—until it reaches your desired consistency. For separated cream soups, whisk vigorously over low heat to re-emulsify the fats and liquids. Taste and adjust seasoning if needed, as freezing can sometimes mute flavors slightly.
Serve Immediately for Best Texture
Ladle the reheated soup into pre-warmed bowls and serve immediately. The texture will be at its best right after reheating, before any ingredients have a chance to absorb too much liquid or soften further. Garnish with fresh herbs or a drizzle of olive oil to restore any brightness lost during freezing.
If you’ve reheated more than you can eat, cool any leftovers quickly in an ice bath before refrigerating. Reheated soup will keep in the fridge for 3-4 days, though the texture may continue to change slightly with each reheat. For creamy soups, the second reheat is often the last before quality declines noticeably.
Tips and Common Mistakes
After years of reheating soups for restaurant service, I’ve learned that small details make the difference between a smooth, flavorful bowl and a separated, overcooked mess. Here’s what I’ve discovered works best.
Temperature Control: The 12-hour refrigerator thaw in Step 1 isn’t just about safety—it’s about texture preservation. Rushing this with warm water or room temperature creates uneven thawing that leads to watery broths and mushy vegetables. I’ve found that placing the container on a wire rack in the fridge allows air circulation for more consistent thawing. For the 1-quart containers mentioned, this method ensures complete thawing without any icy centers.
Heat Management: When reheating over medium-low heat in Step 3, I recommend using a heat diffuser if your stove runs hot. This creates an even gentler heat that’s particularly important for cream-based soups. Watch for the “steam halo” effect—when you see a consistent ring of steam about 2 inches above the soup’s surface, you’re in the perfect temperature zone. This visual cue comes right before those tiny edge bubbles form, giving you time to adjust the heat if needed.
Consistency Restoration: The 1 tablespoon at a time thinning method in Step 4 works best when you use warm liquid. Cold water or broth can shock the soup and cause separation. I keep a small pot of broth simmering nearby when reheating multiple batches. For cream soups that have separated, whisking in a small ice cube while heating can help re-emulsify the fats—the melting ice creates tiny droplets that bind the mixture together.
Equipment Choice: The recommendation for a pot twice the soup’s volume in Step 2 isn’t just about preventing spills—it’s about heat distribution. In a properly sized pot, the soup forms a shallow layer that heats more evenly. I prefer straight-sided saucepans over wide skillets for this reason. The vertical sides help maintain consistent temperature from top to bottom, which is particularly important when dealing with previously frozen liquids that may have density variations.
Pro Tips for Heating Up Frozen Soup
- After years of reheating soups for restaurant service, I’ve learned that small details make the difference between a …
- Temperature Control: The 12-hour refrigerator thaw in Step 1 isn’t just about safety—it’s about texture preservation….
- Heat Management: When reheating over medium-low heat in Step 3, I recommend using a heat diffuser if your stove runs …
Frequently Asked Questions
How long does it take to heat frozen soup on the stovetop?
Most frozen soups take 10–15 minutes on medium-low heat, stirring occasionally. Thicker soups (like chowders) may need 20 minutes. Pro tip: Cover the pot to speed up thawing and prevent splatters!
Can I microwave frozen soup directly from the freezer?
Yes! Use a microwave-safe bowl, cover loosely with a damp paper towel, and heat in 2-minute intervals, stirring between each. Expect 5–8 minutes total for a single serving. Avoid sealed containers—pressure buildup can cause explosions!
Why does my soup separate or get grainy after reheating?
Dairy-based soups (like creamy tomato) often curdle if heated too fast. Fix it by:
- Warming slowly on low heat
- Stirring in a splash of cold water or broth to smooth it out
- Avoiding boiling (gentle simmers only!)
What’s the best way to thaw soup before heating?
For even results, thaw overnight in the fridge (8–12 hours). Short on time? Use the microwave’s defrost setting or place the sealed bag in cold water for 30–60 minutes. Never thaw at room temp—bacteria grow fast!
Can I reheat soup more than once?
Not recommended! Each reheat degrades texture and raises food safety risks. If you must, only reheat once and ensure it reaches 165°F (74°C). Divide into single servings before freezing to avoid waste.
Heating frozen soup doesn’t have to be a game of luck—just follow the right steps for creamy, flavorful results every time. Whether you’re using the stovetop, microwave, or slow cooker, patience and gentle heat are your best friends for avoiding curdling or watery textures. 🍜
Now that you’ve mastered the art, why not stock your freezer with homemade soups for easy meals? Try freezing your next batch in portion-sized containers—future you will thank you! Or, if you’re craving inspiration, check out our top 10 freezer-friendly soup recipes to keep your meal prep game strong.

Trained in classic French technique but raised on slow-cooked ribs and spicy rubs, she blends culinary skill with smoke and soul.
- Recipe for Boneless Pork Chops in Cast Iron Skillet: Sear and Baste to Juicy Perfection - October 3, 2026
- Recipe for Boneless Cross Rib Roast: Slow-Roasted Beef with Herb Crust - October 3, 2026
- Hamburgers in Sauce Recipe Crock Pot: Slow-Cooked Savory Delight - October 3, 2026