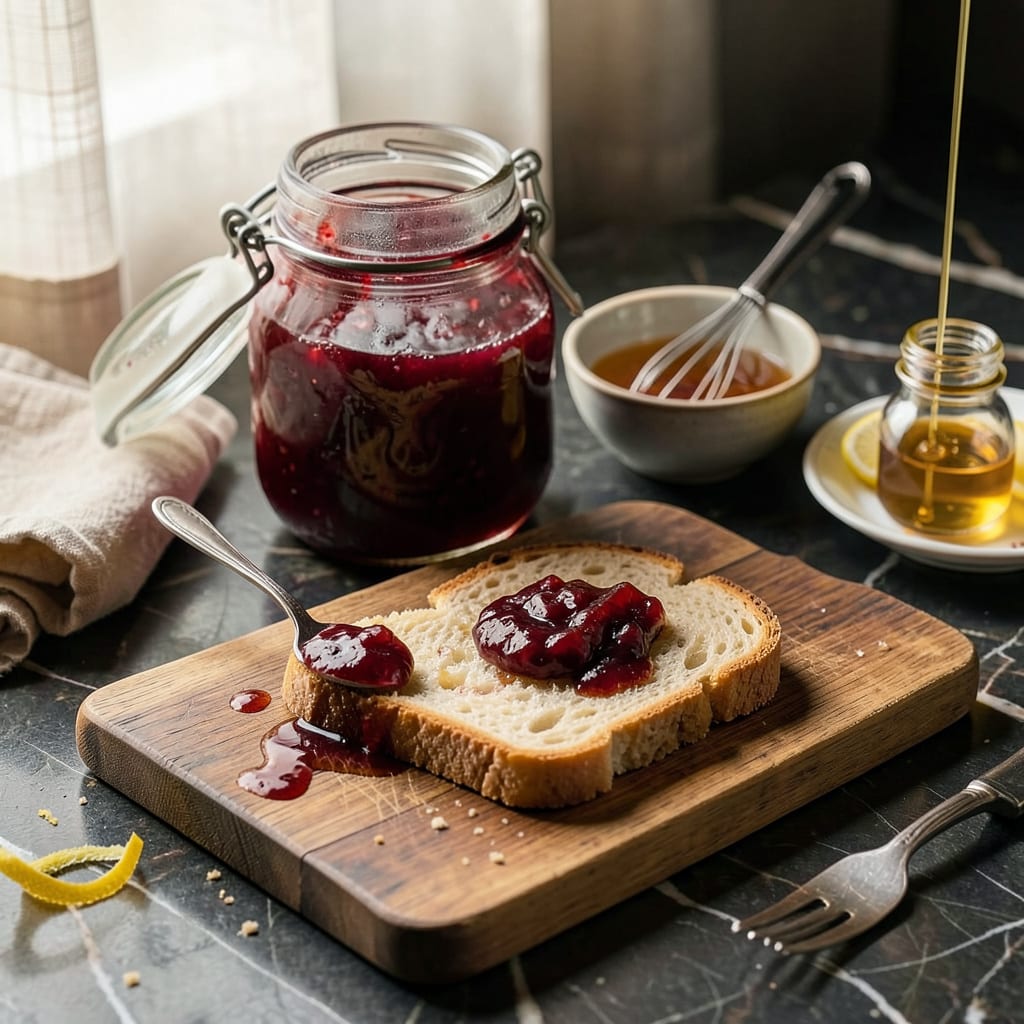
Nothing’s more frustrating than opening a jar of homemade jam only to find it’s turned into a sticky brick instead of that perfect spreadable texture. I’ve been there—stirring what feels like cement, wondering where I went wrong. The good news? Thick jam isn’t ruined, it’s just waiting for the right fix.
Most of the time, jam gets too thick because it cooked too long or the sugar-to-fruit ratio was off. Maybe you got distracted (we’ve all done it) or your stove runs hot. Sometimes it’s just the fruit itself—some varieties have more natural pectin, which thickens as it cools. Whatever the reason, there’s always a way to bring it back to that perfect consistency.
Here’s the thing—fixing thick jam is simpler than you think. A little heat and liquid (water, lemon juice, or even fruit juice) can work wonders. I’ve rescued countless batches this way, turning what seemed like a failure into something even better than the original. The key is going slow and testing as you go.
And if all else fails? Thick jam makes an amazing glaze for meats, a decadent ice cream topping, or the ultimate filling for thumbprint cookies. Sometimes what seems like a mistake is just an opportunity for something new. Let’s get that jam back to spreadable perfection.
📚 In This Guide
- What You’ll Need
- Instructions
- Tips and Common Mistakes
What Youll Need
- ● Thick jam – 1 cup (or your desired batch size) 🍯
- ● Water or fruit juice – 1–3 tbsp (adjust based on thickness; use the same fruit juice as the jam for best flavor)
- ○ Lemon juice – ½–1 tsp (optional, to balance sweetness and add brightness)
- ● Saucepan – medium-sized, non-reactive (stainless steel or enamel recommended)
- ● Wooden spoon or silicone spatula – for gentle stirring 🥄
- ● Measuring spoons – for precise liquid additions
- ● Clean jar or bowl – for transferring fixed jam
- ○ Blender or immersion blender – optional, for ultra-smooth texture
- ○ Fine-mesh strainer – optional, to remove fruit chunks if desired
- ○ Thermometer – optional, to monitor temperature (ideal: 220°F/104°C for re-gelling) 🌡️
- ○ Pectin – ½–1 tsp (optional, if jam needs extra thickening after adjustments)
Step-by-Step Instructions for Fixing Thick Jam
You’re just minutes away from transforming that stubbornly thick jam into silky perfection—let’s do this!
Assess the Jam’s Thickness
Start by giving your jam a thorough evaluation. Scoop out a spoonful and let it drip back into the jar. If it plops out in thick clumps instead of flowing smoothly, it definitely needs thinning. I like to also test it by spreading a small amount on toast—if it tears or pulls instead of gliding, we’ve got work to do.
Check the texture too—overly thick jam often feels gummy or sticky between your fingers. This quick assessment helps you determine just how much liquid we’ll need to add later. Don’t skip this step; it prevents you from over-thinning your jam and losing that perfect balance of flavor and texture.
Choose Your Thinning Liquid
Now for the fun part—selecting your thinning agent! Water works in a pinch, but I always recommend using something with flavor. Fruit juice (like apple or orange) adds brightness, while lemon juice brings tangy balance. For berry jams, a splash of red wine creates amazing depth.
Here’s my pro tip: warm your chosen liquid slightly before adding it. Cold liquid can cause the jam to seize up temporarily, making it harder to judge the final consistency. Heat about ¼ cup of your liquid to just warm (not boiling) while you prepare the jam—this makes blending seamless.
Gently Reheat and Thin
Transfer your thick jam to a saucepan and warm it over low heat, stirring constantly. You want it warm enough to loosen slightly but not so hot it bubbles. I keep my heat between low and medium-low—this prevents scorching while allowing gradual thinning.
Begin adding your warmed liquid 1 tablespoon at a time, stirring well after each addition. Watch for the magic moment when the jam starts to flow more freely from your spoon. This gradual approach gives you complete control over the final texture. Most jams need between 2-4 tablespoons total, but fruit-heavy jams might require a bit more.
Test and Adjust Consistency
Once your jam looks smoother, perform the spoon test again. Dip a clean spoon into the warm jam and let it run off—the perfect consistency should coat the spoon but drip steadily in a thin stream. If it’s still too thick, add another tablespoon of liquid and retest.
For the ultimate test, spread a small amount on a chilled plate (the cold helps set it similarly to how it will when fully cooled). If it spreads beautifully without tearing, you’ve nailed it! Remember that the jam will thicken slightly as it cools, so aim for just a touch thinner than your ideal final texture.
Cool and Store Properly
Let your newly perfected jam cool completely at room temperature before transferring it to clean jars. I like to stir it occasionally during cooling to prevent any separation. The texture will continue to set as it cools, so don’t worry if it seems a bit loose while still warm.
Store your revived jam in the refrigerator for up to 3 weeks, or process it in sterilized jars for longer shelf storage. The beauty of this method is that you can repeat it anytime your jam thickens—whether from over-reduction during making or from evaporation during storage. Now you’ve got perfectly spreadable jam every time!
Tips and Common Mistakes for Perfect Jam Consistency
You’re so close to jam perfection—let me share the little details that make all the difference between good and extraordinary results.
Heat Control is Everything: When reheating your jam in Step 3, that low heat setting isn’t just a suggestion—it’s your secret weapon! I’ve ruined batches by getting impatient and cranking up the heat. The gradual warmth at low heat gently coaxes the jam back to life without breaking down the fruit’s structure or causing scorching. Keep that heat steady between low and medium-low as mentioned, and stir constantly. This is where perfect texture is born!
Liquid Temperature Matters: Don’t overlook the genius of warming your thinning liquid in Step 2! I learned this the hard way after adding cold juice that made my jam seize up into weird little lumps. Warming that ¼ cup of liquid first creates a seamless blend. It should feel just warm to the touch—not hot enough to steam, but not cold from the fridge. This small step makes the entire thinning process smoother and more predictable.
The Spoon Test Secret: Step 4’s spoon test is your best friend for nailing the consistency. Here’s what nobody tells you—the perfect jam should coat the back of the spoon but leave a clean trail when you run your finger through it. If it completely coats the spoon without dripping, it’s still too thick. If it slides off immediately like water, you’ve gone too far. That sweet spot in between is where magic happens! Remember, it will thicken slightly as it cools, so aim for just a hair thinner than your final goal.
Cooling Strategy: The cooling process in Step 5 is where many people lose their perfect texture. Don’t rush it! Let your jam cool completely at room temperature, stirring occasionally to prevent separation. I like to set a timer for 30 minutes and give it a gentle stir every 10 minutes. This gradual cooling helps the jam set evenly and maintains that silky texture you worked so hard to achieve. The texture will continue to develop during this time, so patience pays off!
Pro Tips for Jam Too Thick
- You’re so close to jam perfection—let me share the little details that make all the difference between good and extra…
- Heat Control is Everything: When reheating your jam in Step 3, that low heat setting isn’t just a suggestion—it’s you…
- Liquid Temperature Matters: Don’t overlook the genius of warming your thinning liquid in Step 2! I learned this the h…
Frequently Asked Questions
Why did my jam turn out too thick?
Thick jam usually happens when too much pectin is used, the fruit is overcooked, or the sugar-to-fruit ratio is off. High-sugar fruits (like plums or grapes) or cooking too long can also cause it. Stirring too little during cooking may lead to uneven thickening.
Can I fix thick jam after it’s already jarred?
Yes! Reheat the jam in a saucepan with 1-2 tbsp of water or fruit juice per cup of jam. Stir on low heat until it reaches your desired consistency. Avoid boiling to prevent sugar crystallization. Reprocess jars if needed for shelf stability.
How do I prevent jam from getting too thick next time?
Use a candy thermometer—jam is done at 220°F (104°C). Test consistency by chilling a spoonful on a plate; it should gel but not harden. Follow recipe ratios precisely, and avoid overcooking. For low-pectin fruits, add lemon juice to balance natural pectin.
What’s the fastest way to thin thick jam without reheating?
For a quick fix, blend in 1 tsp of hot water or citrus juice per ½ cup of jam and stir vigorously. Let it sit for 10–15 minutes to absorb. This works best for small batches or jam you’ll use within a week (store in the fridge).
Can I use thick jam for anything else?
Thick jam makes great:
- Fruit leather (spread thin on parchment, dehydrate at 170°F/77°C).
- Thumbprint cookie filling or cake glaze (thin with a splash of water).
- Yogurt or oatmeal mix-in (add a dollop for extra flavor).
Don’t let a jam too thick ruin your breakfast or baking plans! With simple fixes like adding liquid, reheating gently, or blending in fresh fruit, you can restore that smooth, spreadable perfection in minutes. 🍓✨ Whether you’re salvaging a batch or preventing future mishaps, a little patience and the right technique make all the difference.
Ready to put your new skills to the test? Grab that jar of over-thickened jam and try one of these methods—your toast, pastries, or gift recipients will thank you! For more kitchen troubleshooting, check out our guides on fixing runny sauces or reviving crystallized honey.

Trained in classic French technique but raised on slow-cooked ribs and spicy rubs, she blends culinary skill with smoke and soul.
- Recipe for Boneless Pork Chops in Cast Iron Skillet: Sear and Baste to Juicy Perfection - October 3, 2026
- Recipe for Boneless Cross Rib Roast: Slow-Roasted Beef with Herb Crust - October 3, 2026
- Hamburgers in Sauce Recipe Crock Pot: Slow-Cooked Savory Delight - October 3, 2026