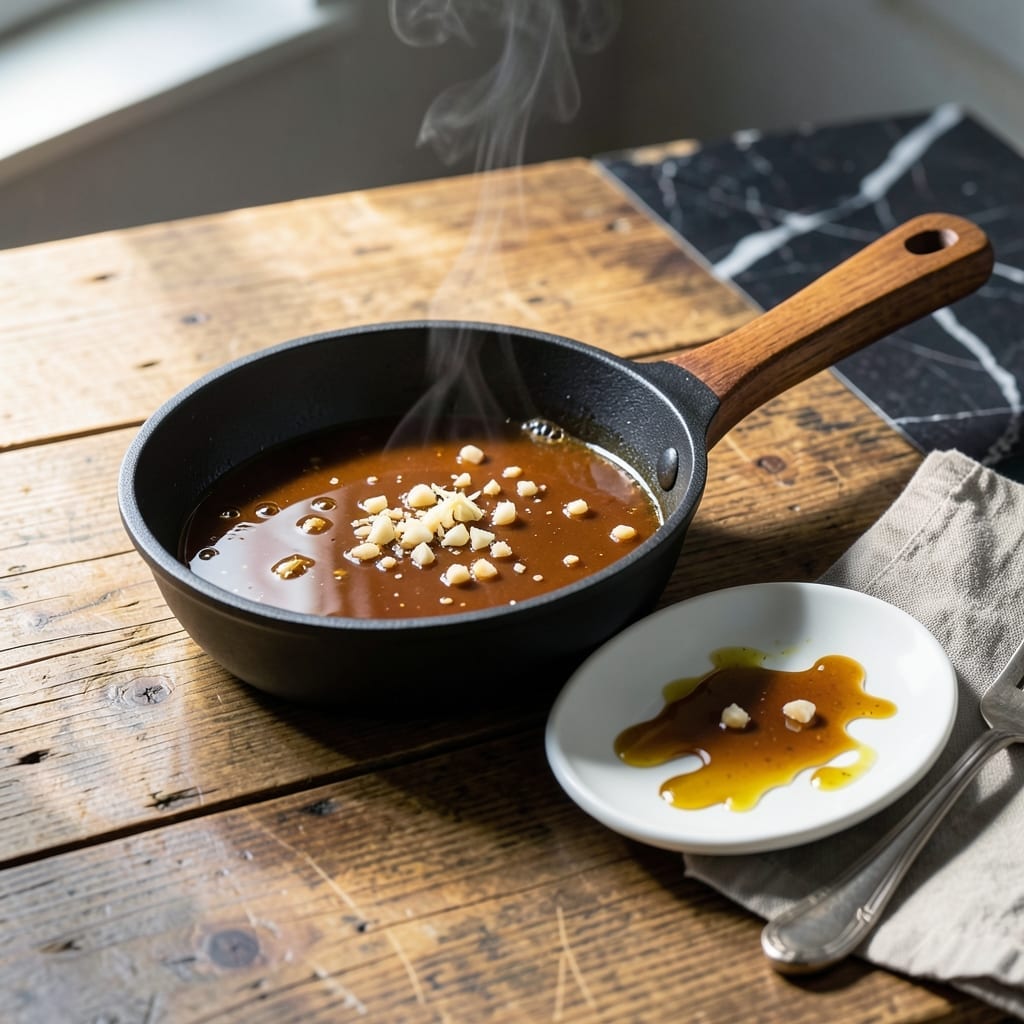
This versatile glaze brings depth to everything from grilled meats to roasted vegetables. I developed it to replicate that restaurant-quality umami flavor at home with minimal effort.
The secret lies in balancing sweet and salty elements with a touch of acidity. A brief simmer transforms simple ingredients into a glossy, restaurant-quality sauce that clings beautifully to any dish.
You’ll achieve a thick, syrupy consistency that’s perfect for drizzling or dipping. The flavors meld during cooking, creating a complex profile that’s both rich and balanced.
Make a batch and keep it on hand for quick meal elevation. This vegan glaze stays fresh for weeks when stored properly.
Ingredients for Hello Fresh Sweet Soy Glaze
Eight simple ingredients transform into a glossy, umami-packed glaze with minimal effort.
| Ingredient | Amount | Notes |
|---|---|---|
| Soy Sauce 💧 | ½ cup | Low-sodium preferred for balance |
| Maple Syrup 🍁 | ⅓ cup | Pure grade A for best flavor |
| Rice Vinegar 🍚 | 2 tbsp | Unseasoned for clean acidity |
| Fresh Garlic Cloves 🧄 | 3 cloves | Minced finely for even distribution |
| Fresh Ginger 🌿 | 1 tbsp | Peeled and grated finely |
| Sesame Oil 🫒 | 1 tsp | Toasted variety for depth |
| Cornstarch 🌾 | 1 tbsp | Mixed with 1 tbsp water for slurry |
| Water 💧 | ¼ cup | For thinning and slurry |
[recipe_ingredient_scaler]
The soy sauce is the backbone—low-sodium Kikkoman or tamari gives you the cleanest flavor without overpowering saltiness. For the maple syrup, pure grade A is non-negotiable; the pancake stuff just won’t cut it. Fresh garlic and ginger are essential here (the jarred versions lack punch). Most Asian markets carry all these staples, but any well-stocked grocery store will have them too.
Need to swap something? Agave nectar or date syrup works in place of maple syrup at a 1:1 ratio. No rice vinegar? Apple cider vinegar at half the amount gets you close. Honey is not vegan, so avoid it entirely. For a nutty depth, a dash of toasted sesame seeds (1 tsp) can be stirred in at the end. The cornstarch slurry is key for that restaurant-quality thickness.
This glaze keeps beautifully in the fridge for 3-4 weeks in a sealed jar. The flavors actually deepen over time. For longer storage, freeze in ice cube trays—perfect for single-serving portions. Always give it a stir before using, as the cornstarch may settle slightly.
Why You’ll Love This Recipe
- Five-Minute Mix: I just stir soy sauce, maple syrup, rice vinegar, garlic, and ginger in a saucepan—no chopping finesse required.
- Sticky Sweet Heat: The maple syrup caramelizes with the garlic and ginger, giving that glossy glaze that clings to every bite.
- Drizzle on Anything: I’ve used it on salmon, tofu, even roasted veggies—it’s my cheat code for instant flavor.
- Keeps Like a Champ: Leftovers stay good for a week in the fridge, so I double the batch and save time later.
Step-by-Step Instructions for Sweet Soy Glaze
This method ensures a glossy, perfectly balanced glaze with minimal effort and maximum flavor impact.
Step 1: Bloom Aromatics in Oil
Heat the sesame oil in a small saucepan over medium heat until it shimmers. Add the fresh garlic cloves and fresh ginger, stirring constantly for 30-45 seconds until fragrant but not browned.
This brief cooking step releases the volatile oils in the aromatics, creating a deeply flavorful base. Watch closely—garlic burns quickly and will impart a bitter taste if overcooked. The mixture should sizzle gently without smoking.
Step 2: Build the Glaze Foundation
Pour in the soy sauce, maple syrup, and rice vinegar. Stir to combine and bring to a gentle simmer over medium heat. The liquid will darken slightly as the flavors begin to meld.
This trio forms the glaze’s core flavor profile: salty umami from the soy sauce, sweetness from the syrup, and bright acidity from the vinegar. Maintain a gentle simmer—vigorous boiling can cause the syrup to crystallize or the mixture to reduce too quickly.
Step 3: Create and Add the Slurry
In a small bowl, whisk together the cornstarch and 0.25 cup water until completely smooth. The mixture should resemble thin cream with no visible lumps.
Slowly pour the slurry into the simmering sauce while whisking constantly. This gradual addition prevents the cornstarch from clumping and ensures even thickening. The glaze will begin to transform from a thin liquid to a glossy, syrup-like consistency within 1-2 minutes.
Step 4: Thicken to Glossy Perfection
Continue simmering for 2-3 minutes, stirring frequently, until the glaze coats the back of a spoon and drips slowly. The surface should appear thick and glossy, with visible sheen.
Test the consistency by dragging a spoon through the glaze—it should leave a clear path that slowly fills in. If it’s too thick, whisk in additional water 1 teaspoon at a time. If too thin, simmer for another 1-2 minutes and retest.
Remove from heat immediately once the desired thickness is achieved, as the glaze will continue to thicken slightly as it cools.
Pro Tips For Making Hello Fresh Sweet Soy Glaze
- Simmer Low and Slow: Keep the heat at medium-low—any higher and the maple syrup will burn before the garlic and ginger infuse properly. I learned this the hard way after scraping blackened glaze off the pan twice.
- Grate the Ginger: Skip the mincing and use a microplane for the ginger; it releases more juice and blends seamlessly into the glaze. Sounds fussy, but it actually changes the outcome.
- Skip the Pre-Browning: Resist the urge to caramelize the garlic first—it’ll turn bitter in the glaze. Just add it raw with the ginger and let it mellow in the liquid.
- Use Dark Soy Sauce: Swap regular soy sauce for dark soy if you have it; the deeper color and richer flavor make a real difference in the final glaze. My grandmother swore by this, and she was right.
Make-Ahead Tips for This Recipe
Prep Ahead Strategy
I always mix the cornstarch slurry first and keep it covered at room temperature. This prevents lumps and saves time during cooking. The aromatics—3 garlic cloves and 1 tbsp ginger—can be minced and combined in a small bowl up to 24 hours ahead.
Fridge Storage
Transfer the cooled glaze to a clean 16-ounce jar with a tight lid. It stays fresh in the fridge for 3-4 weeks. The flavors deepen over time, which I love. Always use a clean spoon to prevent contamination. ❄️
Freezer Method
For long-term storage, pour into ice cube trays and freeze solid. Once frozen, transfer cubes to a freezer bag. They’ll keep for 3 months. Thaw 1-2 cubes in the microwave for 20-30 seconds when needed.
Reheating Tips
Gently warm in a small saucepan over low heat, stirring frequently. If it thickens too much, whisk in 1-2 tsp water to restore the glossy consistency. Avoid boiling, as it can break the cornstarch bond.
Batch Cooking
Double or triple the recipe without adjusting cook time—just use a larger pan. The glaze thickens the same way. I often make 2 cups at once for meal prep. 💡
Nutrition Facts
Frequently Asked Questions
Can I use honey instead of maple syrup?
No, honey isn’t vegan. Use agave nectar or date syrup as 1:1 substitutes. These maintain the sweetness and thickness while keeping the recipe plant-based.
How do I fix a glaze that’s too thin?
Mix 1 tsp cornstarch with 1 tsp cold water, then whisk into simmering glaze. Cook for 1-2 minutes until thickened. Avoid adding dry cornstarch directly—it will clump.
What dishes pair best with this glaze?
It shines on grilled tofu, roasted veggies, or stir-fried noodles. Drizzle over seared tempeh or use as a dipping sauce for spring rolls. The umami flavor complements almost any savory dish.

Trained in classic French technique but raised on slow-cooked ribs and spicy rubs, she blends culinary skill with smoke and soul.
- Recipe for Boneless Pork Chops in Cast Iron Skillet: Sear and Baste to Juicy Perfection - October 3, 2026
- Recipe for Boneless Cross Rib Roast: Slow-Roasted Beef with Herb Crust - October 3, 2026
- Hamburgers in Sauce Recipe Crock Pot: Slow-Cooked Savory Delight - October 3, 2026