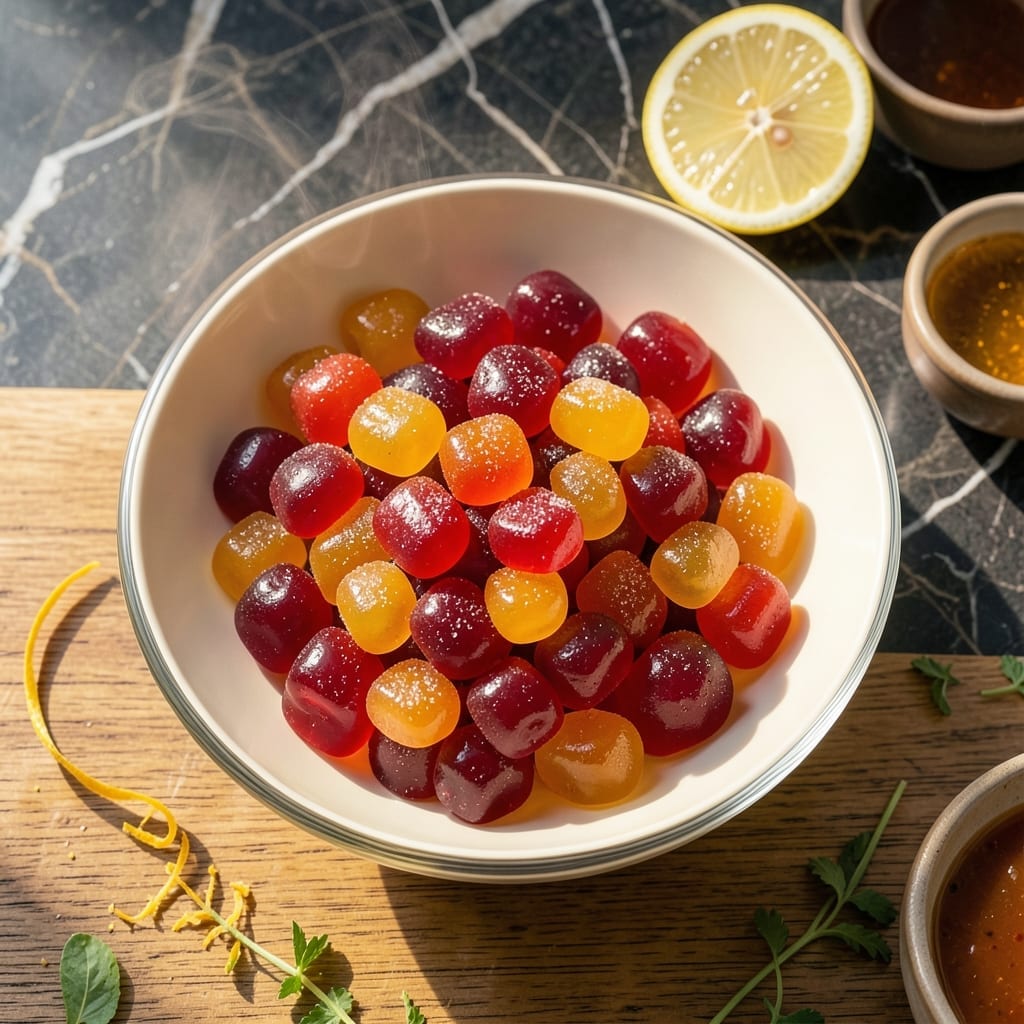
I developed this method after years of experimenting with natural gelatin ratios. The fruit puree base creates chewy texture without artificial additives.
This approach ensures consistent results every time. The process is straightforward but requires precise timing for perfect consistency.
Ingredients for Homemade Gummies
Natural ingredients create chewy, consistent gummies with precise ratios every time.
| Ingredient | Amount | Notes |
|---|---|---|
| Fruit Puree 🍓 | 1 ½ cups | Strained for smooth texture |
| Unflavored Gelatin 🥣 | ¼ cup | Powdered, bloom before use |
| Granulated Sugar 🍚 | ½ cup | Adjust to taste preference |
| Water 💧 | ¼ cup | Cold for gelatin bloom |
| Lemon Juice 🍋 | 1 tbsp | Freshly squeezed for brightness |
| Honey 🍯 | 2 tbsp | Optional for added sweetness |
| Citric Acid 🧂 | ½ tsp | For tartness balance |
| Vanilla Extract 🌿 | 1 tsp | Pure for best flavor |
| Coconut Oil 🥥 | 1 tsp | For mold release |
| Salt 🧂 | 0.125 tsp | Fine sea salt preferred |
[recipe_ingredient_scaler]
The gelatin ratio is critical here. Knox unflavored gelatin is widely available at any supermarket and works reliably for consistent texture. For vegetarian gummies, swap in agar powder (use 1 tbsp per 1 cup liquid) from Whole Foods or natural food stores. The fruit puree should be thick—strain it through a fine-mesh sieve to remove seeds and fibers for that smooth, professional finish.
Short on fresh fruit? Frozen fruit puree works identically—thaw and strain first. No citric acid? Extra lemon juice at half the amount adds sufficient tang. The honey can be replaced with agave or maple syrup for vegan versions. For vibrant colors, add a few drops of natural food coloring (beet juice for red, spirulina for green).
Store in an airtight container at room temperature for up to 1 week, or refrigerate for 2-3 weeks. Light dusting of cornstarch prevents sticking. These freeze beautifully for 3 months—thaw at room temperature before serving.
Why You’ll Love This Recipe
- One Bowl Wonder: I just mix the fruit puree, gelatin, and sugar in a single pot—no fancy equipment, no mess.
- Burst of Freshness: The lemon juice cuts through the sweetness, and the fruit puree makes every bite taste like summer.
- Kid-Approved Snack: I pack these in lunchboxes or serve them as a after-school treat—my kids beg for them.
- Budget-Friendly Batch: A bag of gelatin and seasonal fruit puree makes dozens of gummies for pennies. Honestly, way cheaper than store-bought.
Step-by-Step Instructions for Homemade Fruit Gummies
This method ensures perfectly chewy texture and vibrant flavor in every bite.
Step 1: Bloom the Gelatin Properly
Measure the 0.25 cup cold water into a small bowl. Sprinkle the 0.25 cup unflavored gelatin evenly over the surface. This blooming process activates the gelatin’s setting properties.
Let it stand for 5-10 minutes until the mixture thickens to a jelly-like consistency. Don’t stir during this time—it can prevent proper hydration. The surface should look wrinkled and the water fully absorbed.
This step is crucial for achieving the right texture in your final product. Under-bloomed gelatin results in gummies that don’t set properly.
Step 2: Prepare the Fruit Puree Mixture
In a saucepan, combine the 1.5 cups fruit puree, 0.5 cup granulated sugar, 2 tbsp honey, 1 tbsp lemon juice, 0.5 tsp citric acid, 1 tsp vanilla extract, and 0.125 tsp salt.
Cook over medium heat for 3-5 minutes, stirring constantly with a silicone spatula. The mixture should reach 160°F and appear slightly thickened but not boiling.
Taste and adjust sweetness now if needed—remember the flavor will intensify slightly as it sets. The citric acid provides essential tartness to balance the sweetness.
Step 3: Combine and Heat the Gelatin Mixture
Add the bloomed gelatin to the warm fruit mixture. Stir constantly over low heat for 2-3 minutes until the gelatin completely dissolves. The mixture should be smooth with no visible gelatin grains.
Remove from heat and stir in the 1 tsp coconut oil. This helps prevent sticking when pouring into molds and adds a subtle richness. The final mixture should have the consistency of thin honey when hot.
Work quickly at this stage—the gelatin will begin to set as it cools. Have your molds ready before starting this step.
Step 4: Pour and Set the Gummies
Carefully pour the mixture into silicone gummy molds or a greased baking dish. Use a dropper or small pitcher for precise pouring. Tap the molds gently on the counter to remove any air bubbles.
Allow the gummies to set at room temperature for 30 minutes, then refrigerate for 1-2 hours or until completely firm. They should bounce back slightly when pressed and pull away from the mold edges.
The setting time depends on your mold size and refrigerator temperature. Larger shapes will take longer to fully set.
Step 5: Unmold and Store
Once fully set, pop the gummies out of their molds. If using a baking dish, cut into squares with a sharp knife. Lightly coat the knife with coconut oil to prevent sticking.
Store in an airtight container at room temperature for up to 1 week, or refrigerate for 2-3 weeks. For longer storage, freeze for up to 3 months.
The texture will be firm when cold but softens slightly at room temperature. This is normal for homemade gummies without commercial preservatives.
Pro Tips For Making Homemade Gummies
- Bloom Gelatin First: Sprinkle gelatin over cold water and let it sit for 5-10 minutes—it’ll look spongy. I learned this the hard way after my first batch stayed liquid.
- Heat Gently: Warm the fruit puree mixture on low heat, never boiling, or the gelatin loses its gelling power. My grandmother swore by this, and she was right.
- Use Fresh Lemon: Always squeeze fresh lemon juice instead of bottled—it brightens the fruit flavor and balances sweetness. Sounds weird, but it works.
- Measure Precisely: Use a kitchen scale for gelatin and sugar—even 1 extra gram can make gummies too firm or too soft. I skip this when I’m lazy, but the texture suffers.
Perfect Pairings for This Homemade Gummies
Beverage Pairings
These chewy treats pair wonderfully with sparkling water infused with citrus slices—the effervescence cleanses your palate. I love adding 2 lemon wedges and 3 lime slices to a pitcher of chilled San Pellegrino. The bubbles cut through the sweetness beautifully. 🍋
Coffee Companions
A strong black coffee or espresso contrasts the fruit flavors perfectly. The bitterness balances the gummies’ sweetness. I recommend Starbucks Pike Place Roast for its bold, smooth profile that complements the tart notes.
Tea Time
Herbal teas work especially well—try peppermint or hibiscus for a refreshing combo. Brew 1 tsp loose tea per 8 oz hot water and steep for 5 minutes. The floral notes enhance the fruit puree base.
Dessert Wine
For adults, a Moscato d’Asti from Italy offers a lightly sweet, low-alcohol pairing. Its peach and apricot notes mirror the fruit flavors. Serve chilled in 6 oz glasses for the perfect finish to any meal.
Savory Balance
Serve with a cheese platter featuring sharp cheddar or brie. The saltiness contrasts the sweetness, while the creaminess complements the chewy texture. Add crackers and nuts for variety. 💛
Kid-Friendly Options
For little ones, pair with cold milk or a smoothie. Blend 1 banana, ½ cup yogurt, and ½ cup milk for a creamy, healthy drink that kids love alongside their gummies.
Nutrition Facts
Frequently Asked Questions
Can I use fresh fruit instead of puree?
Yes, but blend and strain fresh fruit first to remove seeds and fibers. Use 1.5 cups strained puree for best texture results.
Why did my gummies turn out too soft?
Under-bloomed gelatin or insufficient setting time causes this. Ensure 5-10 minutes blooming time and refrigerate for 1-2 hours minimum.
How do I make vegan gummies?
Replace gelatin with 1 tbsp agar powder per 1 cup liquid. Agar sets faster, so pour quickly into molds.
Can I skip the coconut oil?
You can, but it helps prevent sticking. Lightly grease molds with oil or use nonstick silicone for easy removal.

Trained in classic French technique but raised on slow-cooked ribs and spicy rubs, she blends culinary skill with smoke and soul.
- Meat Loaf Recipe With Beef And Pork: Homestyle Blend With Rich Gravy - October 3, 2026
- Hamburger Patty Recipe No Egg: Juicy Bind With Breadcrumbs and Milk - October 3, 2026
- Recipe for Oven Baked Halibut: Buttery White Fish with Zesty Lemon Topping - October 3, 2026