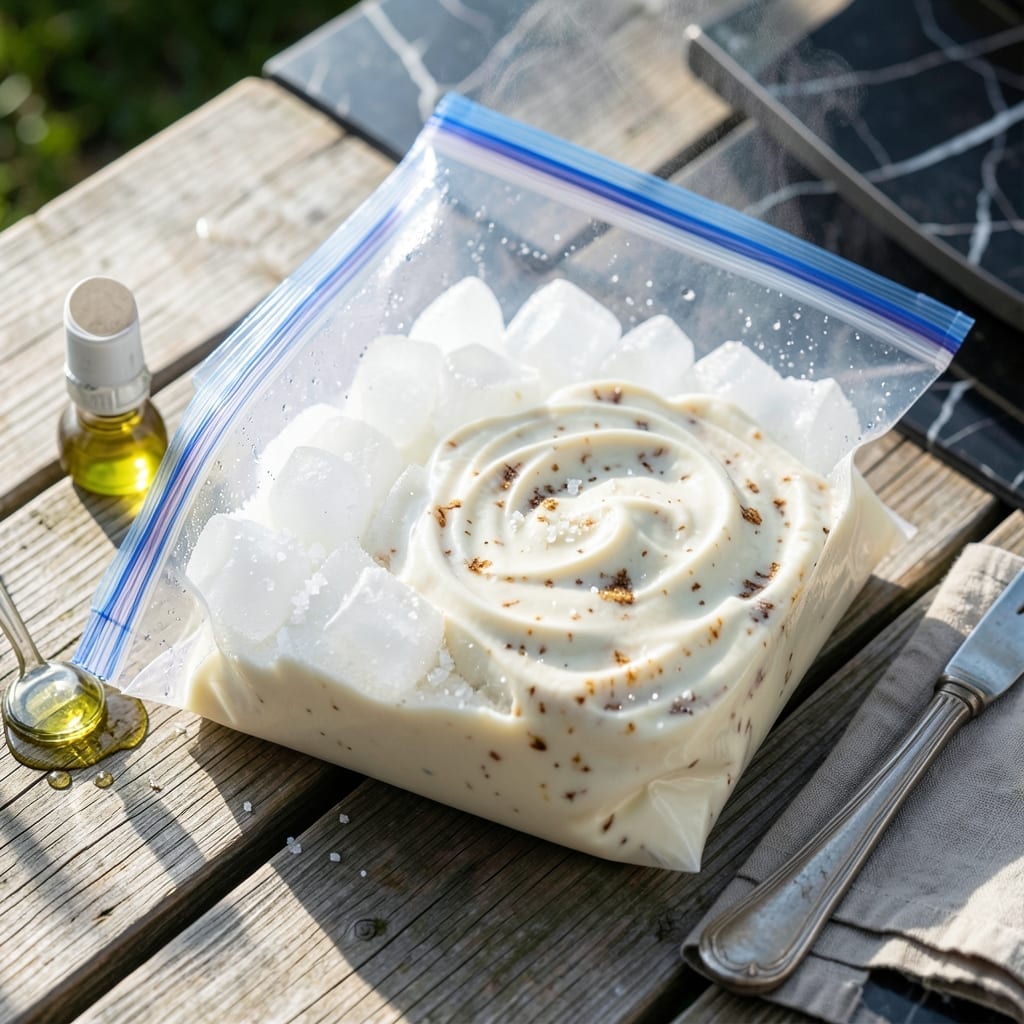
This hands-on method lets kids make creamy ice cream with simple ingredients and no machine required.
In just 10 minutes of shaking, you’ll have fresh homemade ice cream ready to enjoy with your favorite toppings.
Ingredients for Homemade Ice Cream Recipe in a Bag
Grab these simple ingredients for ultra-creamy ice cream without a machine or fuss.
| Ingredient | Amount | Notes |
|---|---|---|
| Heavy Whipping Cream 🥛 | 1 cup | Cold, 35-40% fat content |
| Whole Milk 🥛 | ½ cup | Cold, full-fat preferred |
| Granulated Sugar 🍚 | ¼ cup | Fine white sugar |
| Vanilla Extract 🌿 | 1 tsp | Pure, not imitation |
| Table Salt 🧂 | ¼ tsp | Fine grain, for balance |
| Ice Cubes ❄️ | 4 cups | Crushed or cubed |
| Rock Salt 🧂 | ¾ cup | Kosher or coarse salt |
| Ziploc Bags 🛍️ | 2 bags | 1 quart and 1 gallon size |
| Towels or Gloves 🧤 | 1 piece | For handling cold bags |
| Optional Toppings 🍫 | ½ cup | Sprinkles, chocolate syrup, fruit |
[recipe_ingredient_scaler]
The cream is non-negotiable here—look for heavy whipping cream with at least 35% fat. Whole milk adds smoothness (2% works in a pinch, but full-fat is better). Organic Valley or Darigold are solid grocery store brands. The ice needs to be fresh from the freezer—old, freezer-burned ice won’t chill properly. Rock salt is key for lowering the freezing point (regular table salt won’t cut it).
No heavy cream? Half-and-half in a 1:1 swap works but your ice cream won’t be as rich. Vanilla extract can be swapped for vanilla bean paste if you’ve got it. Out of rock salt? Kosher salt at double the amount does the trick. The sugar can be reduced to 2 tbsp if you prefer less sweetness (the cream is plenty sweet on its own).
Use the ice cream immediately or transfer to a container and freeze for up to 2 weeks. The texture is best fresh—it gets icy after a few days. Store any leftover toppings in the fridge (except sprinkles, which stay at room temp).
Why You’ll Love This Recipe
- I’ll be real: a pint of this costs less than a single scoop at the ice cream shop, and we always have the ingredients on hand.
- No Churn Needed: I just shake the bag for 5 minutes and—boom—creamy vanilla ice cream with zero special equipment.
- Rich & Creamy: The heavy whipping cream and whole milk blend into this ridiculously smooth texture that store-bought can’t touch.
- Kid-Friendly Fun: Honestly, my kids fight over who gets to shake the bag longest, and it’s a solid way to get them excited about making dessert.
Step-by-Step Instructions for Ice Cream in a Bag
This hands-on method delivers creamy, homemade ice cream with minimal effort and maximum fun.
Step 1: Mix the Ice Cream Base
In the 1 quart Ziploc Bag, combine the 1 cup Heavy Whipping Cream, 0.5 cup Whole Milk, 0.25 cup Granulated Sugar, 1 tsp Vanilla Extract, and 0.25 tsp Table Salt. Seal the bag tightly, pressing out as much air as possible to prevent leaks.
Squish the bag gently with your hands for 1-2 minutes until the sugar and salt fully dissolve. You’ll feel the mixture become smooth and slightly thickened. This ensures even distribution of sweeteners and flavorings for a consistent texture.
Step 2: Prepare the Ice Bath
Fill the 1 gallon Ziploc Bag halfway with the 4 cups Ice Cubes. Add the 0.75 cup Rock Salt—this lowers the freezing point of the ice, allowing the mixture to reach the perfect chilled temperature faster.
Seal the bag securely and shake it gently to distribute the rock salt evenly among the ice. The salt will begin to melt the ice slightly, creating a slushy texture that’s ideal for rapid cooling.
Step 3: Churn the Mixture
Place the sealed quart-sized bag with the ice cream base inside the gallon bag filled with ice and rock salt. Seal the larger bag tightly once more, ensuring no air gaps remain. Use the towels or gloves to protect your hands—the temperature will drop quickly.
Vigorously shake and massage the bags for 5-7 minutes. You’ll notice the liquid transform into a soft, creamy consistency. Keep moving the bag around to ensure even freezing—this mimics the churning process of an ice cream machine.
Step 4: Check for Doneness and Adjust
After 5 minutes, open the outer bag and feel the inner one. The mixture should be thick and slushy, similar to soft-serve ice cream. If it’s still too liquid, reseal and continue shaking for another 2-3 minutes.
For a firmer texture, transfer the inner bag to the freezer for 1-2 hours. If you prefer to enjoy it immediately, the soft-serve consistency is perfect for scooping straight from the bag.
Step 5: Serve with Toppings
Once the ice cream reaches your desired consistency, open the bag and scoop it into bowls. Add your favorite 0.5 cup Optional Toppings, like sprinkles, chocolate syrup, or fresh fruit, for a personalized touch.
Serve immediately for the creamiest texture, or store in an airtight container in the freezer for up to 1 week. If stored, let it sit at room temperature for 5-10 minutes before scooping to soften slightly.
Pro Tips For Making Homemade Ice Cream Recipe In A Bag
- Chill the Bag First: Pop your bag of ice and salt in the freezer for 10 minutes before adding the cream mixture—I learned this the hard way after my first batch took forever to set.
- Use Full-Fat Dairy: Skip the low-fat milk; whole milk and heavy cream give that rich, creamy texture that makes store-bought seem sad.
- Seal It Tight: Double-check your zip-top bag for leaks, or you’ll end up with a salty, watery mess instead of ice cream.
- Shake Vigorous for 5: Set a timer and shake like you mean it for a full 5 minutes—any less and you’ll have soup, not scoopable ice cream.
Flavor Customization for This Dish
Chocolate Lover’s Twist
Add 2 tbsp cocoa powder and an extra 1 tbsp sugar to the base mixture. This creates a rich chocolate version that kids adore. I like to finish with mini chocolate chips for extra texture. 🔥
Fruity Refreshment
Blend ½ cup mashed strawberries or raspberries into the cream mixture before shaking. The natural fruit sugars enhance sweetness, so you can reduce the granulated sugar to 2 tbsp. Fresh berries from the farmers market work best.
Coffee Buzz
Dissolve 1 tbsp instant coffee granules in 1 tsp warm water before adding to the base. This gives a subtle coffee flavor that pairs perfectly with chocolate syrup topping. Honestly, it’s my go-to for an adult treat.
Minty Fresh
Add ½ tsp peppermint extract along with the vanilla. For a festive touch, include 2 drops green food coloring and crushed candy canes as topping. The mint flavor is strong, so don’t overdo it.
Cookie Dough Delight
Mix in ¼ cup chunks of edible cookie dough after the ice cream reaches soft-serve consistency. I use Pillsbury for convenience. The dough stays soft and chewy, creating pockets of cookie goodness.
Spiced Variety
Add ½ tsp cinnamon and a pinch of nutmeg to the base for warm spice notes. This works especially well with caramel or butterscotch toppings. 💫
Nutrition Facts
Frequently Asked Questions
Why do I need rock salt instead of regular salt?
Rock salt lowers the freezing point more effectively than table salt, creating a colder environment. This allows your mixture to freeze properly in just 5-7 minutes of shaking.
Can I make this without heavy cream?
Yes, substitute with half-and-half in a 1:1 ratio, but expect a less rich texture. For best results, stick with heavy cream for that classic creamy consistency.
How do I prevent leaks in the bag?
Remove all air before sealing and double-check the zipper closure. Place the inner bag inside the outer one carefully to avoid punctures.
What’s the best way to add mix-ins?
Fold in chunks like chocolate chips or fruit after reaching soft-serve consistency. This prevents them from sinking to the bottom during shaking.

Trained in classic French technique but raised on slow-cooked ribs and spicy rubs, she blends culinary skill with smoke and soul.
- Recipe for Boneless Pork Chops in Cast Iron Skillet: Sear and Baste to Juicy Perfection - October 3, 2026
- Recipe for Boneless Cross Rib Roast: Slow-Roasted Beef with Herb Crust - October 3, 2026
- Hamburgers in Sauce Recipe Crock Pot: Slow-Cooked Savory Delight - October 3, 2026