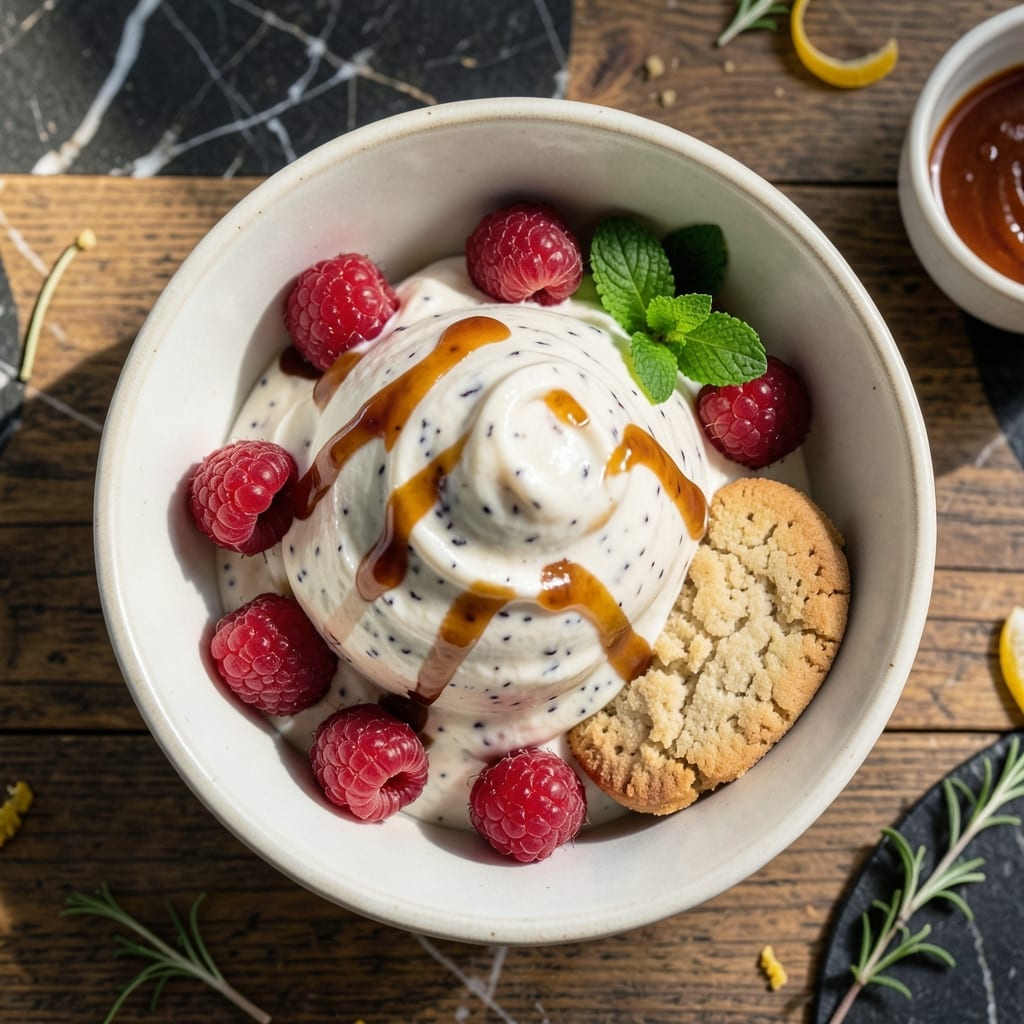
There’s nothing quite like the rich, velvety texture of freshly churned ice cream made at home. This method delivers ultra creamy results that store-bought versions simply can’t match.
Using an ice cream maker ensures perfect consistency every time, with a smooth base that’s ready for your favorite mix-ins. The process is straightforward, yielding homemade quality you’ll be proud to serve.
Ingredients for Homemade Ice Cream Recipe Using Ice Cream Maker
Eight simple ingredients create that ultra creamy texture you crave from scratch.
| Ingredient | Amount | Notes |
|---|---|---|
| Heavy Whipping Cream 🥛 | 2 cups | Full-fat for ultra creamy texture |
| Whole Milk 🥛 | 1 cup | Cold, for smooth base |
| Granulated Sugar 🍚 | ¾ cup | Dissolves completely in base |
| Vanilla Bean 🌿 | 1 whole | Split and scraped, or 1 tbsp extract |
| Large Egg Yolks 🥚 | 4 pieces | Room temperature for emulsification |
| Sea Salt 🧂 | ¼ tsp | Fine grain, enhances flavors |
| Pure Vanilla Extract 💧 | 1 tsp | Use if not using vanilla bean |
| Mix-ins 🍫 | 1 cup | Chopped nuts, chocolate, fruit |
[recipe_ingredient_scaler]
The cream and egg yolks are non-negotiable for that ultra creamy texture. Organic Valley or Darigold heavy cream has the fat content you want (36-40%). For the yolks, large eggs from Costco or your local farmers market give you rich, vibrant yolks. If you’re worried about raw eggs, pasteurized eggs work just as well (look for them in the dairy aisle). The vanilla bean? Splurge on Tahitian or Madagascar for the best flavor.
No ice cream maker? Freeze the base in a shallow dish and stir vigorously every 30 minutes for 3-4 hours. Want it lighter? Swap half the cream for half-and-half (just expect slightly less richness). For the sugar, superfine sugar dissolves faster, but regular granulated works fine. The mix-ins are totally flexible—chopped chocolate bars melt better than chips, and fresh fruit should be patted dry to prevent ice crystals.
The base keeps in the fridge for 24 hours before churning—great for prepping ahead. Once churned, it’s best fresh but holds in the freezer for 2-3 weeks (cover surface with parchment to prevent freezer burn). Let it sit at room temp for 5-10 minutes before scooping for easiest serving.
Why You’ll Love This Recipe
- Set and Forget: The ice cream maker does most of the work—I just pour in the custard and let it churn while I tidy up.
- Vanilla Bean Magic: Scraping real vanilla bean into the cream gives it that deep, floral sweetness store-bought can’t touch.
- Crowd Pleaser: Honestly, I’ve served this at birthdays, BBQs, and random Tuesday nights—everyone always goes back for seconds.
- Freezer Friendly: Leftovers? More like planned extras. This keeps beautifully for up to a month, though it never lasts that long in my house.
Step-by-Step Instructions for Homemade Ice Cream Using Ice Cream Maker
Here’s the method I use to achieve that ultra creamy texture every single time.
Step 1: Infuse the Cream and Warm the Base
In a medium saucepan, combine the 2 cups Heavy Whipping Cream, 1 cup Whole Milk, and 0.75 cup Granulated Sugar. If using a vanilla bean, split it lengthwise, scrape out the seeds, and add both seeds and pod to the cream mixture.
Heat over medium heat until the mixture just begins to simmer around the edges—you’ll see tiny bubbles forming. Stir occasionally to help the Granulated Sugar dissolve completely. This should take about 5-7 minutes. Remove from heat once the sugar is fully dissolved and the mixture is steaming but not boiling.
Step 2: Temper the Egg Yolks for a Silky Custard
In a separate bowl, whisk the 4 pieces Large Egg Yolks until smooth and slightly pale. Slowly pour about 1 cup of the warm cream mixture into the yolks while whisking constantly. This tempering process prevents the eggs from curdling.
Once the eggs are tempered, pour the yolk mixture back into the saucepan with the remaining cream. Return to low heat and cook, stirring constantly with a wooden spoon, until the mixture thickens enough to coat the back of the spoon. This should take 5-8 minutes—you’ll know it’s ready when you can run your finger through the custard on the spoon and it leaves a clean path.
Step 3: Chill Thoroughly for the Creamiest Texture
Strain the custard through a fine-mesh sieve into a clean bowl to remove any cooked bits of egg or vanilla pod. Stir in the 0.25 tsp Sea Salt and 1 tsp Pure Vanilla Extract (if not using a vanilla bean). Press plastic wrap directly onto the surface of the custard to prevent a skin from forming.
Refrigerate for at least 4 hours, or preferably overnight. This chilling step is crucial—it allows the flavors to meld and the mixture to cool completely before churning. When properly chilled, the custard should be cold to the touch and slightly thickened, like heavy cream.
Step 4: Churn and Add Mix-ins for Perfect Texture
Pour the chilled custard into your ice cream maker and churn according to the manufacturer’s instructions. This typically takes 20-25 minutes. The ice cream is ready when it reaches the consistency of soft-serve and holds its shape when scooped.
During the last 2 minutes of churning, add the 1 cup Mix-ins through the feed tube. This ensures even distribution without overmixing. The mix-ins should be evenly dispersed but still visible as distinct pieces throughout the ice cream.
Step 5: Freeze to Firm Perfection
Transfer the churned ice cream to a freezer-safe container. Smooth the top with a spatula and press plastic wrap directly onto the surface to prevent ice crystals from forming. Cover with a lid and freeze for at least 4 hours, or until firm.
For the creamiest texture, let the ice cream sit at room temperature for 5-10 minutes before scooping. The final product should be smooth, rich, and hold its shape when scooped, with a velvety mouthfeel that melts perfectly on the tongue.
Pro Tips For Making Homemade Ice Cream Recipe Using Ice Cream Maker
- Chill the Base: Always refrigerate your custard base for at least 4 hours—overnight is even better. I learned this the hard way after ending up with soupy ice cream that never quite set.
- Temper the Yolks: Slowly whisk about a cup of the hot milk mixture into your egg yolks before combining everything. After burning a batch from adding yolks directly to hot liquid, I finally figured out this non-negotiable step.
- Pre-Freeze the Bowl: Make sure your ice cream maker bowl is completely frozen—12-24 hours in the freezer. Sounds obvious, but I skipped this once and wondered why my ice cream turned into a sad, milky slush.
- Use Real Vanilla: Split and scrape a fresh vanilla bean instead of using extract. My grandmother swore by this, and she was right: it makes a real difference in both flavor and those pretty little specks.
Creative Variations of This homemade ice cream recipe using ice cream maker
Chocolate Lover’s Dream
Add ½ cup cocoa powder to the warm cream mixture in Step 1, whisking until smooth. During churning, include 1 cup chopped dark chocolate (I prefer Ghirardelli 70%). The cocoa deepens the flavor while the chocolate chunks add texture. 🌟
Berry Swirl Delight
Prepare a berry compote by simmering 2 cups mixed berries with ¼ cup sugar until thickened. Swirl it into the churned ice cream before freezing. Fresh berries from farmers markets work best for vibrant color and taste.
Coffee Buzz Crunch
Dissolve 2 tbsp instant espresso powder into the warm cream mixture for a rich coffee base. Add ½ cup crushed toffee bits during the last 2 minutes of churning. The toffee adds a buttery crunch that pairs perfectly with the coffee.
Classic Cookies & Cream
Crush 15 Oreo cookies into coarse chunks and fold them in at the end of churning. For extra indulgence, add ¼ cup mini chocolate chips. The contrast between creamy base and cookie crunch is irresistible.
I often add a pinch of sea salt to enhance the chocolate flavors. ✨
Tropical Coconut Escape
Replace 1 cup whole milk with coconut milk and add ½ cup toasted coconut flakes during churning. The coconut milk adds subtle richness while the flakes provide texture.
Nutrition Facts
Frequently Asked Questions
Why do I need to chill the custard before churning?
Chilling thickens the base and prevents ice crystals from forming. It also allows flavors to meld for 4 hours or overnight, resulting in a smoother, creamier texture.
Can I use pasteurized eggs instead of raw?
Yes! Pasteurized eggs work perfectly and eliminate any safety concerns. They provide the same rich texture and emulsification as raw eggs in your custard base.
How long does it take to churn in most machines?
Most home ice cream makers take 20-25 minutes to reach soft-serve consistency. Check your manufacturer’s instructions, as times may vary slightly by model.
What if my ice cream turns out icy?
Icy texture usually means the base wasn’t chilled enough or had too much air incorporated. Ensure your custard is cold to the touch before churning and avoid overfilling the machine.

Trained in classic French technique but raised on slow-cooked ribs and spicy rubs, she blends culinary skill with smoke and soul.
- Recipe for Boneless Pork Chops in Cast Iron Skillet: Sear and Baste to Juicy Perfection - October 3, 2026
- Recipe for Boneless Cross Rib Roast: Slow-Roasted Beef with Herb Crust - October 3, 2026
- Hamburgers in Sauce Recipe Crock Pot: Slow-Cooked Savory Delight - October 3, 2026